ENGLISH
DEUTSCH
30
30
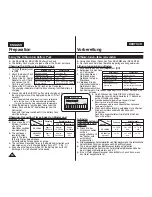
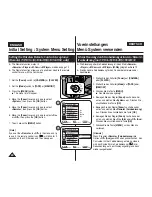
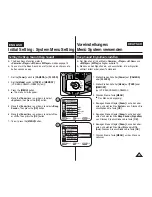
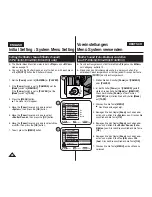
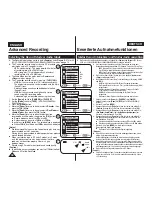
Displaying the Date/Time (Date/Time)
(Datum/Zeit) anzeigen <Date/Time>
✤
The Date/Time function works in
<Camera>
/
<Player>
/
<M.Cam>
/
<M.Player>
modes.
➥
page 19
✤
The date and time are automatically recorded on a special data area
of the tape.
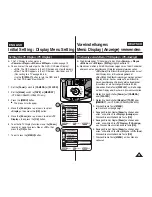
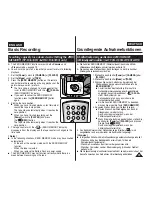
1. Set the
[Power]
switch to
[CAMERA]
or
[PLAYER]
.
2. Set the
[Mode]
switch to
[TAPE]
or
[MEMORY]
.
(VP-D363(i)/D364W(i)/D365W(i) only)
3. Press the
[MENU]
button.
■
The menu list will appear.
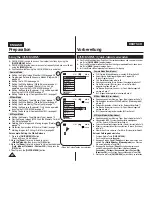
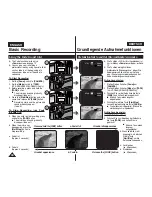
4. Move the
[Zoom]
lever up or down to select
<Display>
, then press the
[OK]
button.
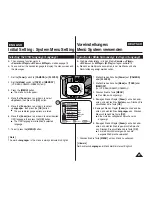
5. Move the
[Zoom]
lever up or down to select
<Date/Time>
, then press the
[OK]
button.
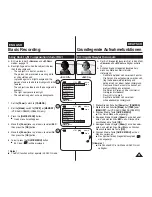
6. Move the
[Zoom]
lever up or down to select the
display type of the Date/Time, then press the
[OK]
button.
■
Display type of the Date/Time:
<Off>
,
<Date>
,
<Time>
,
<Date&Time>
.
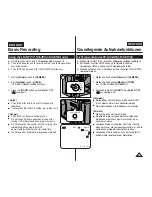
7. To exit, press the
[MENU]
button.
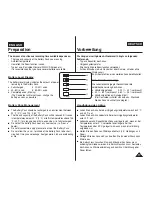
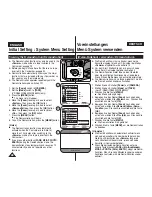
[ Notes ]
■
The Date/Time will read
<00:00 1.JAN.2006>
in the
following conditions.
- During playback of a blank section of a tape.
- If the tape was recorded before setting the
<Date/Time>
in the Camcorder.
- When the Lithium Battery becomes weak or dead.
■
Before you use the
<Date/Time>
function, you must set the clock.
➥
page 23
✤
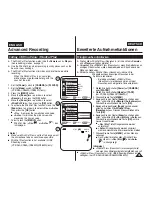
Die Einstellung von Datum und Uhrzeit ist in den Modi
<Camera>,
<Player>
,
<M.Cam>
und
<M.Player> (M.Play)
möglich.
➥
Seite 19
✤
Datum und Uhrzeit werden automatisch auf dem Band in einem speziell
dafür vorgesehenen Datenbereich aufgezeichnet.
1. Stellen Sie den Schalter
[Power]
auf
[CAMERA]
oder
[PLAYER]
.
2. Stellen Sie den Schalter
[Mode]
auf
[TAPE]
oder
[MEMORY]
. (nur VP-D363(i)/D364W(i)/D365W(i))
3. Drücken Sie die Taste
[MENU]
.
■
Das Menü wird angezeigt.
4. Bewegen Sie den Regler
[Zoom]
nach oben oder
unten, und wählen Sie
<Display> (Anzeige)
aus.
Drücken Sie anschließend die Taste
[OK]
.
5. Bewegen Sie den Regler
[Zoom]
nach oben oder
unten, und wählen Sie
<Date/Time> (Datum/Zeit)
aus. Drücken Sie anschließend die Taste
[OK]
.
6. Bewegen Sie den Regler
[Zoom]
nach oben oder
unten, und wählen Sie die Anzeigeoptionen für
Datum und Uhrzeit aus. Drücken Sie anschließend
die Taste
[OK]
.
■
Anzeigeoptionen für Datum/Uhrzeit:
<Off> (Aus)
,
<Date> (Datum)
,
<Time> (Uhrzeit)
,
<Date&Time> (Datum&Zeit)
.
7. Drücken Sie die Taste
[MENU]
, um das Menü zu
verlassen.
[ Hinweise ]
■
In folgenden Fällen wird Datum/Uhrzeit als
<00:00
1.JAN.2006>
angezeigt:
- Wenn ein Bandbereich ohne Aufnahmen
wiedergegeben wird.
- Wenn die Aufnahme vor der Einstellung von
<Date/Time> (Datum/Zeit)
gemacht wurde.
- Wenn die Lithiumbatterie zu schwach oder leer ist.
■
Stellen Sie Datum und Uhrzeit ein, bevor sie die Funktion
<Date/Time>
(Datum/Zeit)
verwenden.
➥
Seite 23
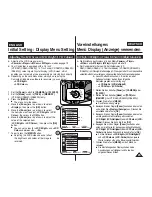
Initial Setting : Display Menu Setting
Voreinstellungen:
Menü Display (Anzeige) verwenden
Move
Select
Exit
MENU
OK
ZOOM
Camera Mode
√
Display
LCD Bright
LCD Colour
Date/Time
TV Display
4
Move
Select
Exit
MENU
OK
ZOOM
Off
Date
Time
Date&Time
PLAYE
R
CA
M
ER
A
CA M
ER
A
PLAY
ER
1
√
Off
√
On
6
Camera Mode
Back
LCD Bright
LCD Colour
Date/Time
TV Display

