Scan features
249
4. Special Features
1
Make sure that the machine is connected to your computer and
powered on.
2
Place a single document face down on the document glass, or load the
documents face up into the document feeder (see "Loading originals" on
page 49).
3
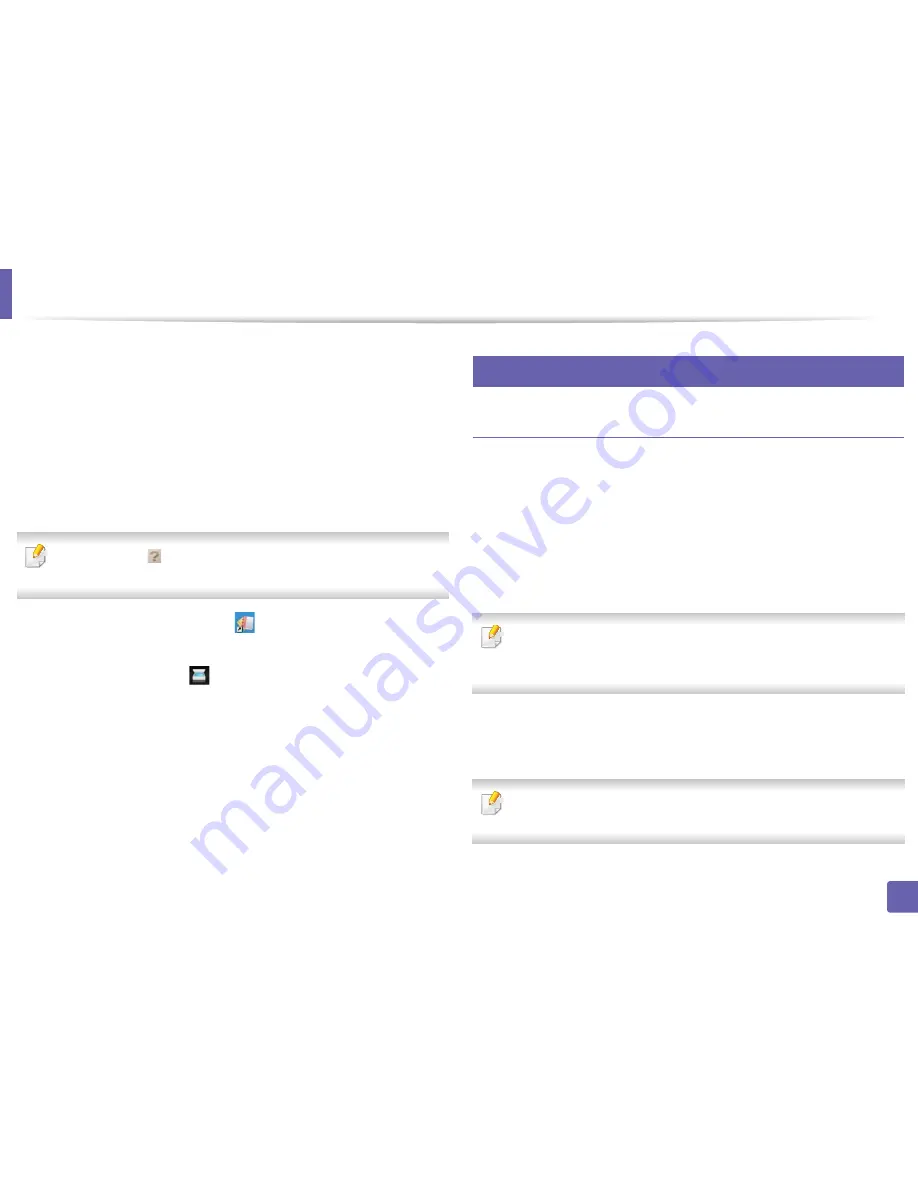
Double-click the
SmarThru Office
icon.
4
The
SmarThru Office
appears.
Click the
Help
or
button from the window and click on any option you
want to know about.
5
Click the
SmarThru Office
icon (
) in the tray area of the Windows
taskbar to activate the
SmarThru Office
launcher.
6
Click the scanning icon (
) to open the scanning window.
7
The
Scan Setting
window opens.
8
Set scan settings and click
Scan
.
29
Macintosh scanning
Scanning from USB connected machine
1
Make sure that the machine is connected to your computer and
powered on.
2
Place a single document face down on the document glass, or load the
documents face up into the document feeder (see "Loading originals" on
page 49).
3
Start
Applications
and click
Image Capture
.
If
No Image Capture device connected
message appears, disconnect the
USB cable and reconnect it. If the problem continues, refer to the
Image
Capture
’s help.
4
Select the option you want.
5
Scan and save your scanned image.
If scanning does not operate in
Image Capture
, update Mac OS to the latest
version.
Image Capture
operates properly in Mac OS X 10.4.7 or higher.


