Convenience Features
DS/ITP-5012L Phone User Guide
114
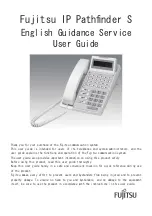
8. Group Listening
You can allow others to hear your conversation through the speaker while
on a call. The microphone is disabled while this feature is active.
1.
During the call, press the
[Selection]
button for
[GROUP LISTEN]
.
Others can now hear the conversation
through the speaker, but cannot be
heard by the calling/called party
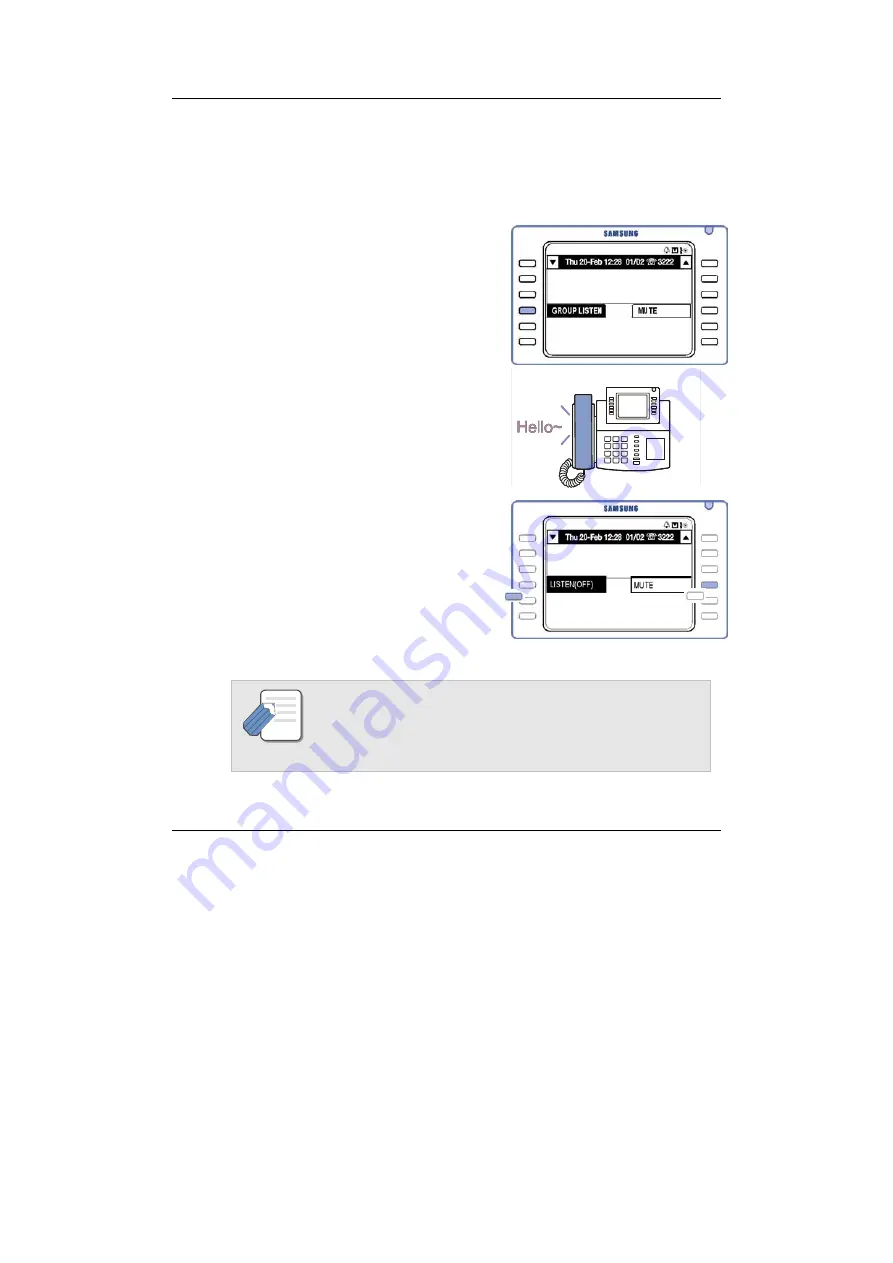
2.
To disable the speaker and resume a
private conversation, press the
[Selection]
button for
[LISTEN(OFF)]
.
If you want to disconnect the call after group listening, always select
[LISTEN(OFF)] before disconnecting to prevent any squeals from the
phone.
NOTE