9
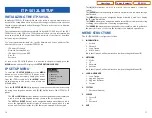
ASSEMBLING YOUR KEYSET
•
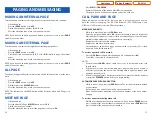
Place the keyset face down on a flat surface.
•
Insert notched ends of the support bracket into the channels located in the
upper section of the bottom panel. Push towards the top of the keyset to lock
in.
•
Plug the handset cord into the jack marked with the symbol.
•
Route the handset cord out the
RIGHT
side of the keyset as you look at it face
down.
•
Plug the eight-conductor
LAN
cable, from the wall, into the jack marked
LAN
on the back of the keyset.
•
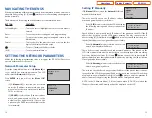
Plug the eight-conductor
PC
cable, from the PC, into the jack marked
PC
on
the back of the keyset.
•
Plug the power connector, from the power adapter provided, into the power
jack on the back of the keyset.
•
OPTIONAL:
To connect a recording device, plug the device connector into the
jack marked
REC
on the bottom of the keyset.
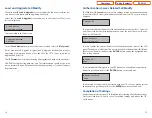
IMPORTANT NOTE:
•
Be careful not to connect the Network LAN cable into the PC connector of the
phone.
•
To prevent damaging the keyset, only use the Power Adapter that came with
the 5012L keyset.
8
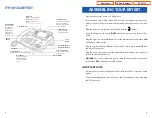
ITP-5012L KEYSET
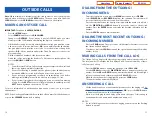
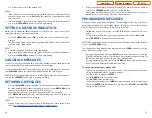
LCD Panel
Displays a large quantity
of information so that
the users can easily
search.
Select Buttons (6)
To select a specific item
the user can simply
press the Select button
next to the item.
Volume Button
Used to adjust
the volume of
the handset,
speakerphone,
ringer, back-
ground music
and page.
Screen
Button
Select Button (6)
Dial Button
Speaker Button
For handsfree operation and ringing.
Hold Button
Used to save a call
without hanging-
up on the current
call.
Transfer Button
Conference Button
Used to make a calls of
up to 5 parties.
Microphone Button
Navigation Button
Scroll
Button
Status Indicator
Used to provide
your keyset status.
Home Page
ITP-5012L
Table of Contents

