English -
45
R
ecording
2
Press the
OPEN/CLOSE
button to close
the disc tray.
Wait until “LOAD” disappears from the front panel
display.
If an unused DVD-RW disc is used, whether to
initialize or not will be asked first. (See page 41.)
3
Press the
REC MODE
button repeatedly,
(or Press the
REC MODE
button, then
press the
…†
button) to select the
recording speed(quality).
➞
SP
➞
LP
➞
EP
➞
XP
4
Press the
INPUT SEL.
button to select
DV
.
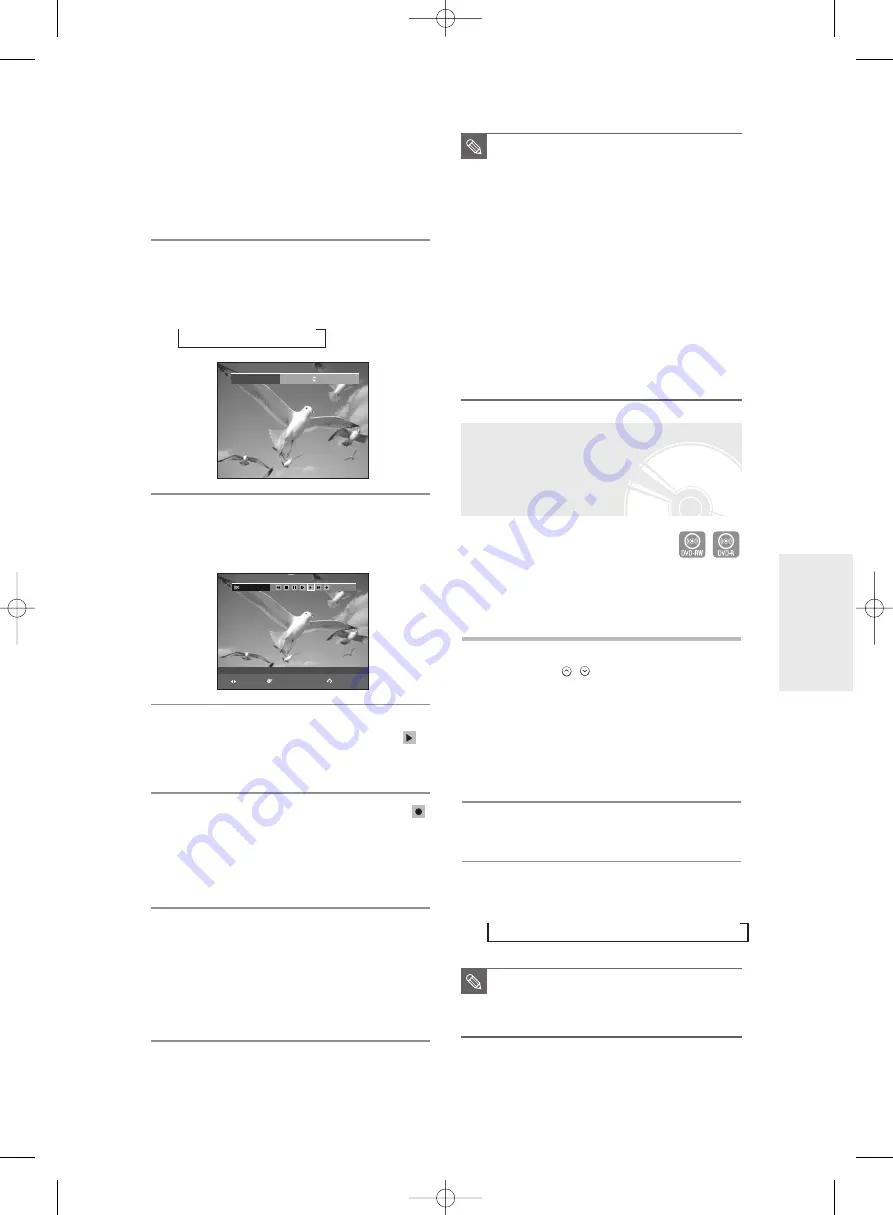
If the input is set to DV, a playback/record menu that
enables camcorder control appears on the top of the
screen.
5
To play the camcorder and find the starting
point to be copied, select the play icon( )
on the top of the screen using the
œ √
buttons and then press the
OK
button.
6
To start recording, select the record icon( )
on the top of the screen using the
œ √
buttons and then press the
OK
button.
You can also use the
REC
button on the remote
control to start recording. (If your camcorder is in stop
mode, the
REC
button doesn't work.)
To stop recording
Press the
STOP
button to stop or finish a recording
in progress.
●
When using DVD-RW/DVD-R discs, the message
‘Updating the disc information. Please wait for a
moment.’ is displayed
■
You can not change the recording mode and
input source while recording.
■
Recording will stop automatically if there is
no free space left for recording.
■
Up to 99 titles can be recorded onto a disc.
■
Recording will stop automatically if a copy
protected image is selected.
■
DVD-RW discs must be formatted before
starting to record. Most new discs are sold
unformatted.
■
Do not use DVD-R authoring discs with this
DVD Recorder.
■
If you connect a camcorder using DV jack,
the related contol menu appears
automatically. To access on the screen
controls during recording, press
œ
or
√
button.
NOTE
Making a One Touch
Recording (OTR)
You can set the DVD Recorder to record in preset
increments by pressing the
REC
button repeatedly.
1
If you want to record a TV channel, press
the
PROG (
/
)
or number buttons to
select a desired channel.
If you want to record through a
connected external component, press the
INPUT SEL.
button to select an
appropriate external input (
AV1
,
AV2
,
AV3
or
DV
).
●
TV PROGRAMME: 1 to 99
2
Press the
REC
button to start recording.
3
Press the
REC
button repeatedly to adjust
the desired recording time.
➞
0:30
➞
1:00
➞
... 4:00
➞
5:00
➞
... 9:00
➞
normal
■
The timer counter decreases by the
minute from 9:00 to 0:00, then the DVD
Recorder stops recording and is
powered off.
NOTE
Record Mode
SP (02:12)
DV
The DV device is connected.
RETURN
OK
MOVE
01085M-R135,136-XEH-ENG_42~49 4/5/06 6:11 PM Page 45


