38 -
English
S
ystem Setup
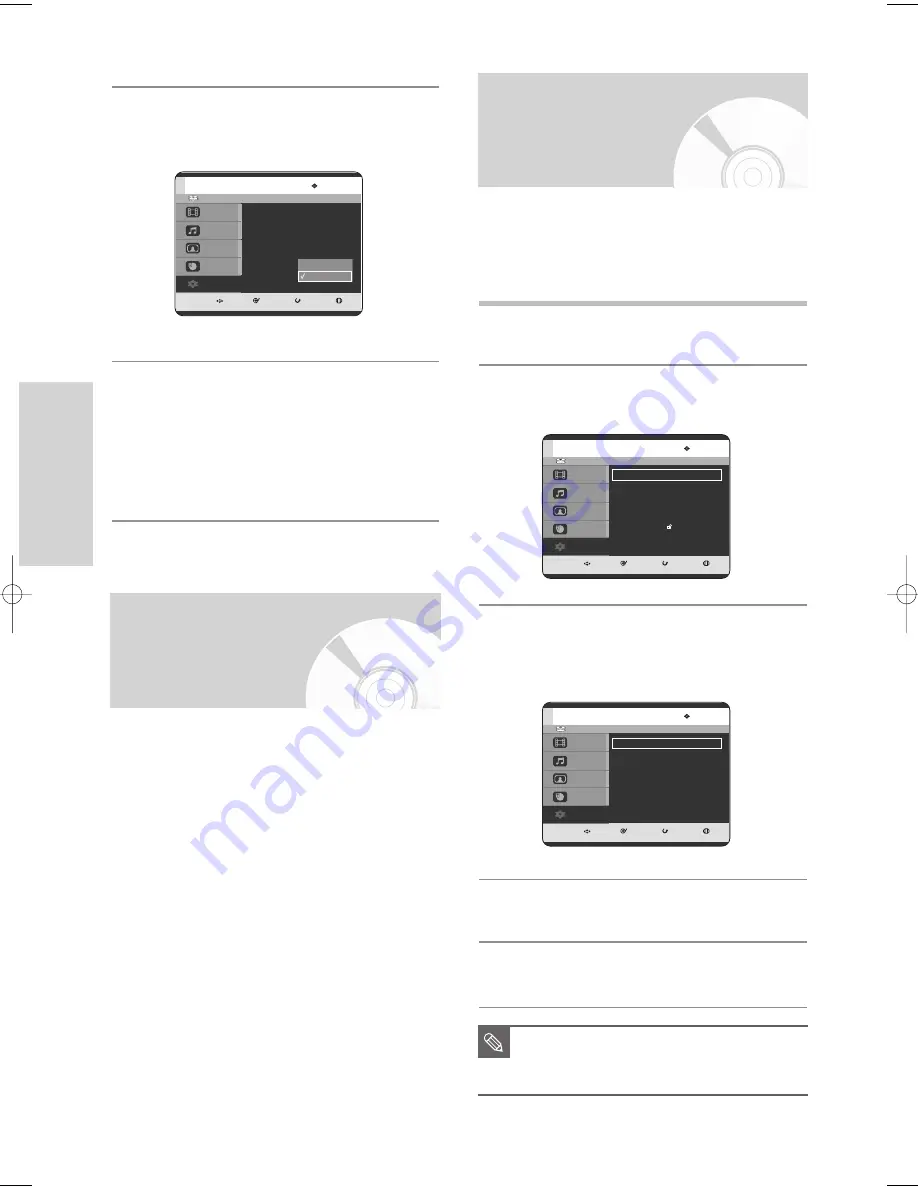
Setting up the Audio
Options
1
With the unit in Stop mode, press the
MENU
button.
2
Press the
…†
buttons to select
Setup
, then press
the
OK
or
√
button.
3
Press the
…†
buttons to select
Audio
, then press
the
OK
or
√
button.
Audio setup menu will be displayed.
4
Press the
…†
buttons to select the desired audio
option, then press the
OK
or
√
button.
5
Press the
…†
buttons to select the desired item,
then press the
OK
or
√
button.
You can connect the HDD & DVD RECORDER to an
external amp or Home theatre.
Allows you to setup the Audio device and sound status
depending on the audio system in use.
HDD
MOVE
SELECT
RETURN
EXIT
Title
Music
Photo
Programme
Setup
Setup
System
√
√
Clock Set
√
√
Language
√
√
Audio
√
√
Video
√
√
Parental Control
√
√
Install
√
√
HDD
MOVE
SELECT
RETURN
EXIT
Title
Music
Photo
Programme
Setup
Audio
Digital Output
: PCM
√
√
DTS
: Off
√
√
Dynamic Compression : On
√
√
V-Mode Compatibility
: Off
√
√
■
Press the
RETURN
or
œ
button to return
to the previous menu.
Press the
MENU
button to exit the menu.
NOTE
4
Press the
…†
buttons to select
NICAM
, then
press the
OK
or
√
button.
5
Press the
…†
buttons to select
Off
or
On
, then
press the
OK
or
√
button.
• Off
: Only set at this position to record the
standard mono sound during a NICAM
broadcast if the stereo sound is distorted
due to inferior reception conditions.
• On
: NICAM mode
Please use the Registration code to register this HDD &
DVD RECORDER with the DivX(R) Video On Demand
format. For more information, visit
www.divx.com/vod
HDD
MOVE
SELECT
RETURN
EXIT
Title
Music
Photo
Programme
Setup
System
Auto Power Off : Off
√
√
CM Skip Time: 15 Se
c
√
√
EP Mode Time
: 6 Hour
√
√
Front Display
: Auto Dim
√
√
Chapter Creator : Off
√
√
NICAM
: On
√
√
DivX(R) Registration
√
√
Off
On
DivX(R) Registration
3-00903E-EURO_25-45 2005.9.24 3:28 PM Page 38


