45
SAMSUNG ELECTRONICS
No.
Parts
Procedure
Remark
2
Fan
&
Motor
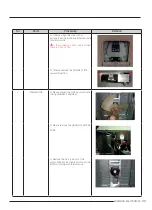
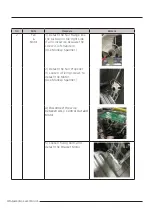
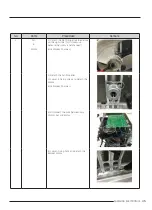
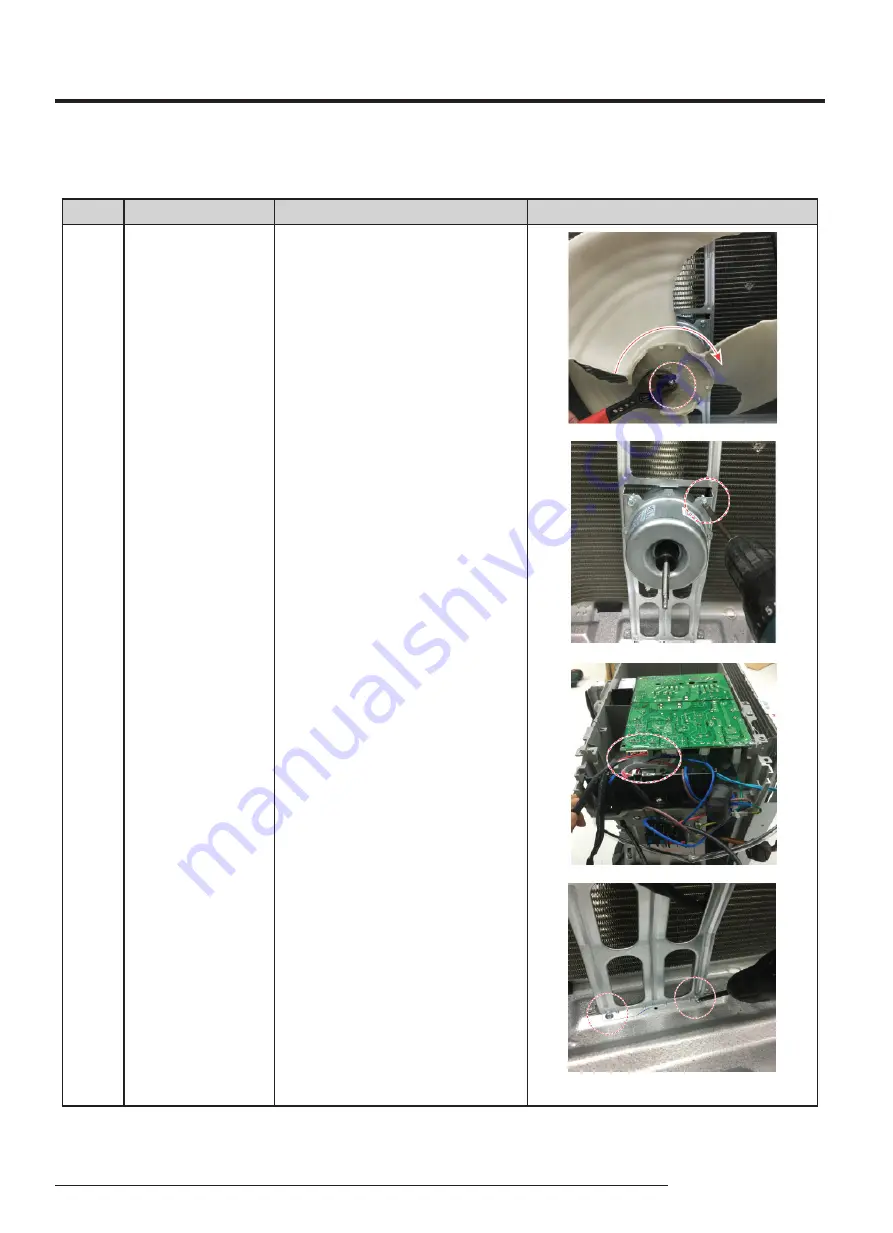
1) Detach the Nut Flange like the picture
on the right side. (Turn clockwise
because the screw is left-handed.)
(Use Monkey Spanner.)
2) Detach the Fan Propeller.
3) Loosen 4 fixing screws to detach the
Motor.
(Use Monkey Spanner.)
4) Disconnect the wire between Assy
Control Out and Motor.
5) Loosen fixing bolts and detach the
Bracket Motor
Summary of Contents for AR07TXCAAWKNEU
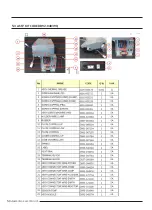
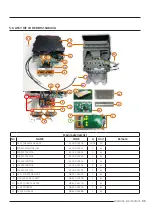
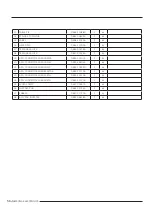
Page 49: ...49 SAMSUNG ELECTRONICS 5 2 ASSY KIT CODE DB92 04839Q ...
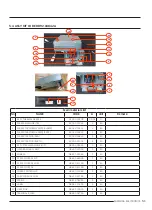
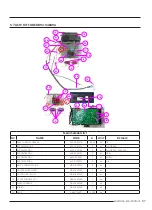
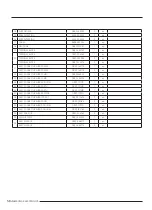
Page 50: ...50 SAMSUNG ELECTRONICS 5 3 ASSY KIT CODE DB92 04839Q ...
Page 59: ...59 SAMSUNG ELECTRONICS 6 Wiring Diagram 6 1 Indoor Unit CODE DB68 08680A 01 ...
Page 61: ...61 SAMSUNG ELECTRONICS 7 PCB Diagram 7 1 Indoor Main PCB DB92 04839A ...
Page 62: ...62 SAMSUNG ELECTRONICS 7 2 Outdoor PCB DB92 04837A ...
Page 63: ...63 SAMSUNG ELECTRONICS ...
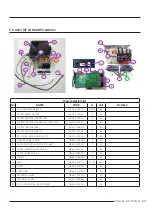
Page 67: ...67 SAMSUNG ELECTRONICS 8 5 DISPLAY PCB DB92 04833B ...

