26
SAMSUNG ELECTRONICS
No.
Parts
Procedure
Remark
2
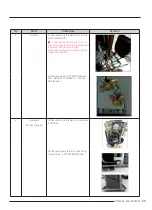
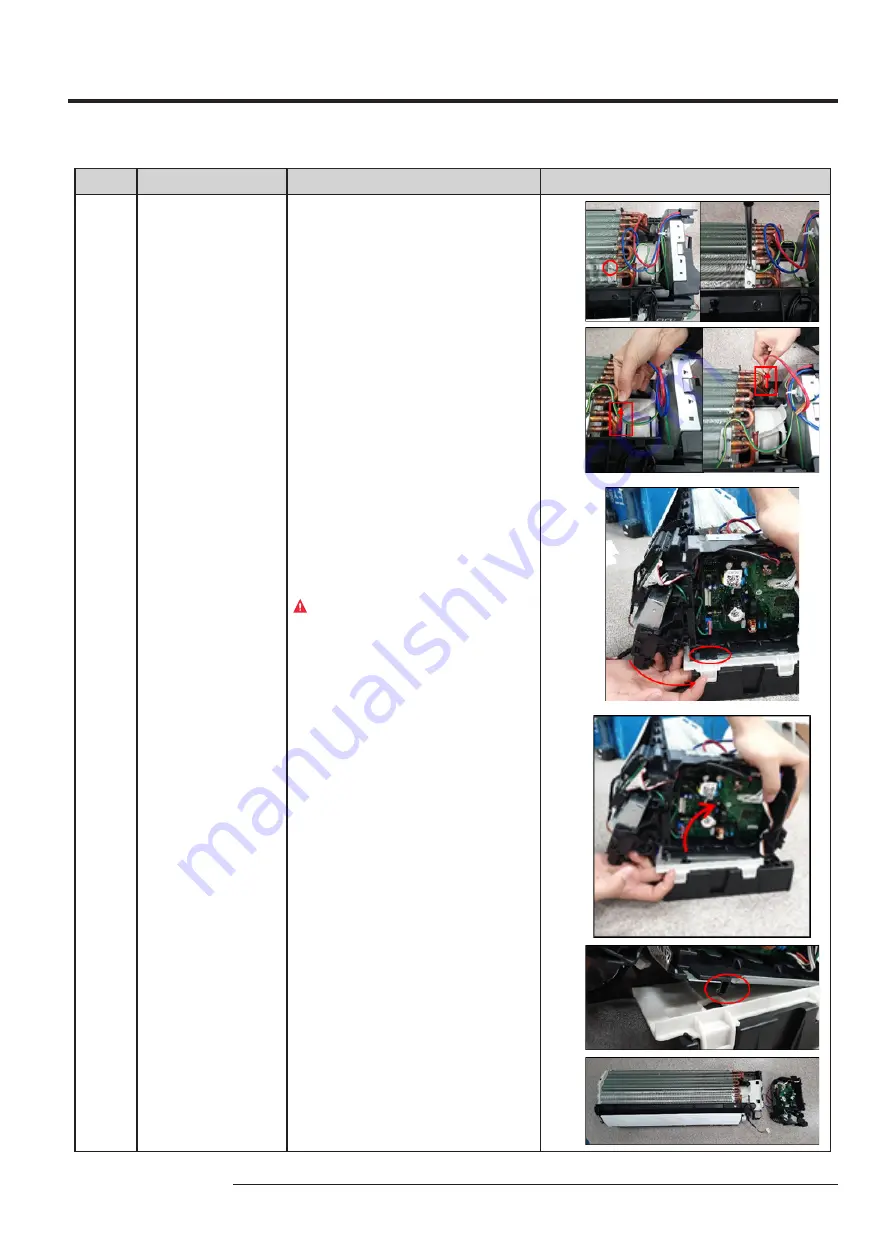
CONTORL IN
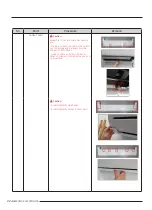
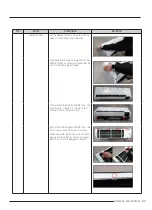
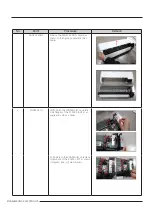
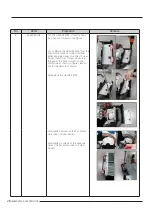
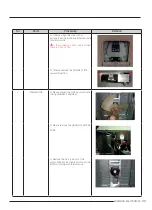
15)Unfasten a screw of the Ground wire
and pick up Temperature wires from
ASSY EVAP. (Use (+) Screw Driver.)
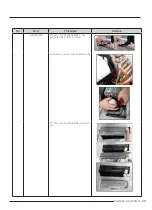
16) The CONTROL-IN is fixed to HOLDER
PIPE by a hook bottom of the case as
shown in the last figure. (Please loosen
remaining connectors before detaching
CASE-CONTROL.
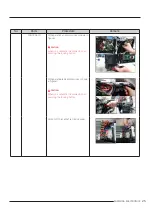
Caution:
When you separate the connector, pull
pressing the locking button.
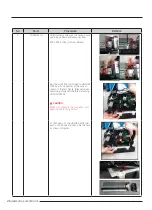
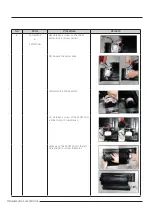
17) Put down of the HOLDER PIPE and
push up the hook and lean side the case
as shown in figures.
Summary of Contents for AR07TXCAAWKNEU
Page 49: ...49 SAMSUNG ELECTRONICS 5 2 ASSY KIT CODE DB92 04839Q ...
Page 50: ...50 SAMSUNG ELECTRONICS 5 3 ASSY KIT CODE DB92 04839Q ...
Page 59: ...59 SAMSUNG ELECTRONICS 6 Wiring Diagram 6 1 Indoor Unit CODE DB68 08680A 01 ...
Page 61: ...61 SAMSUNG ELECTRONICS 7 PCB Diagram 7 1 Indoor Main PCB DB92 04839A ...
Page 62: ...62 SAMSUNG ELECTRONICS 7 2 Outdoor PCB DB92 04837A ...
Page 63: ...63 SAMSUNG ELECTRONICS ...
Page 67: ...67 SAMSUNG ELECTRONICS 8 5 DISPLAY PCB DB92 04833B ...

