SAMLEX AMERICA INC. | 23
APPENDIX A
SECTION 4 |
Parameter Setup
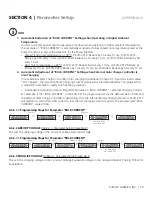
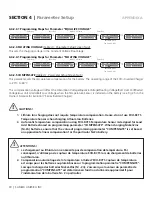
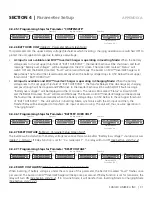
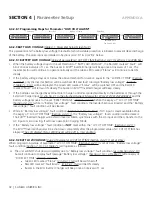
4.2.1.1 Example for Setting Parameter "BULK CURRENT"
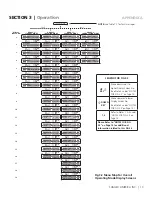
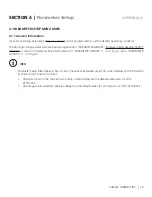
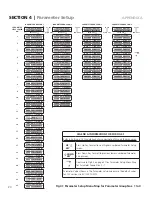
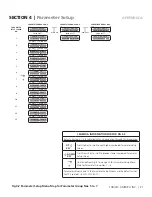
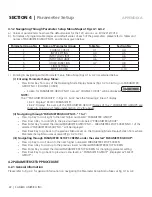
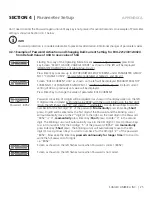
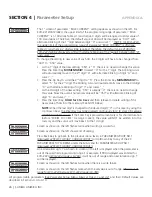
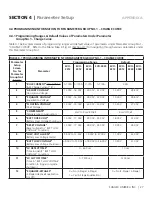
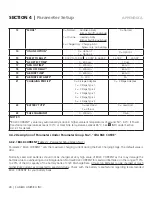
Referring to Parameter Setup Menu Maps at Figs 4.1/ 4.2, it is seen that parameter "BULK CURRENT" appears under
PARAMETER GROUP NO.1 named "CHARGE CURVE" & PARAMETER SETUP SCREENS NO.1 for parameter "BULK
CURRENT".
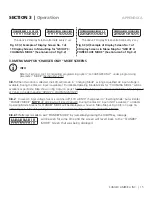
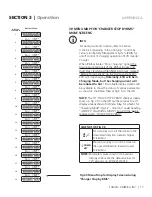
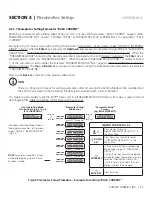
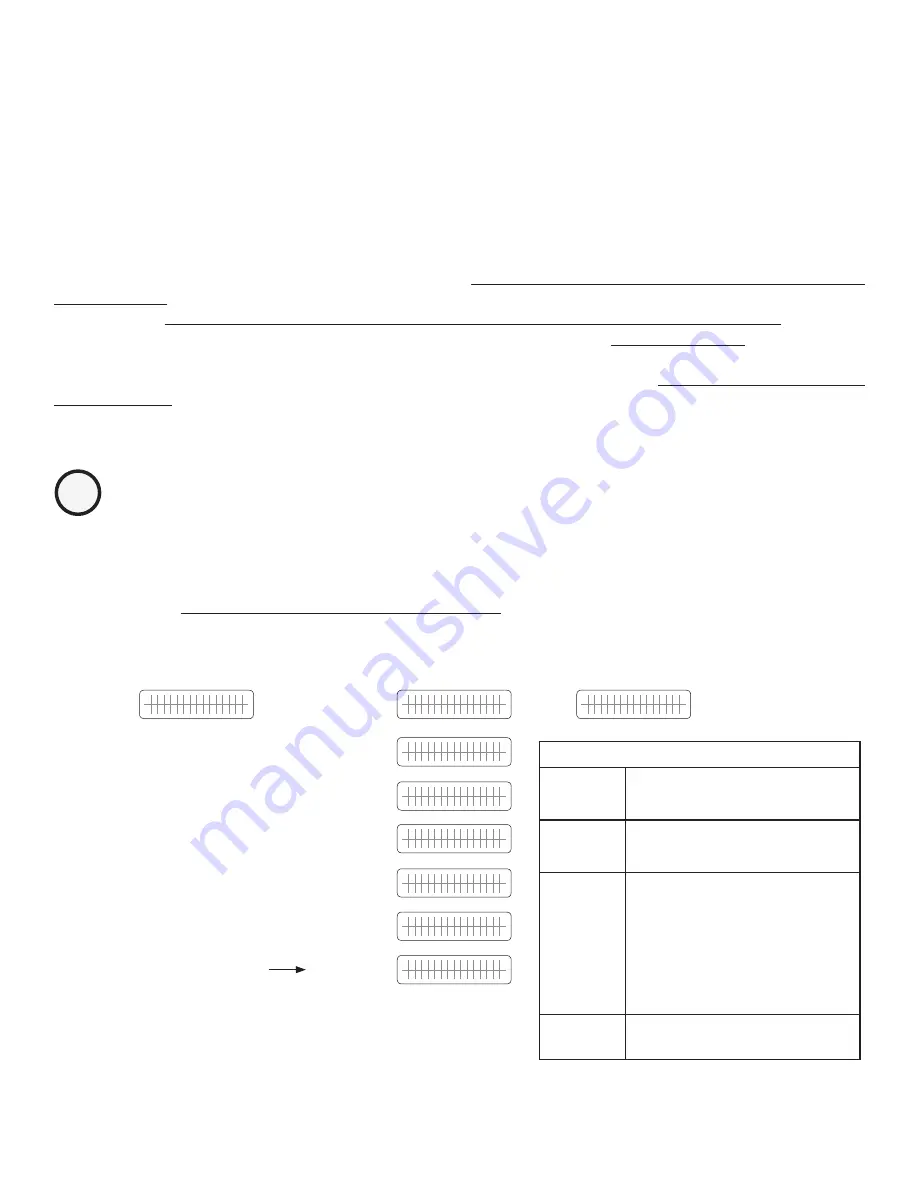
Example in Fig 4.3 below starts with Inverting Mode Screen
(Screen No.1 of 16 screens under "GROUP 2: INVERTING
MODE" - Fig 3.2)
. After the
Enter
key is pressed, the
Up/Down
keys are used to navigate through different "PARAMETER
GROUP NOS." (
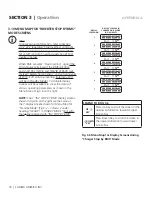
"PARAMETER GROUP NOS." 1-4 in Fig 4.1 & "PARAMETER GROUP NOS." 5-7 in Fig 4.2
). When the
"PARAMETER GROUP"containing the desired parameter is displayed on the LCD
(Group 1 in Fig 4.3)
, the
Enter
Key is
pressed again to select this "PARAMETER GROUP". When the desired "PARAMETER GROUP NO." is selected, Screen
1 of the sub-menu screens under the selected "PARAMETER GROUP NO." appears
("BULK CURRENT" in example
shown in Fig 4.3)
. The
Up
and
Down
Keys are used to navigate through the individual parameters within the selected
"PARAMETER GROUP NO."
Pressing the
Back
Key will exit to the previous Menu Level.
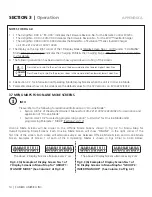
i
INFO
There is a 30 second timeout for setting parameters; after 30 seconds the Setting Mode will be cancelled and
the EVO-RC will revert to the Operating Mode Screen associated with current operation.
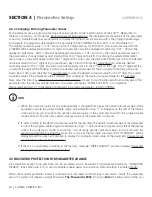
It is highly recommended to set the EVO™ Date and Time (PARAMETER GROUP NO.6) as this value is used to record
data logging files.
(Refer to Section 4.9 for Date and Time set up)
.
Any Operating Mode
Screen from Fig 3.2 to 3.6
(SAY INVERTING)
"Parameter Group"
Sub-Menus
"Parameter Setup"
Screen
(eg. BULK CURRENT)
I N V E R T I N G
O U T P U T
1 2 0 . 0 0 V
ENTER
KEY
ð
ï
BACK
KEY
PARAMETER
GROUP NO.1
S E L E C T G R O U P
C H A R G E C U R V E
UP
KEY
ò ñ
DOWN
KEY
ENTER
KEY
ð
ï
BACK
KEY
B U L K C U R R E N T
4 0 A
PARAMETER
GROUP NO.2
S E L E C T G R O U P
I N P U T S E T T I N G
UP
KEY
ò ñ
DOWN
KEY
PARAMETER
GROUP NO.3
S E L E C T G R O U P
I N P U T L OW L I M I T
UP
KEY
ò ñ
DOWN
KEY
PARAMETER
GROUP NO.4
S E L E C T G R O U P
I N P U T H I G H L I M I T
UP
KEY
ò ñ
DOWN
KEY
PARAMETER
GROUP NO.5
S E L E C T G R O U P
O T H E R F U N C T I O N
UP
KEY
ò ñ
DOWN
KEY
PARAMETER
GROUP NO.6
S E L E C T G R O U P
T I M E S E T T I N G
UP
KEY
ò ñ
DOWN
KEY
PARAMETER
GROUP NO.7
S E L E C T G R O U P
S T O P S D C A R D
NOTE:
Parameter Group No.7 Screen
will be displayed only when SD Card
has been inserted
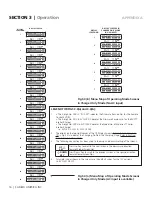
Fig 4.3 Parameter Setup Procedure – Example for Setting "BULK CURRENT"
LEGEND FOR FOR FIG 4.3
UP
ò
KEY
Press Up Key to scroll to
higher"PARAMETER GROUP NO." in
the Menu Map
ñ
DOWN
KEY
Press Down Key to scroll to lower
"PARAMETER GROUP NO." in the
Menu Map
ð
ENTER KEY
(i) Press Enter Key from any Operating
Mode Screen to go to "PARAMETER
GROUP 1"
(ii) Press Enter Key to select the desired
parameter under the sub-menu for the
selected "PARAMETER GROUP NO."
(iii) Press Enter Key to select the new
option/ value of the parameter
ï
BACK KEY
Press Back Key
(The above Operating Mode Screen is
from display screen No.1 of 16 screens
under "GROUP 2: INVERTING MODE"
- Fig 3.2)

