Sirius 830 Installation Manual
www.s-a-m.com
Workbench
Issue 2 Rev 2
Page 54
© 2016 SAM
3.
Follow the prompts to install Workbench.
4.
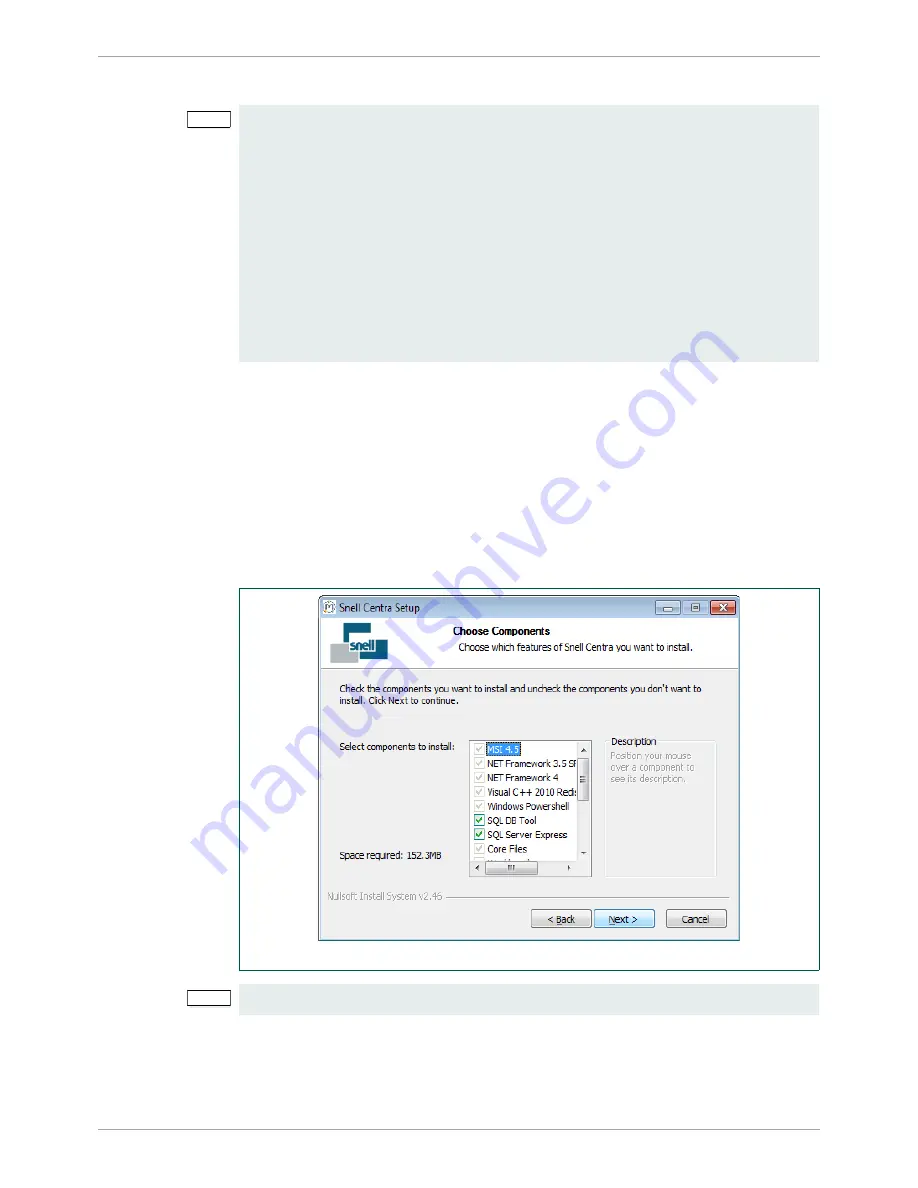
The Choose Components screen is displayed (Fig 33.)
•
The greyed out components are mandatory but other components can be ticked
or unticked as required.
•
The components chosen will depend on the type of installation being carried out,
for details see Table 9.
•
Position the mouse cursor over each component to see a description of its
purpose to the right of the list.
•
The installer checks to see whether the component is already installed and only
installs it if the component is not found.
Note:
•
If a dialog is displayed that says “Install Checker has stopped working”
administration rights may not have been granted on the computer.
Close the Install Checker dialog and browse to
Workbenchinstaller.exe
on the
DVD. Right-click on
Workbenchinstaller.exe
and select
Run as administrator
from the menu.
•
If Workbench is being installed on a Windows 7 computer then the Windows User
Account Control (UAC) screen will be displayed.
Click
Yes
and the installation will continue.
•
The Windows Installer screen may be displayed, this will depend on which version
of Windows is installed.
Click
OK
and the installation will continue.
Fig 33. Choose Installation Components
Note:
The actual version numbers of components may differ from those shown.
Summary of Contents for Sirius 830
Page 2: ...Sirius 830 Installation Manual www s a m com Issue 2 Rev 2 Page 2 2016 SAM...
Page 6: ...Sirius 830 Installation Manual www s a m com About this Manual Issue 2 Rev 2 Page 6 2016 SAM...
Page 24: ...Sirius 830 Installation Manual www s a m com Installation Issue 2 Rev 2 Page 24 2016 SAM...
Page 28: ...Sirius 830 Installation Manual www s a m com Rear Connectors Issue 2 Rev 2 Page 28 2016 SAM...
Page 72: ...Sirius 830 Installation Manual www s a m com Workbench Issue 2 Rev 2 Page 72 2016 SAM...


