


19
20
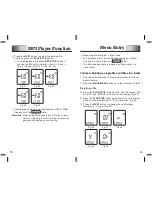
Menu Entry
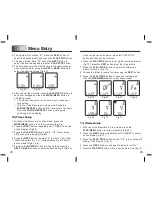
Fig.48
Fig.49
Fig.50
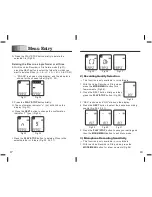
2. Press the
NEXT
button 2 times (Fig.42).
3. Press the
PLAY/STOP
button briefly.
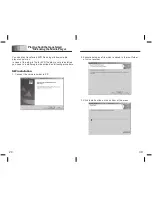
4. “SENSE” is shown and “HI” blinks on the display (Fig.43).
5. Press the
NEXT
button to select the desired microphone
recording sensitivity (Fig.44).
Fig.42
Fig.43
Fig.44
6. Press the
PLAY/STOP
button to save your setting and
then the
MODE/MENU
button to exit Menu mode.
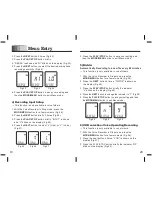
4) Recording Input Setup
→ This function is only available in voice folders.
1. With the Voice Recorder in Stop mode, press the
MODE/MENU
button for a few moments (Fig.26).
2. Press the
NEXT
button briefly 3 times (Fig.45).
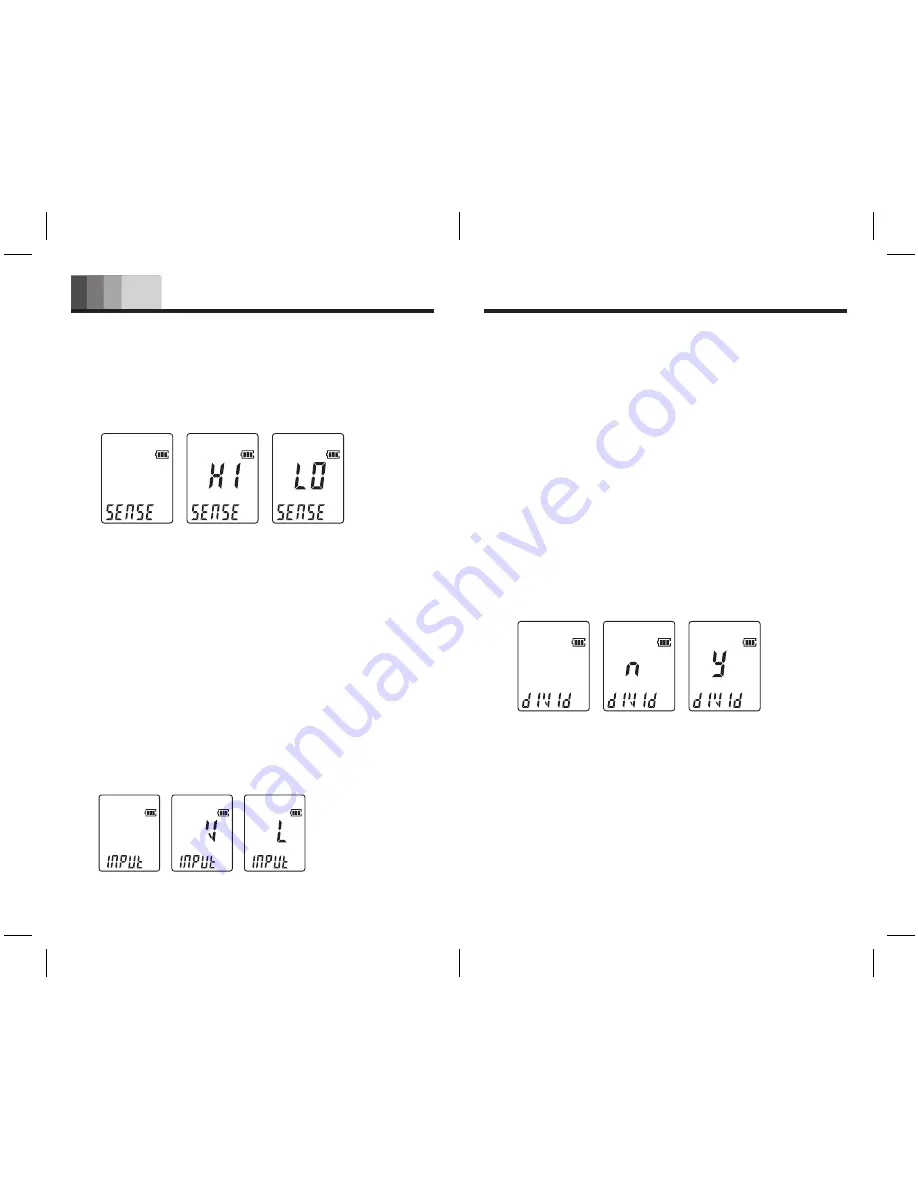
3. Press the
PLAY/STOP
button briefly. “INPUT” is shown
and “V” blinks on the display (Fig.46).
4. Press the
NEXT
button to select “L” (Line) or “V” (Voice)
(Fig.47).
5. Press the
PLAY/STOP
button to save your setting and
then the
MODE/MENU
button to exit Menu mode.
5) Divide:
Automatically Recording to a new file every 60 minutes
→ This function is only available in voice folders.
1. With the Voice Recorder in Stop mode, press the
MODE/MENU
button for a few moments (Fig.26).
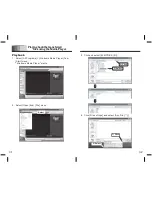
2. Press the
NEXT
button 4 times. “DIVIDE” is shown on
the display (Fig.48).
3. Press the
PLAY/STOP
button briefly the indicator
“n” blinks on the display (Fig.49).
4. Press the
NEXT
button to change the indicator to “Y” (Fig.50).
5. Press the
PLAY/STOP
button to save your setting and then
the
MODE/MENU
button to exit Menu mode.
Fig.45
Fig.46
Fig.47
6) VOR selection: Voice Operating Recording
→ This function is only available in voice folders.
1. With the Voice Recorder in Stop mode, press the
MODE/MENU
button for a few moments (Fig.26).
2. Press the next button 5 times. “VOR” is shown on the
display (Fig.51).
3. Press the PLAY/STOP button briefly the indicator “OF”
blinks on the display (Fig.52).


