8
INSTALLATION—HEAD ASSEMBLY
Also, some oversized doors (with or with- out
pullouts) require a steel spacer between both side
columns and the head assembly. If your door is
oversized, locate two 9-in. x 1 3/4-in. steel spacers
shipped in the small parts carton. (The spacers are
further identified by a hole at each end.)
If spacers were included in the small parts
carton but the door does not include
pullouts, four 1/2-13 x 2-in. serrated-flange
hex
screws were substituted for the slightly
shorte4 1/2-13 x 1 1/4-in. screws mentioned
above in step 1. The 2-in. screws were
shipped in the small parts carton.
2. Remove the head/fabric roll assembly from the
shipping crate.
Before lifting the roll assembly, secure
both side columns to the building wall.
Secure the roll assembly to the forklift
before lifting. Failure to secure the side
columns or the roll assembly can result in
serious injury and property damage. DO
NOT remove the forklift until the assembly
is secured to both side columns.
IMPORTANT: If your door is oversized, two
large spacers were included in
the small parts carton. Failure to
install a spacer between the
motor mounting bracket and
flange bearing assembly could
result in damage to the door.
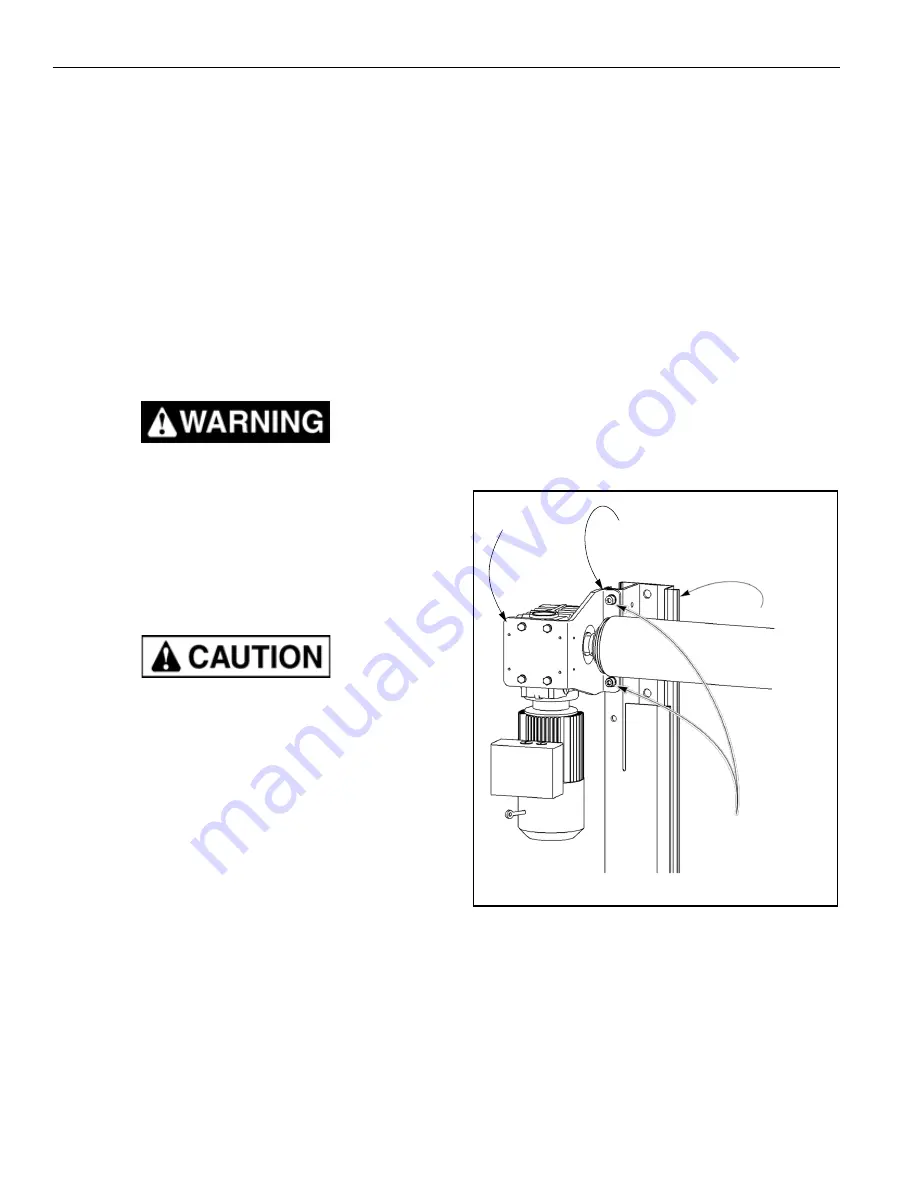
(See Figure 18 and Figure 19.)
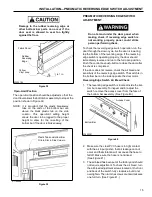
5. Attach the motor mounting bracket to the side
column using two 1/2-13 x 1 1/4-in. serrated-flange
hex screws and nuts (or two 1/2-13 x 2-in. screws
and nuts). Doors with 3 or more windribs will have
spacers for the drive and non-drive side to shim the
drum roll assembly away from the rear spreader.
Failure to install these spacers (if supplied) will
cause the drum roll to jamb against the rear
spreader due to the diameter of the drum roll.
Doors with 2 windribs or less will not have the shim
material. DO NOT tighten the hex nuts at this time.
(See Figure 18.)
Motor Mounting
Bracket
IMPORTANT:
Install spacer between
motor mounting bracket and side
column (if spacer is supplied).
Side Column
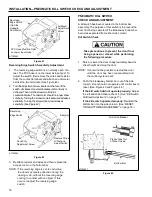
Use care when handling the fabric roll to
ensure that the fabric is not torn or dam-
aged. DO NOT remove the shipping bands
holding the fabric to the roll.
IMPORTANT: The fabric and bottom bar, un-roll
from the back of the drum
assembly.
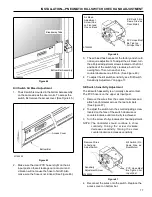
3. Using a forklift, lift the head/fabric roll
assembly in place.
4. Position the head assembly in front of the pair of
holes near the top of each side column. Align the
holes in the motor mounting bracket with the
holes in the side column. (See Figure 18.)
A7500247
Figure 18
Serrated-Flange
Hex Screws and Nuts
(Hex Nuts Only If
Pullouts Were Used
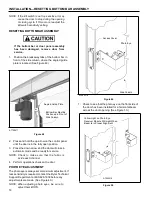
6. Slide the flange bearing assembly over the drum
shaft at the non-drive end of the head/fabric roll
assembly. (See Figure 19.)
IMPORTANT: If your door requires spacers, be
sure to install a spacer between
the flange bearing assembly and
the side column. (See Figure 19.)


