P a g e 12
To connect the Diamond Controller to the Launcher:
♦
Make sure the board is powered and the batteries are charged at least 50%. If the
batteries discharge completely when you’re writing something on the board, you might
end up with a corrupt memory. The built-in battery monitor can help you prevent that.
♦
Press the switch to turn on the saber. You should hear the idle hum and see the LED
lighting.
♦
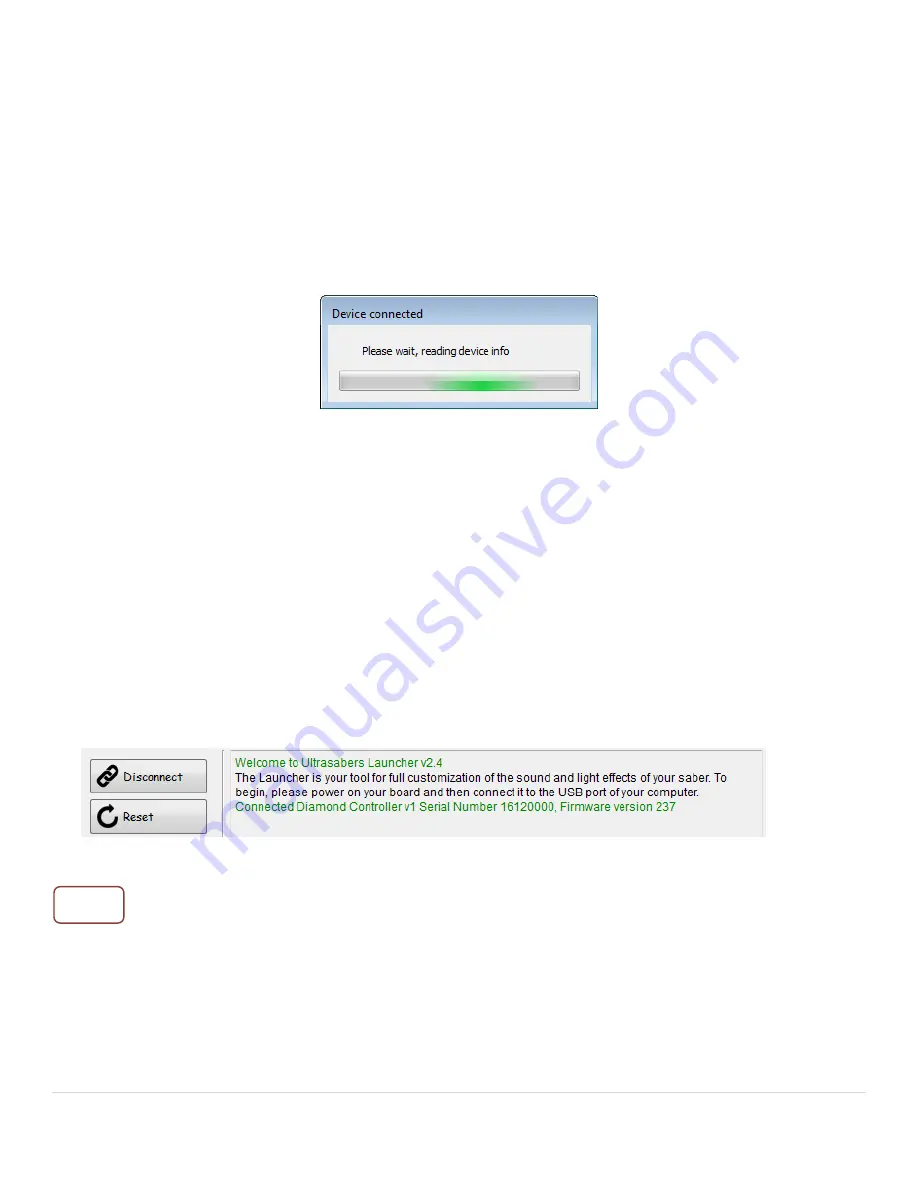
Connect the board to your computer using a microUSB cable. The sound will stop, the
light will turn off and you’ll see the following message:
Each time you start the Launcher, on the first connection to Diamond it will read the entire
memory content, which can take up to a few minutes. After that a normal reconnect should only
take a few seconds, depending on how much of the memory content you changed. It is therefore
recommended not to close the Launcher unless you finished working with it: if you want to test
your saber, disconnect it but leave the Launcher running, to avoid long waiting times.
Once the connection is established, the Launcher will automatically open the “Diamond
Controller” tab. If you wish you can go back to the “Main” tab in order to:
♦
Manually disconnect and reconnect the saber to the computer
♦
Manually reset the saber (normally not required)
♦
Check the serial number and firmware version of you Diamond Controller (those are
marked with green on the message area)
♦
Check for connectivity errors (those will be marked with red on the message area)
♦
If you want to check how your board behaves with updated settings, you don’t have to
physically disconnect the USB cable: you can use the “Disconnect” button on the “Main”
tab. When the board is disconnected, this button will turn into “Connect”.
♦
Once you manually disconnected the board, it will not reconnect automatically. You’ll
have to use the “Connect” button.
Tips


