23
[1] SCAN
Press the RED button “SAT”, to search for channels from the current satellite.
[2] ADD SATELLITE
Press the GREEN button “ZOOM”, to add a new satellite,
configure the settings such as; satellite name,
east/west and longitude then press “OK” to
save and exit.
[3] EDIT SATELLITE
Press the YELLOW button “PAUSE”, to edit the
current satellite. Edit the satellite name, east/west and
Longitude, then press “OK” to save and exit.
[4] DELETE SATELLITE
Press the BLUE button “TV/RADIO” to delete the current satellite. Choose the
“YES” option to delete or the “Cancel” option to exit.
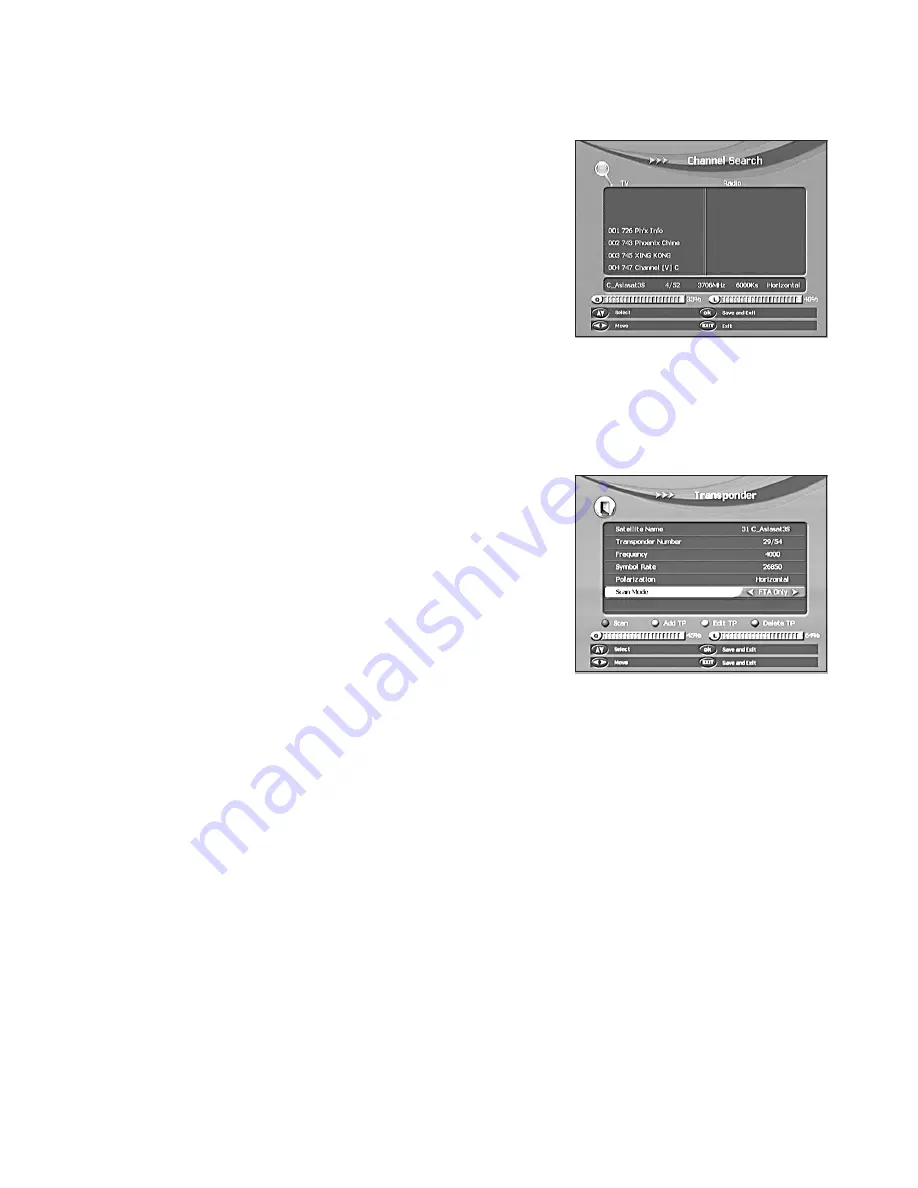
8.2 Transponder
This Menu allows you to edit the various options for
the (TP) transponder settings and specifications.
You can also manually search for single transponders
programs by selecting SCAN.
•
Transponder Number:
Select the TRANSPONDER
you wish to edit (e.g. 5/95).
•
Frequency:
Check or set the FREQUENCY of the selected Transponder
•
Symbol Rate:
Check or set the SYMBOL RATE for the selected Transponder
•
Polarisation:
Set to HORIZONTAL or VERTICAL Polarisation as required.
•
Scan Mode
[1] SCAN
Press the RED button “SAT”; to scan the current TP. The scan mode is the same as
satellite; FTA ONLY, FTA+NIT, ALL+NIT and ALL
[2] ADD TP
Press the GREEN button “ZOOM”; to add a new TP.
Input the frequency value and symbol rate value by numeric key, choose the correct
Polarization, Horizontal or Vertical, then save and exit.


