16
5.4.3.2 Media and Folder Management
Video Partition Choice
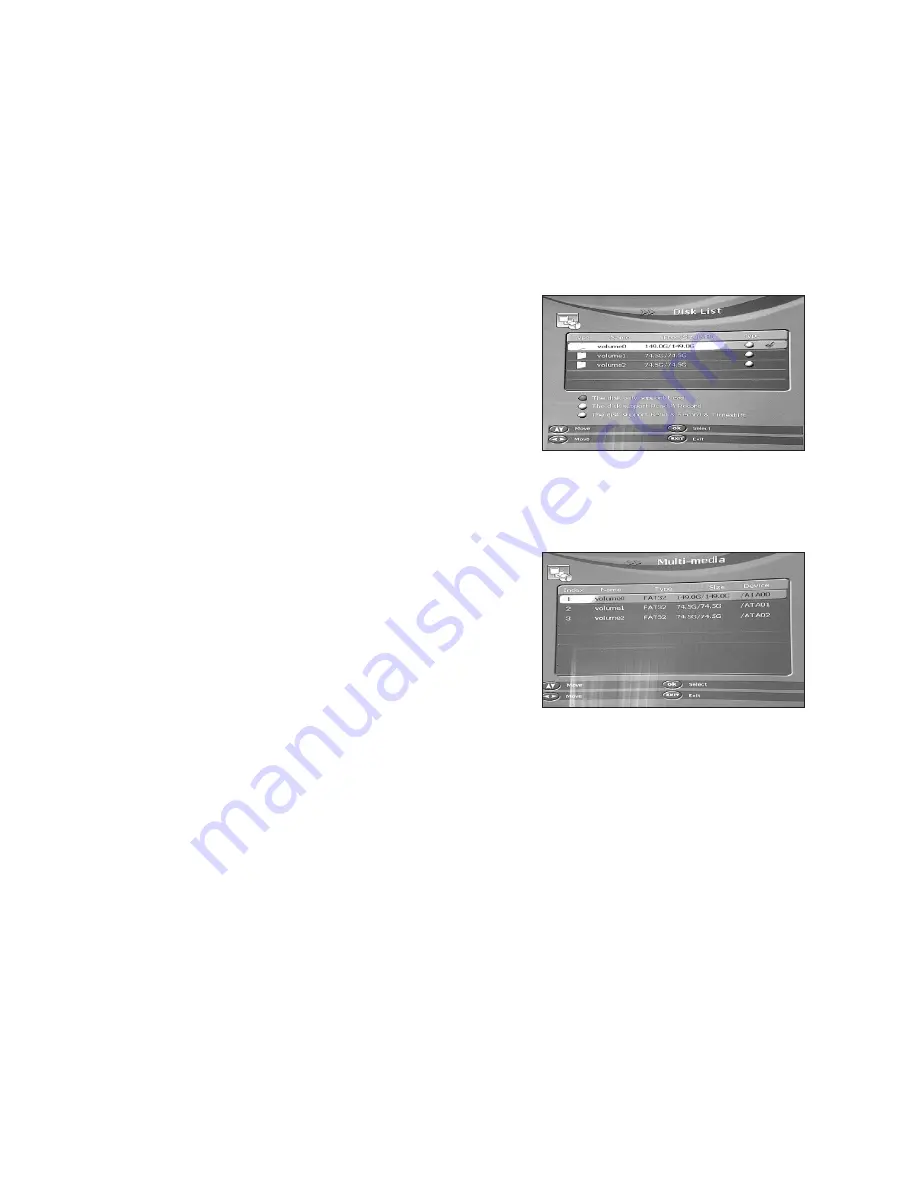
The primary function of this feature is to enable the user to select the partition (volume) they
wish to use for the PVR function of the receiver. To enter, press the HDD button and you will
see the Disk List OSD screen showing the partitions/volumes of the SATA HDD and also
any connected USB device. Colour codes against each of the partitions (volumes) show the
features supported by the specific partition, i.e.:
•
RED:
The disk only supports READ
•
YELLOW:
The disk supports READ and RECORD
•
GREEN:
The disk supports READ, RECORD
and TIMESHIFT.
Scroll up or down to the partition that you require and
click OK. A red tick confirms your choice of partition.
Video Folder Selection
Press the MEDIA button on your remote control to
enter the Multimedia menu. You will see an OSD screen
showing the current SATA HDD PARTITIONS
(or Volumes) and (if connected) lastly, any USB device
attached to the USB Port.
Using the CH+/- buttons, select the desired partition from the HDD or the USB device and
press OK. This opens up the folders within the partition in the OSD marked Disk List.
From here you have the following functions:
•
MOVE
– This enables selection of a folder within the DISK LIST. Press OK to view
the sub folders.
•
COPY/ PASTE
– This useful feature enables a copy of a file (or recorded programme) to
be made in another folder, partition or volume. This means that if you create a folder,
f or example, “FILMS” you could then copy and paste any films you have recorded to
that folder.
•
SELECT
– Use the CH+- buttons to select the Partition or Volume that the file you wish
to copy is in and press OK.
Again using the CH+- buttons select the FILE you wish to copy and press OK.


