


QuadraVista QF Manual
40
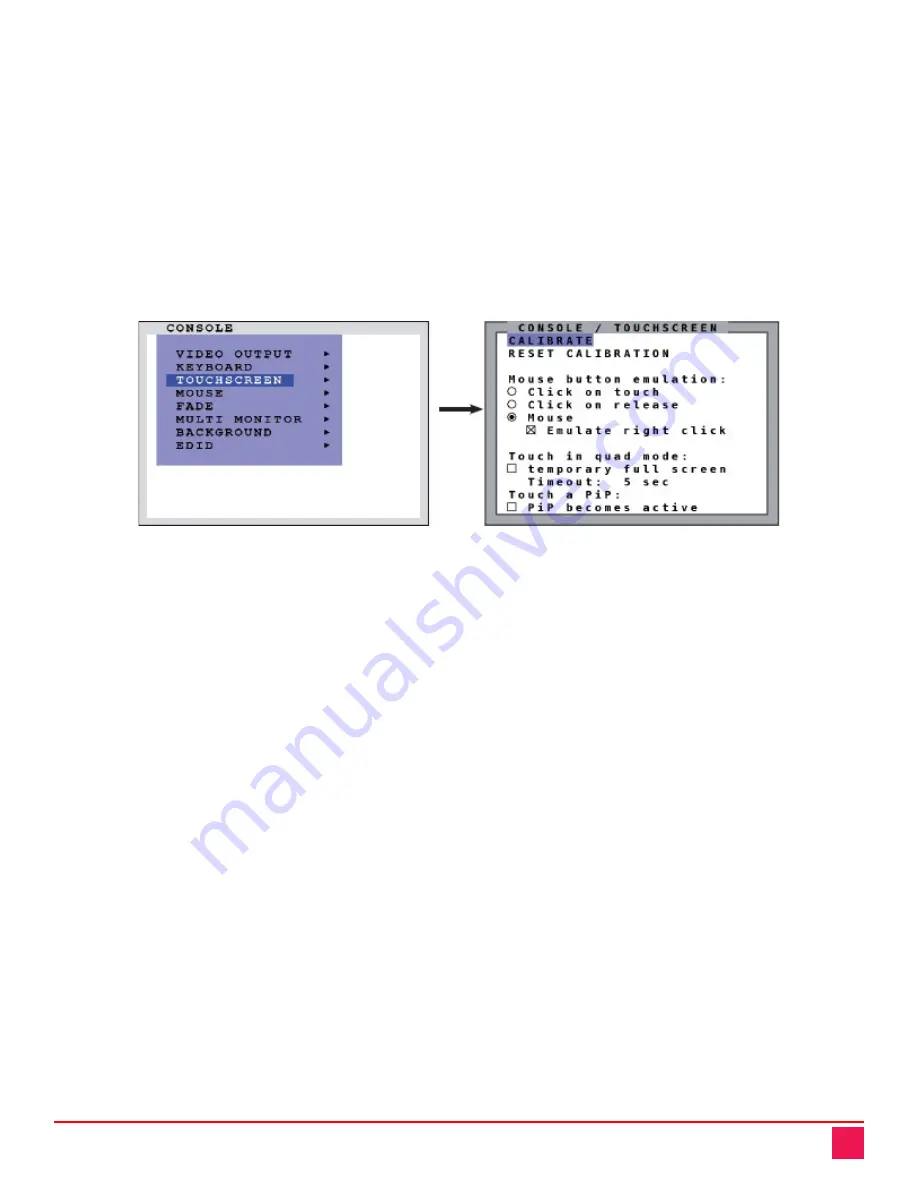
CONSOLE / TOUCHSCREEN Menu Item
The QuadraVista QF enables the user to use a touch screen to change display modes and to control and
switch between four computers. The QuadraVista QF supports many USB touch screens with commonly
integrated touch controllers. A list of supported Touch Screens can be found in Appendix G on page 90
To control the QuadraVista QF from a touch screen, connect the VGA or DVI cable from the QuadraVista QF’s
Monitor / DVI-I output to the touch screen input. Connect the touch screen’s USB to the QuadraVista QF’s
console USB. See Rear Panel section on page 5 for a description of the QuadraVista-QF ports.
Navigate to the
TOUCH SCREEN
menu item in the
CONSOLE
menu using the arrow keys, and press the
Enter
key /
SELECT
button to open the
TOUCHSCREEN
window. Here, the touch screen can be set up to
work with the QuadraVista QF.
Figure 52. CONSOLE / TOUCHSCREEN Window
Calibrate
When a touch screen is connected to QuadraVista QF for the first time, the touch screen should be calibrated
manually, if it has not been factory calibrated. Manual calibration is necessary when the coordinates of the
area touched on the screen are not sufficiently close to the coordinates on the display.
It is not recommended that factory calibrated touch screens be calibrated manually, as factory calibration is
usually more precise. To reset stored data from a manual calibration, use the
RESET CALIBRATION
menu
item.
In the
TOUCHSCREEN
window, navigate to the
CALIBRATE
window, and press the
Enter
key /
SELECT
button. Four markers will be displayed, one after the other, in the corners of the touch screen. Touch the center
of each marker in turn. The best calibration results are obtained by touching the center of the markers as
accurately as possible.
Mouse Button Emulation
Mouse button emulation is only performed for computers for which the digitizer touch screen interface is not
activated, as described in the COMPUTER / MOUSE/TOUCHSCREEN Menu Item section found on page 57.


