2-2 Loading and Cutting Off Media
38
2
Operation
Cutting Off the Media
Procedure
Close the front cover.
Make sure
lights up.
Press
.
Press
several times.
Press
.
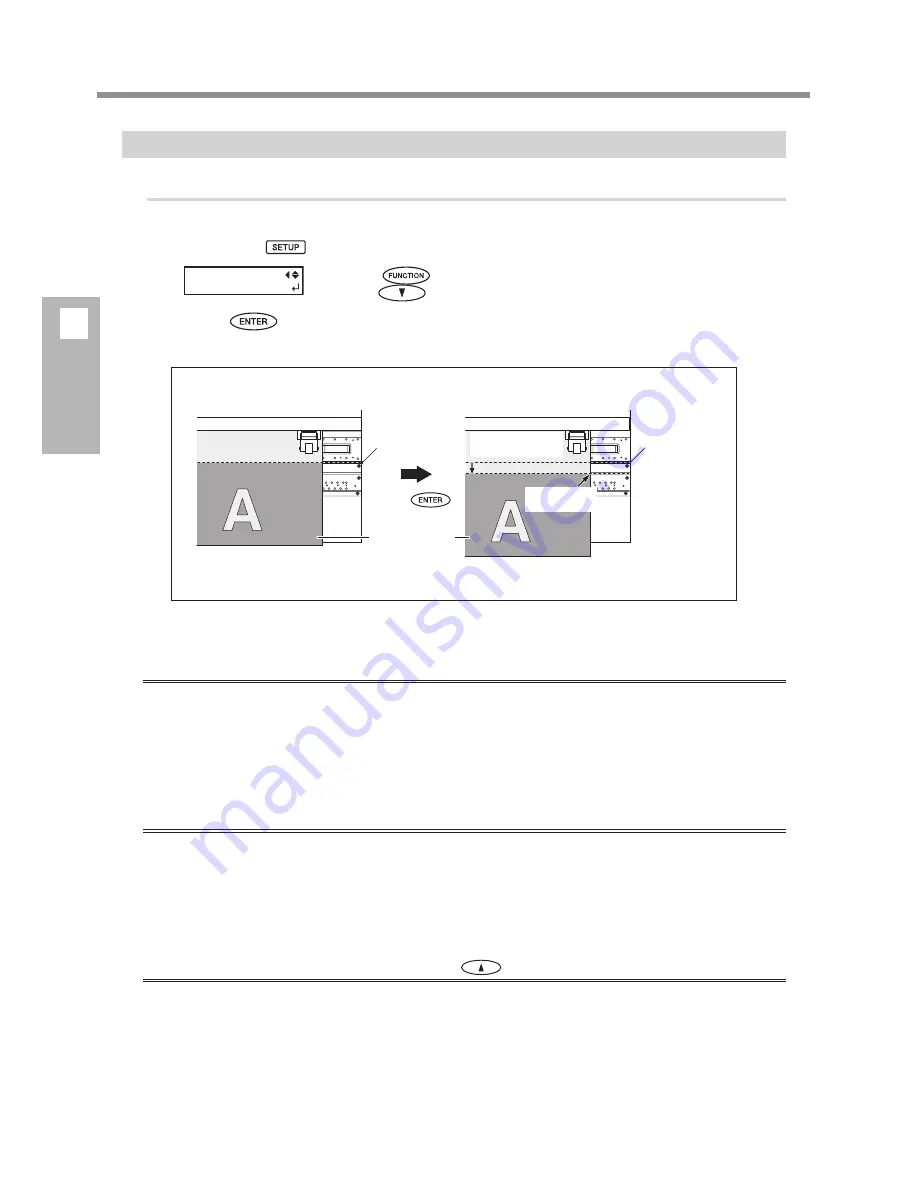
The media is cut off.
The cutoff location on the media is as shown in the figure below.
You can make the setting in the software RIP for automatic media cutoff after printing or cutting has finished. For
information on how to make the setting, refer to the documentation for the software RIP you're using.
Important Notes on Using the Long Media Clamps
When you're using the long media clamps, be sure to set the [MEDIA CLAMP] menu item to [LONG]
to disable media cutoff. Performing cutting the media when the long media clamps are installed causes
interference with the separating knife, which may result in malfunction or damage to the machine.
If you want to separate the media after printing has finished, be sure to first detach the long media clamps,
then set the [MEDIA CLAMP] menu item to a setting other than [LONG].
P. 81, "Printing Media That Warps Easily"
Give Attention to Media Composition
For some types of media, cutoff is not possible.
Some types of media may remain on the platen after cutoff. If the media remains on the platen, remove
it by hand.
When you cut off media while using the short media clamps, then depending on the media, it may
come loose from the media clamps. After you cut off the media, check to make sure that the media
has not come loose from the media clamps.
Before you're performing cutoff, never use
to pull the media back.
Unless the end of the media has been pulled out to a location to the front of the platen, cutoff may not
be performed smoothly.
FUNCTION
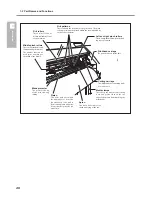
SHEET CUT
Printed portion
Blade protector
Blade protector
Press
.
The media is fed
to the front.
The media is
cut off here.
Summary of Contents for SP-300i
Page 1: ......
Page 2: ......
Page 24: ...22 ...
Page 25: ...23 1 Introduction Chapter 1 Introduction ...
Page 30: ...28 ...
Page 31: ...29 2 Operation Chapter 2 Operation ...
Page 50: ...48 ...
Page 51: ...49 3 Maintenance and Adjustment Chapter 3 Maintenance and Adjustment ...
Page 68: ...66 3 Maintenance and Adjustment ...
Page 69: ...67 4 Feature Reference Chapter 4 Feature Reference ...
Page 115: ...113 Chapter 5 What to Do If 5 What to Do If ...
Page 125: ...123 6 Specifications Chapter 6 Specifications ...
Page 133: ......
Page 134: ...R1 090619 ...


