120
5
What to Do If
5-6 If a Message Appears
These are the main messages that appear on the
machine's display to prompt correct operation. They
do not indicate any error. Follow the prompts and take
action accordingly.
[1■ 2■ 3■ 4■]
Only a small amount of ink remains. Replace the cartridge indi-
cated by the flashing number with a new cartridge.
[PRESS THE POWER KEY TO CLEAN]
If you're using ECO-SOL MAX ink, this appears when the machine
has been unused for about one month. Switch on the sub power
once a month.
P. 65, "When Not in Use for a Prolonged Period"
[CLOSE THE COVER (FRONT COVER, SIDE COVER
or MAINTENANCE COVER]
Close the front cover, side cover, or maintenance cover. For safety,
the carriage does not operate while a cover is open.
[SHEET NOT LOADED SETUP SHEET]
Load media. This message appears when an attempt to perform
a printing test was made while no media was loaded.
[CHECK DRAIN BOTTLE]
This appears when a certain amount of discharged fluid collects
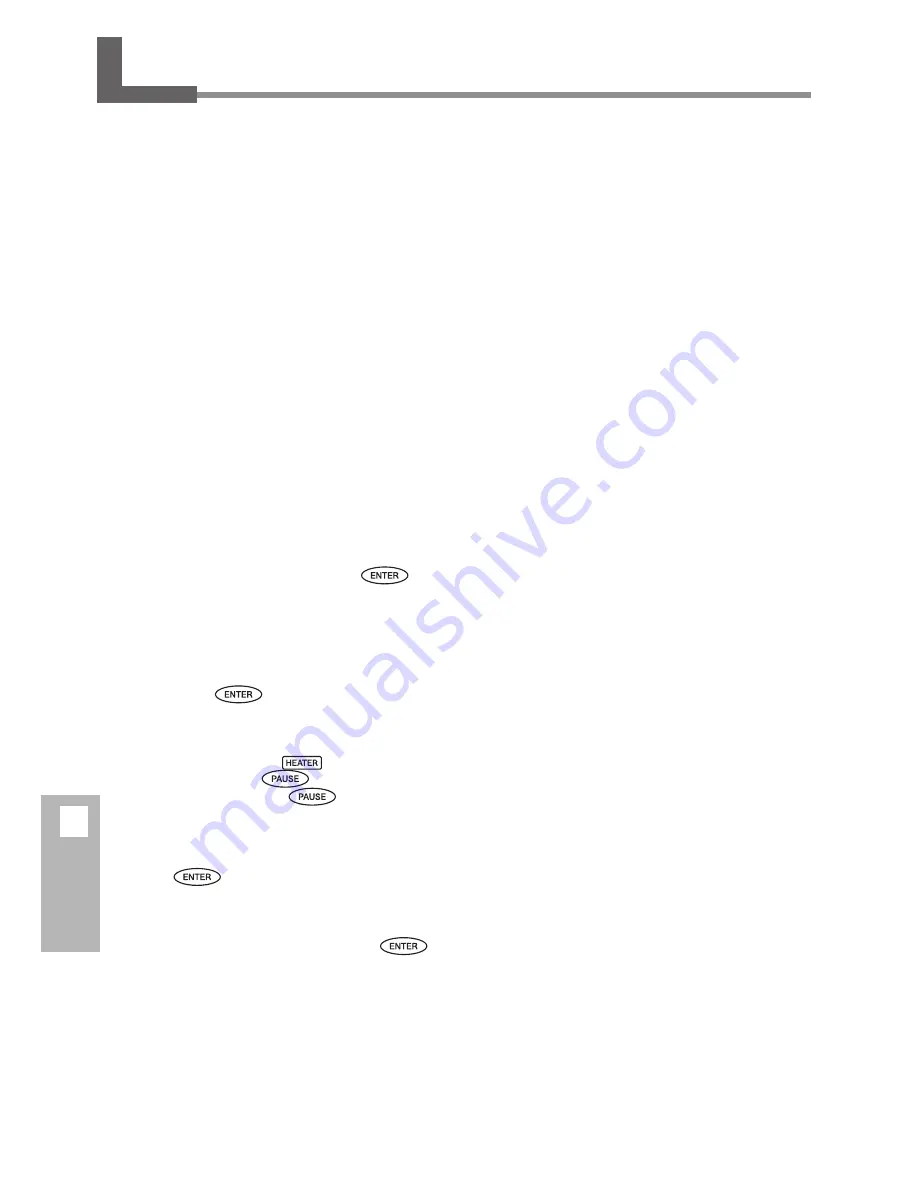
in the drain bottle. To clear the message, press
. If this
screen appears, go to the [DRAIN BOTTLE] menu and discard the
discharged fluid in the bottle.
P. 50, "Disposing of Discharged Ink"
[INSTALL DRAIN BOTTLE]
Check whether the drain bottle is installed. Install the drain
bottle, then press
.
[NOW HEATING...]
Wait until the media heating system reaches the preset tem-
perature. Printing starts when
lights up. You can stop
printing by holding down
for one second or longer
while this is displayed. Pressing
makes printing start
immediately, without waiting to reach the preset temperature.
[TIME FOR MAINTENANCE]
It is time to clean the heads using the cleaning kit. After verify-
ing, press
.
P. 54, "Cleaning the Heads Using the Cleaning Kit"
[TIME FOR WIPER REPLACE]
It is time to replace the wipers. After verifying, press
.
P. 58, "Replacing the Wipers"
Summary of Contents for SP-300i
Page 1: ......
Page 2: ......
Page 24: ...22 ...
Page 25: ...23 1 Introduction Chapter 1 Introduction ...
Page 30: ...28 ...
Page 31: ...29 2 Operation Chapter 2 Operation ...
Page 50: ...48 ...
Page 51: ...49 3 Maintenance and Adjustment Chapter 3 Maintenance and Adjustment ...
Page 68: ...66 3 Maintenance and Adjustment ...
Page 69: ...67 4 Feature Reference Chapter 4 Feature Reference ...
Page 115: ...113 Chapter 5 What to Do If 5 What to Do If ...
Page 125: ...123 6 Specifications Chapter 6 Specifications ...
Page 133: ......
Page 134: ...R1 090619 ...

