Creating a Save to Disk Partition 67
Creating a Save to Disk Partition
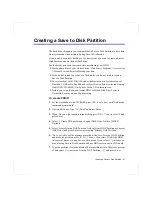
The hard drive shipped in your computer has a Save to Disk Partition to store data
from system and video memory during Save to Disk mode.
If you want to use a new hard drive to your system, you need to create a Save to
Disk Partition area on the new hard drive.
See the below notes and cautions before partitioning your HDD;
•
Back up data files of your old hard drive. Click Start > Program > Accessories
> System Tools and start to Backup your data.
•
If you do not intend to use Save to Disk mode, you do not need to create a
Save to Disk Partition.
•
For system boot with CD-ROM, under the Boot menu in System setup, set
Bootable CD Check to Enabled and set Boot Device Priority ordered starting
from [DVD/CD-ROM]. Use System Utility CD in this process.
•
Before you set partition and format HDD, set Fixed Disk Boot Sector to
Normal in Security menu of System setup.
To create FDISK
1. Set the system boot with CD-ROM, press <F8> key to boot with “Safe mode
command prompt only”.
2. Operate Fdisk.exe, type “A:\>fdisk” and press Enter.
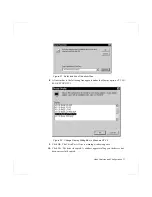
3. When 'Do you wish to enable large disk support (Y/N)...?' shows, select Y and
press Enter.
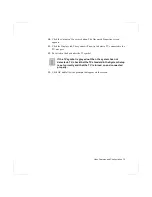
4. Select '1. Create DOS partition or Logical DOS Drive' field in [FDISK
Options].
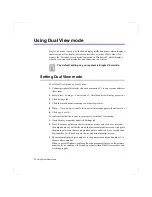
5. Select 'Create Primary DOS Partition' field in [Create DOS Partition or Logical
DOS Drive] and press Enter to start creating 'Primary DOS Partition'.
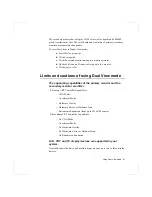
6. ’Do you wish to use the maximum available size for a Primary DOS Partition
and make the partition active (Y/N)...?' shows, then select N to divide HDD
into several drives or using Save to Disk mode. If you select Y, it means you
are not using Save to Disk Partition and use HDD sector as active DOS only.
7. Type the partition size in the blank of 'Enter partition size in Mbytes or percent
of disk space (%) to create a Primary DOS Partition...:[ ]' and press Enter.

