Basic Operations
Printing Data You Have Created on a Computer (Optional Kit Required)
24
Printing Data You Have Created on a
Computer (Optional Kit Required)
1
Turn the power switch to
(ON).
The power switch is located on the far right side of
the machine.
2
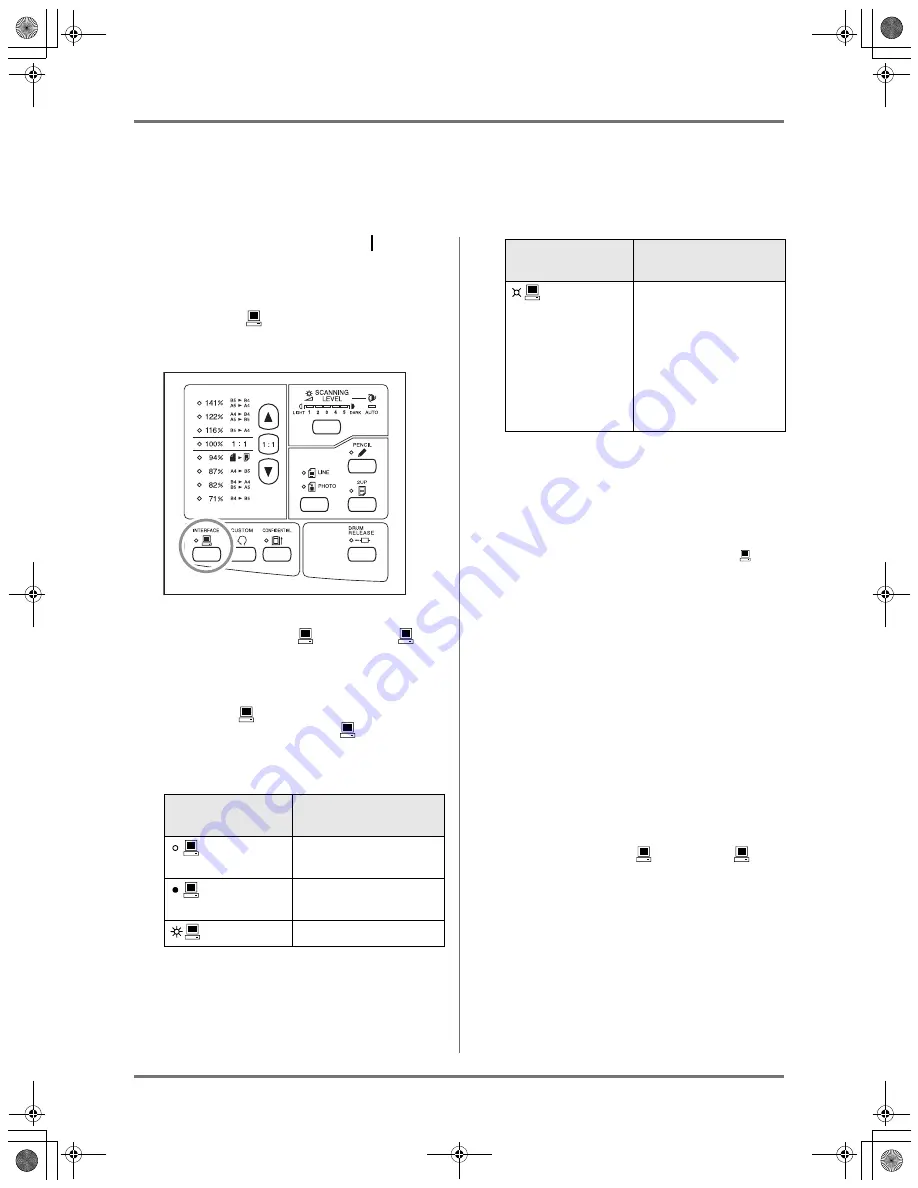
Press the
key to turn on its indi-
cator.
Important!:
• When you press the
key while the
indi-
cator is blinking, the data being received or
waiting for output will be deleted.
Tip:
• About the
indicator
The lighting / blinking of the
indicator
informs you of the conditions of this machine
and data receiving conditions.
3
Check the paper size.
To change the paper, replace the paper on the
Paper Feed Tray. (
)
p.21)
4
Send document data from the computer.
When the machine is receiving data, the
indi-
cator blinks.
When data reception is finished, the machine
automatically starts printing according to the set-
tings of the printer driver.
Important!:
• You cannot make various settings including
image processing mode, by operating the
machine. Only the printer driver allows such
settings. For details, see the User's Guide of the
printer driver.
Note:
• The data are printed by the order of receiving.
• You can also use the printer driver to stop the
master-making or printing process at any point.
(For details, see the User's Guide of the printer
driver.)
• When you press the
key while the
lamp
is blinking, you can delete the data waiting for
output or being received.
Lightning of
Indicator
Description
lighting
The data from your com-
puter can be received.
going-out
The receiving of data is
disabled.
blinking (fast)
Receiving
blinking (slow) Waiting for output
instruction. (The
received data, after
being expanded, is
waiting for output
instruction.) Or the
expanded data is in the
master-making or
printing process.
Lightning of
Indicator
Description
KZ30_UG.book Page 24 Monday, December 21, 2009 11:11 AM


