1
5
Tacky Roller Cleaning (Continued)
For more information visit
rimage.com/support
2004849_A
15
.
1
:
Cleaning
Tacky Roller 2
Important:
Please follow
steps 1 and 2
on page 14 to prepare the
tacky roller 2 for cleaning if you have not done so already
.
1.
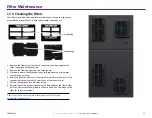
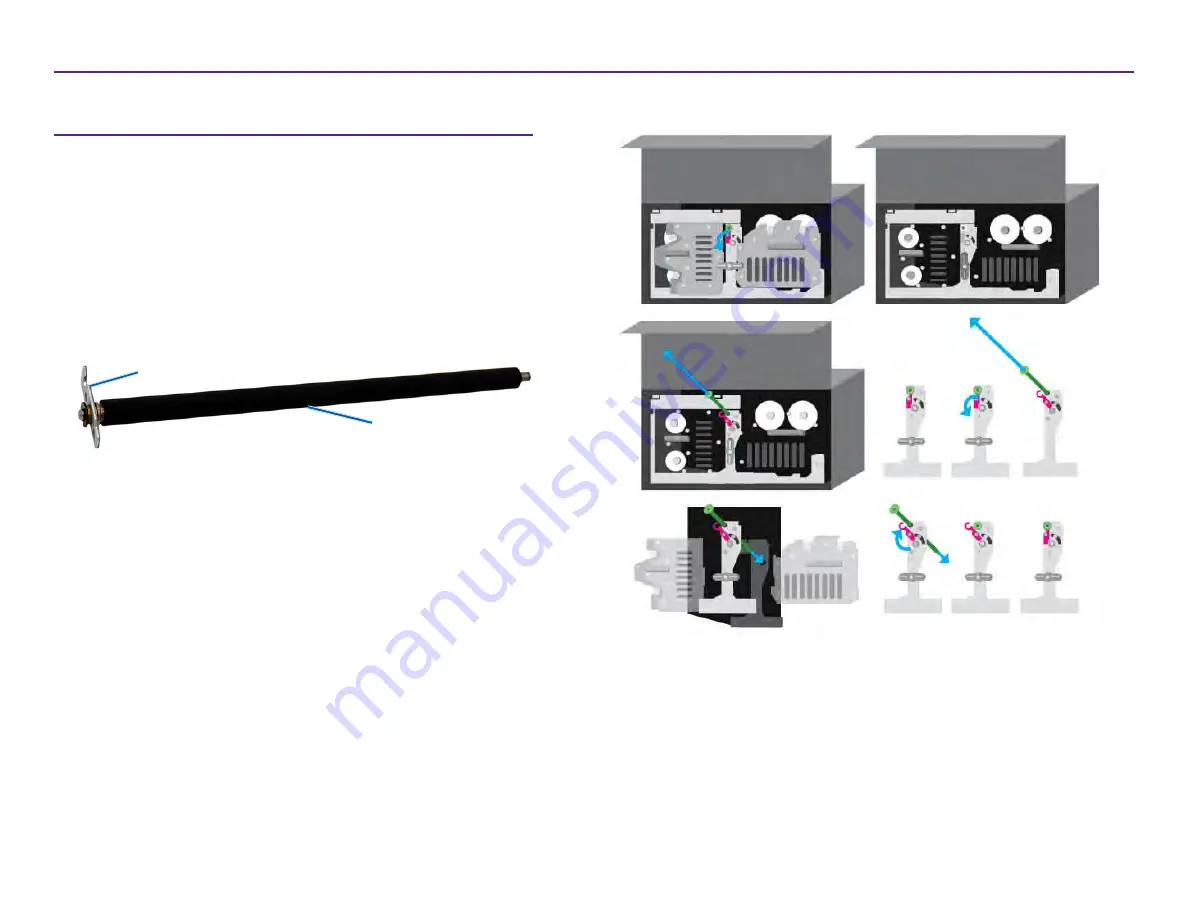
Remove tacky roller 2
:
a.
Turn the thumbscrew counterclockwise three complete rotations
.
b.
Push the end piece outward
and to
the
left until it is free from
the
center bracket.
c.
Grip the end piece and
p
ull the entire tacky roller 2 out
of the
printer.
a. Remove the sponge swab and the swab handle from the Everest
cleaning kit.
b. Insert the sponge swab into the unnotched end of the swab
handle, if necessary.
c. Apply isopropyl alcohol to the sponge swab.
d. Use the sponge swab to clean any dust or waxy residue from
tacky roller 2.
Ϯ͘
Clean
t
acky
r
oller 2
:
3.
Reinstall
t
acky
r
oller 2
:
a.
Hold the tacky roller by the end piece and insert the other end
of
the tacky roller into the
hole
with the white
plastic
supporting
tray a
t
the back of the
printer enclosure.
b.
Hook the end piece around the inside of the thumb screw and
position the end piece so it is flush with the center bracket.
c.
Tighten the thumbscrew until the end piece is secure.
End Piece
Tacky Roller 2


