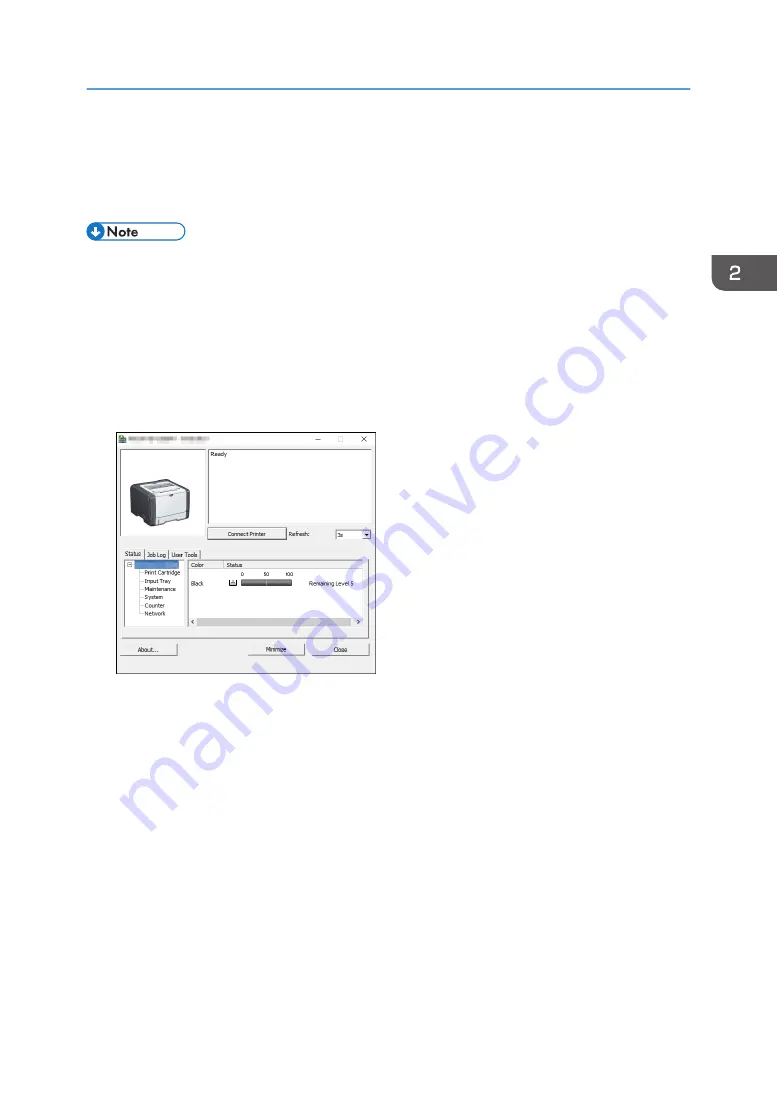
Specifying Paper Type and Paper Size Using
Smart Organizing Monitor
• For details about acquiring Smart Organizing Monitor, see Setup Guide.
The procedure in this section is an example based on Windows 10. The actual procedure may vary
depending on the operating system you are using.
1.
On the [Start] menu, open the pull-down list next to [SP 330_3710_Series Software
Utilities].
2.
Click [Smart Organizing Monitor for SP 330_3710_Series].
Smart Organizing Monitor starts.
3.
If the machine you are using is not selected, click [Connect Printer], and then do one of the
following:
• Select the machine's model.
• Enter the IP address of the machine manually.
• Click [Search Network Printer] to search the machine via the network.
4.
Click [OK].
5.
On the [User Tools] tab, click [Printer Configuration].
If you are requested to enter an access code, enter the access code and then click [OK].
The default access code is "Admin".
6.
On the [Paper Input] tab, select the paper type and paper size, and then click [OK].
7.
Click [Close].
Specifying Paper Type and Paper Size Using Smart Organizing Monitor
37
Summary of Contents for SP 3710DN
Page 2: ......
Page 10: ...5 Click the manual you want to refer to The PDF file manual opens 8 ...
Page 14: ...12 ...
Page 72: ...3 Printing Documents 70 ...
Page 142: ...6 Maintaining the Machine 140 ...
Page 206: ...MEMO 204 EN GB EN US EN AU M0C3 8504B ...
Page 207: ... 2018 ...
Page 208: ...M0C3 8504B AU EN US EN GB EN ...


