140
F
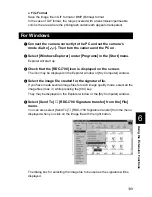
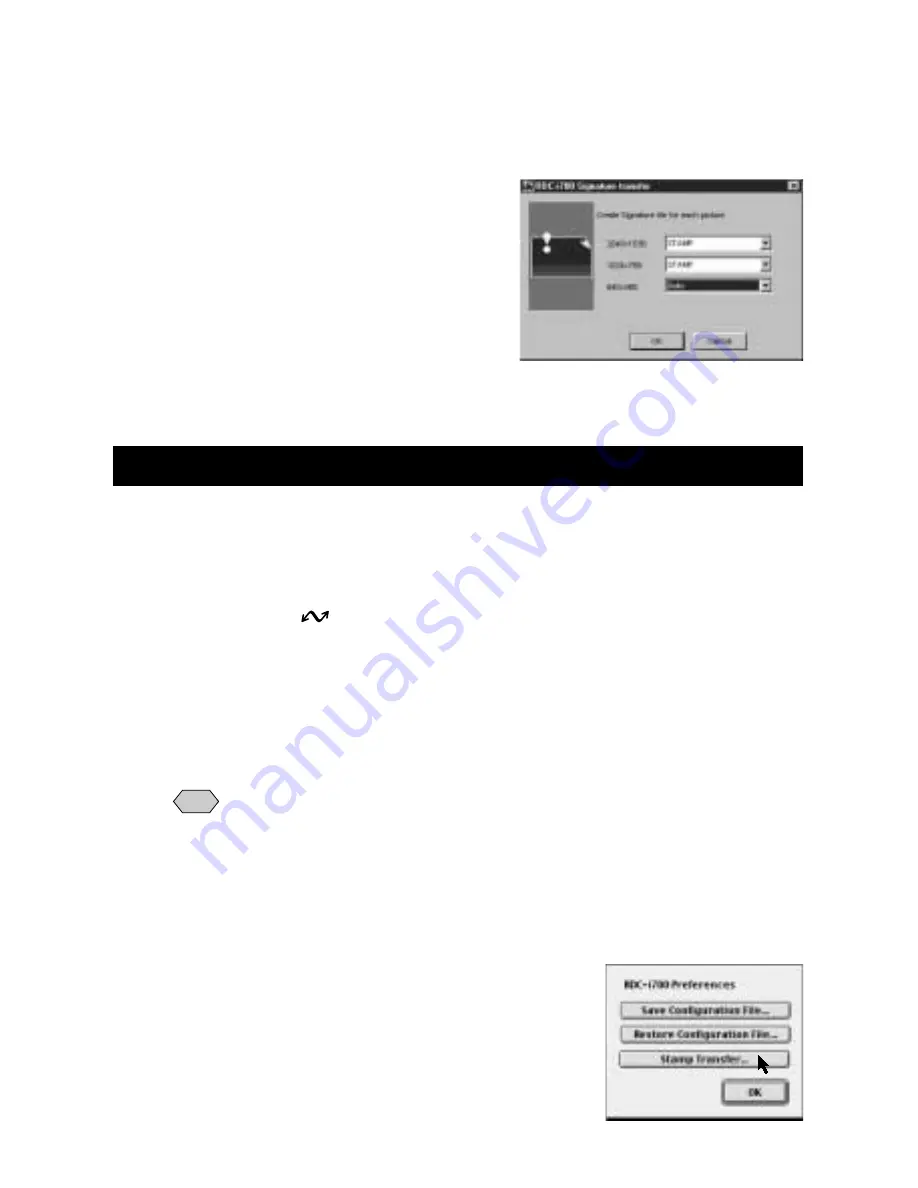
Select the image file to be used as the signature in each image
quality mode.
If you select [Auto], the image file for other image quality modes will be
compressed/enlarged and a signature file automatically created.
G
Click on [OK].
The selected image files are now transferred to the camera as signatures.
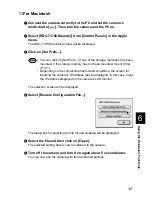
For Macintosh
In the case of Macintosh, [Stamp Transfer...] is performed using the [SETUP
MENU] application.
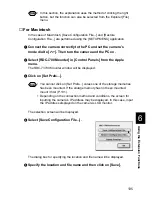
A
Connect the camera correctly to the PC and set the camera’s
mode dial to [
]. Then turn the camera and the PC on.
B
Select [RDC-7/i700 Mounter] in [Control Panels] from the Apple
Menu.
The RDC-7/i700 Mounter window will be displayed.
C
Click on [Set Prefs...].
Note
• You cannot click on [Set Prefs...] if one of the storage memories has
not been mounted. If the storage memory has not been mounted,
mount it first (P.131).
• Depending on the connection method and conditions, the screen for
inputting the camera’s IP address may be displayed. In this case, input
the IP address displayed on the camera’s LCD monitor.
The selection screen will be displayed.
D
Select [Stamp Transfer...].
Summary of Contents for RDC-I700
Page 1: ...Personal Computer on Manual ect use of your his manual e use Keep the for future use ...
Page 2: ......
Page 8: ......
Page 148: ......
Page 158: ...156 ...
Page 175: ...173 Appendix MEMO ...
Page 184: ...182 MEMO ...
Page 185: ...e Offices r m Ltd ng hai 6 ...
Page 186: ......

