1-12
Container Stacker Installation Instructions
3.
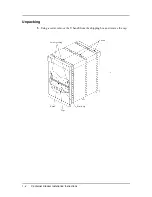
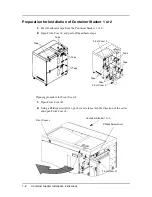
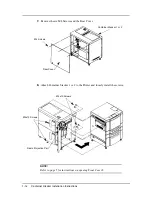
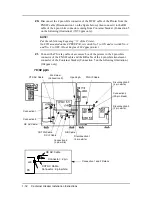
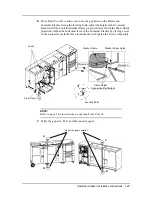
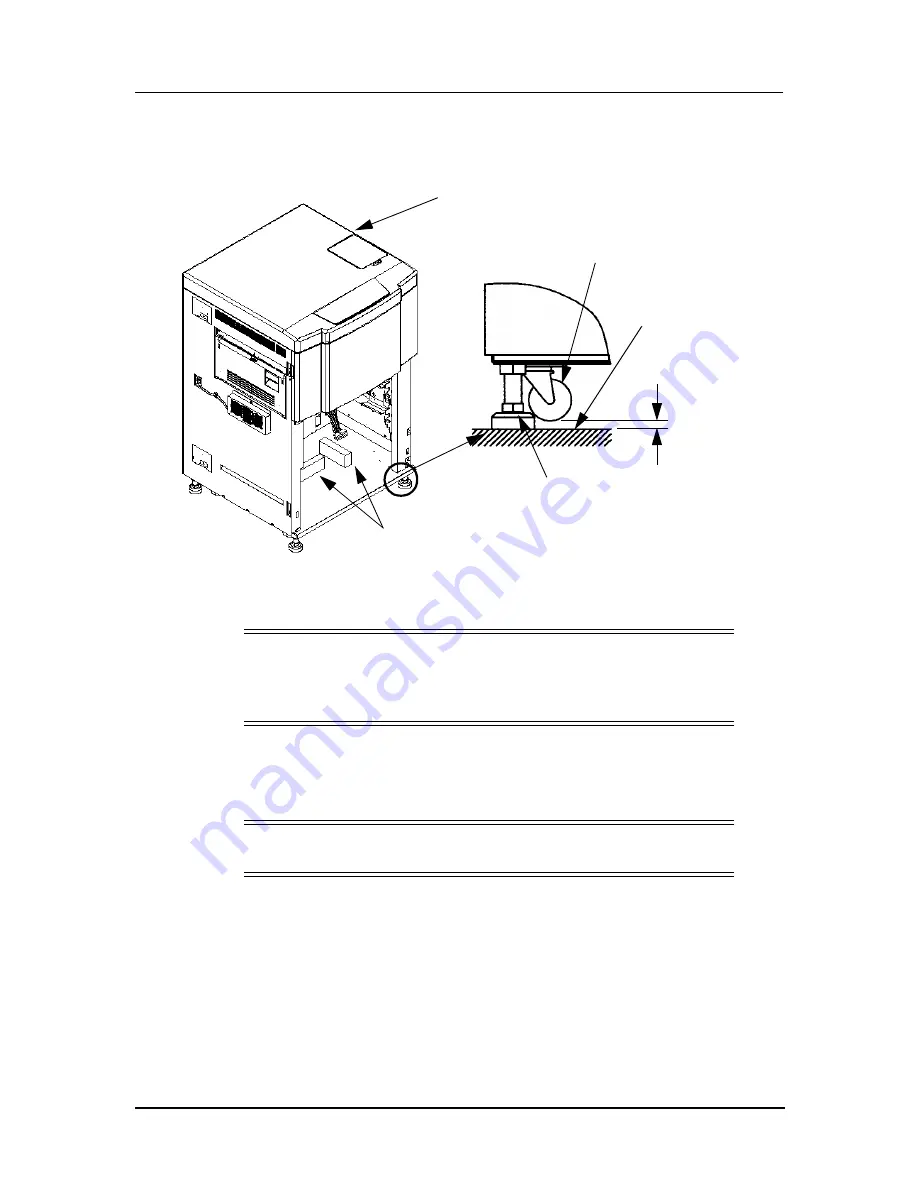
Turn the four leveling bolts until the casters no longer touch the floor.
4.
Using a Level, adust the horizontal level of the rear engine.
Install Container Stacker 1 or 2
1.
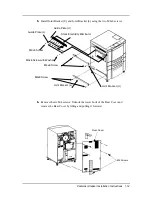
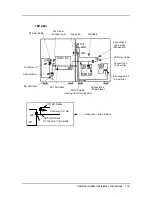
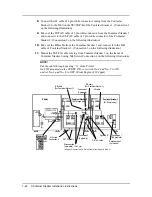
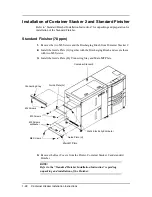
Remove the two M3x8 screws and Static Electricity eliminator from the Printer.
2.
Install the Guide Plate (U) with the Static Electricity eliminator using the two
M3x8 screws.(the front is lettered on the surface).
3.
Install the Guide Plate (L) using the two M3x8 screws with washers.
4.
Install Joint Bracket (U) and Joint Bracket (L) using the two M4x8 screws.
NOTE
:
These installation instructions apply to the 70, 92 and 184 ppm
printers.When installing a Container Stacker on a 184 ppm printer, the
word printer always refers to the Rear Engine unless otherwise specified.
NOTE
:
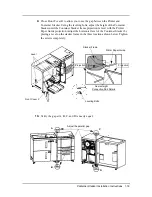
Take care that nothing interferes with the static eliminator.
(Max 1mm)
Gap
Leveling Bolt
Caster
Floor
Rear Engine
Level
Summary of Contents for Container Stacker
Page 5: ...ii Table of Contents ...

