TonerRefillKits.com
RechargX™ RX211
Mon - Fri 8am - 5pm ET © 1995-2011 ReChargX™, EmptyX, TonerRefillKits and TonerRefillKits.com, the TonerRefillKits logo, the
2011.06.14
800.527.3712 or 352.343.7533 ReChargX™ and EmptyX logos are trademarks owned by TonerRefillkits, LLC. All rights reserved.
Page 9 of 12
Step 20: Empty the Waste Hopper
Now we will remove the waste toner from the
toner cartridge.
NOTE:
This toner cannot be used again as pa-
per, dust, hair, staples and other small items
can accumulate in the waste hopper.
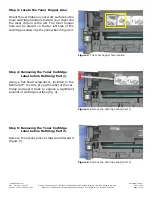
Holding the cartridge over the newsprint included
in the ReChargX RX211 Refill Kit, carefully pour
out any waste toner, as shown in figure 21.
If the waste toner stops flowing, stand the
cartridge up again and then re-lower the
hole over the paper (gently tapping along
the side of the cartridge helps keep the toner
flowing as well).
NOTE:
There is no need to attempt to remove
every last bit of waste toner from the hopper,
just that which comes out easily.
Step 21: Clean the Area Around the Toner
Hopper Hole Before Sealing
Unfold the orange “toner grabber” cloth from the
ReChargX™ RX211 Premium Print Toner Refill
Kit and stretch it along both dimensions (it will
stretch considerably in one dimension and not
the other).
Stretching the orange toner grabber cloth
activates the toner retaining substance that
is embedded within the cloth.
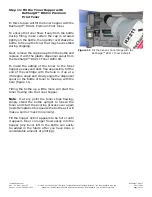
You will be using this cloth to clean the outside of
the toner hopper hole to ensure the ReChargX™
leak-proof seal will be applied firmly to the cartridge
(figure 22).
Note
: Only use the toner grabber cloth on the
exterior of the cartridge. Do not use the cloth
to clean any of the internal components or the
imaging drum.
Figure 21
: Empty the Toner Hopper
Figure 22
: Clean the area around the waste hole


