TonerRefillKits.com
RechargX™ RX211
Mon - Fri 8am - 5pm ET © 1995-2011 ReChargX™, EmptyX, TonerRefillKits and TonerRefillKits.com, the TonerRefillKits logo, the
2011.06.14
800.527.3712 or 352.343.7533 ReChargX™ and EmptyX logos are trademarks owned by TonerRefillkits, LLC. All rights reserved.
Page 2 of 12
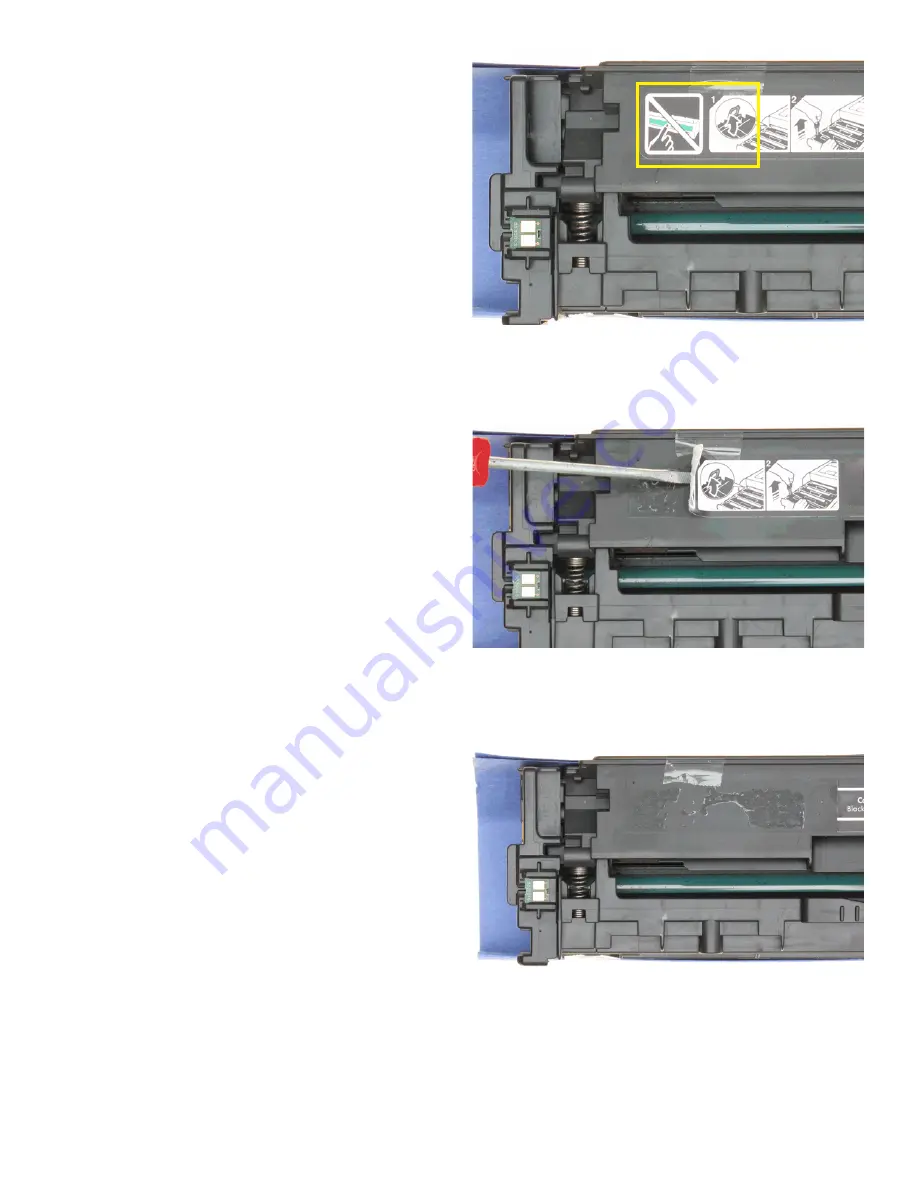
Step 3: Locate the Toner Hopper Area
Orient the cartridge on your work surface so the
toner cartridge handle is toward your chest and
the reset chip on is the left. The toner hopper
hole will be placed on the far left side of the
cartridge as shown by the yellow box in figure 3.
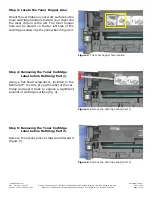
Step 4: Removing the Toner Cartridge
Label before Refilling (Part 1)
Using a flat-head screwdriver, included in the
ReChargX™ Tool Kit, pry up the label of the car-
tridge and peel it back to expose a significant
amount of cartridge surface (fig. 4).
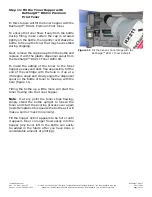
Step 5: Removing the Toner Cartridge
Label before Refilling (Part 2)
Remove the excess piece of label and discard it
(figure 5).
Figure 3
: The toner hopper hole location
Figure 4
: Remove the Cartridge Label (Part 1)
Figure 5
: Remove the Cartridge Label (Part 2)


