TonerRefillKits.com
RechargX™ RX211
Mon - Fri 8am - 5pm ET © 1995-2011 ReChargX™, EmptyX, TonerRefillKits and TonerRefillKits.com, the TonerRefillKits logo, the
2011.06.14
800.527.3712 or 352.343.7533 ReChargX™ and EmptyX logos are trademarks owned by TonerRefillkits, LLC. All rights reserved.
Page 6 of 12
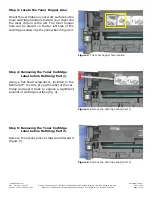
Step 12: Clean the Area Around the Toner
Hopper Hole Before Sealing
Unfold the orange “toner grabber” cloth from the
ReChargX™ RX211 Premium Print Toner Refill
Kit and stretch it along both dimensions (it will
stretch considerably in one dimension and not
the other).
Stretching the orange toner grabber cloth
activates the toner retaining substance that
is embedded within the cloth.
You will be using this cloth to clean the outside of
the toner hopper hole to ensure the ReChargX™
leak-proof seal will be applied securely to the car-
tridge (figure 12).
Note
: Only use the toner grabber cloth on the
exterior of the cartridge. Do not use the cloth
to clean any of the internal components, or the
imaging drum.
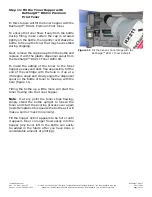
Step 13: Remove the ReChargX™ Seal
from the Protective Backing
Remove the ReChargX™ leak-proof seal from the
protective backing, included in the ReChargX ™
RX211 Toner Refill Kit (figure 13).
Step 14: Seal the Toner Hopper Hole
Lay the seal (without tamping it down, as yet)
over the toner hopper hole.
Once you are satisfied with your placement of
the seal over the hole, press firmly around the
entire perimeter of the seal to make certain there
is a strong bond between the top of the cartridge
and the seal (figure 14).
Figure 12
: Clean the area around the hopper hole
Figure 13
: Remove the ReChargX™ leak-proof seal
from the protective backing
Figure 14
: Seal the toner hopper hole


