


4
1.
Power up the Blade by plugging in the power supply to the back of the unit.
2.
Plug in a CAT 5 Ethernet cable that is on your network into Port 7 (8-port Blade) or into Port 1 (2-
port Mini Blade). Refer to Figure 1-1 and 1-2 that shows the numbering of the ports.
*If you
have multiple new blades to configure, connect only one at a time since it has the same static
IP of 192.168.50.65*
3.
Confirm that once connected, a Link Status (Solid Green) and Link Activity (Blinking Red) LEDs
will begin to turn on.
4.
On the PC used to connect to the VoIP interface, navigate to
Control Panel > Network and
Internet > Network Connections
. Choose the Ethernet adapter that is on your network and go
to
Properties > Internet Protocol Version 4 (TCP/IPv4) > Properties
.
5.
Configure your network adapter with the following parameters.
Please take note of your current
settings so that you can revert them after VoIP provisioning is finished.
IPv4 Address:
192.168.50.100
Subnet mask:
255.255.255.0
Default Gateway:
[Leave Blank]
Preferred DNS server:
[Leave Blank]
Secondary DNS server:
[Leave Blank]
6.
http://192.168.50.65/index.html
in the Address bar to access the
PYRA Web Configuration.
*Make sure it is html and not just htm when trying to connect*
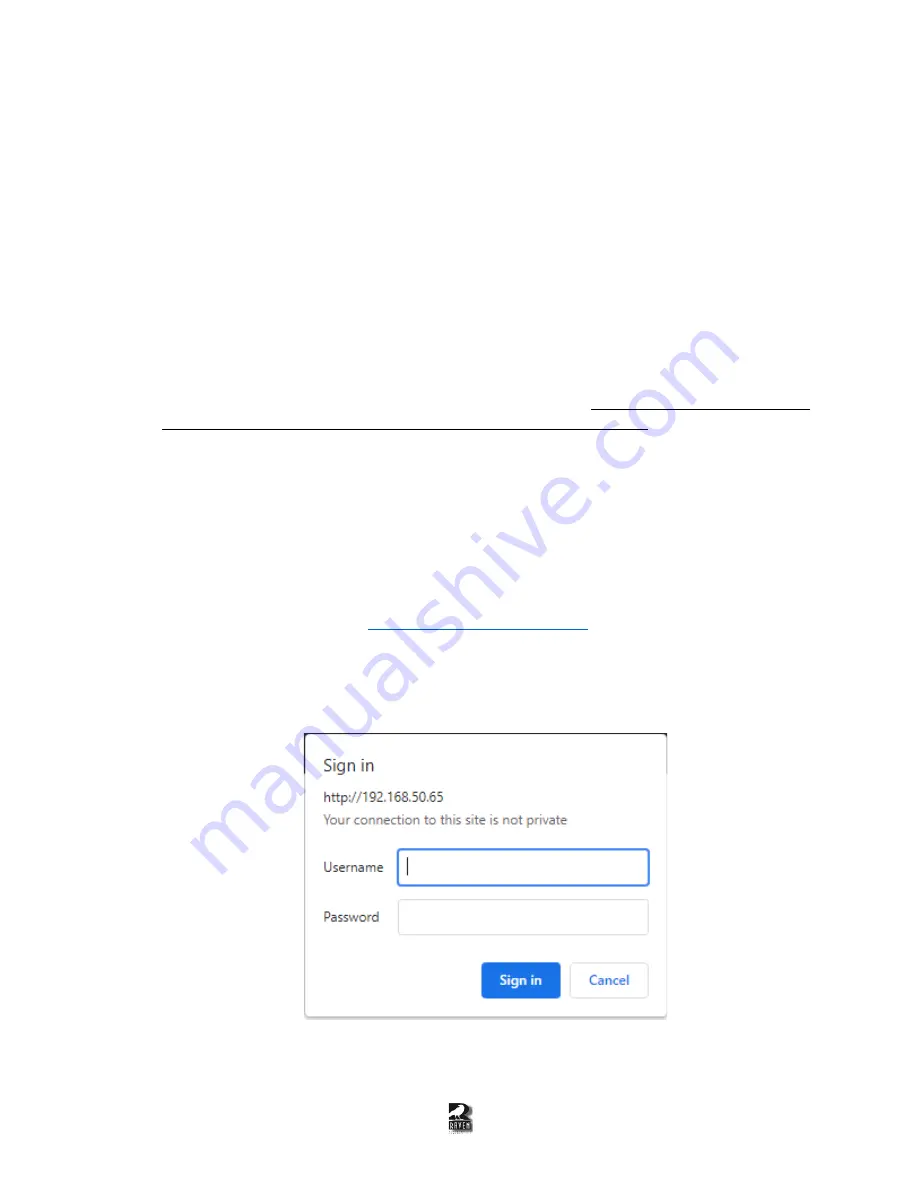
7.
A pop up will appear where you can type in the username and password that will look similar to
Figure 1-3 depending on the browser being used.
Figure 1-3: The pop up that will appear after successfully accessing 192.168.50.65 on the web
browser.


