18
6.2 How to Connect Blades with a FlexGate Using Blade-Link
In this example we are connecting a FlexGate to an 8-port Blade. The IP Address of the 8-port Blade is
192.168.50.64 and the IP Address of the FlexGate 192.168.50.82. The FlexGate needs to be the
dedicated server for the Blade-Link. It is assumed that the user configuring this type of Blade-Link has
knowledge of how the FlexGate already works and has the FlexGate setup. If not, please refer to the
Raven FlexGate Comprehensive Guide in the manual section first. *
The blade-link will not show up
under the VoIP
’s
interface
webpage as a “Remote Blade”. It also will not show up under a selection
when configuring the individual ports under
“Blade Setup”. The conference for the RTP channel
will
determine where the blade-link signaling will be directed towards*
1.
Navigate to the FlexGates webpage and log in.
2.
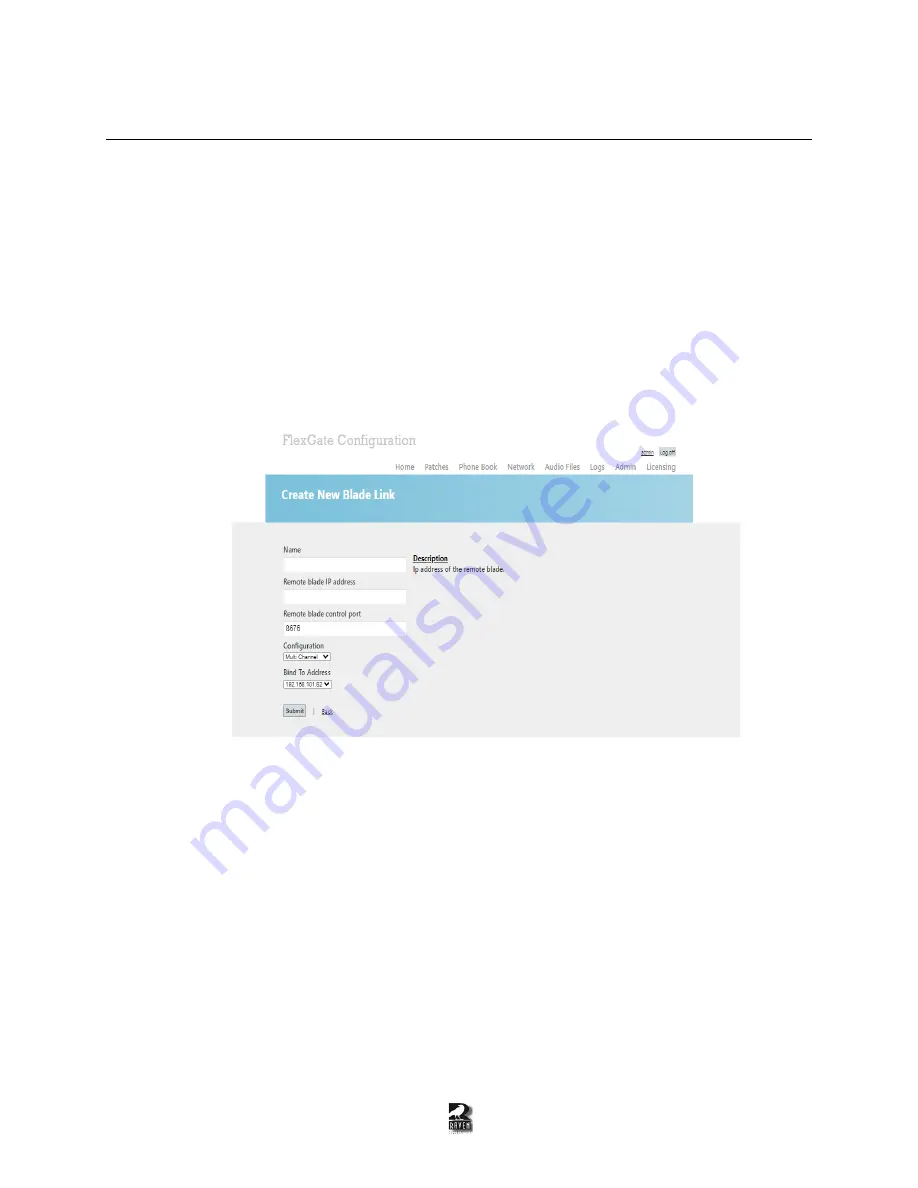
Click on the “Blade Link” section on the left side panel to create the new interface and will look
like Figure 6-7.
Figure 6-7: The FlexGate configuration page for Blade-Link.
3.
Fill out the Blade-Link settings:
Name:
This will be the name of the Blade-Link that will show up under the endpoints listings.
Remote blade IP address:
The IP Address of the blade that has a VoIP module and the Pyra
firmware
Remote blade control port:
The control port that will be associated with this blade-link. The
same port number needs to match the remote blade
’
s port number.
Configuration:
Single Channel is for 2-port Mini Blades and Multi Channel is for 8-port Blades.
Bind To Address:
The FlexGate can have multiple IP addresses, so choose the IP address that is
on the same network that can reach the remote Blade.


