TTM 57SL
FOR
SERATO SCRATCH LIVE •
OPERATOR’S MANUAL
2.1
10
INSTALLING SCRATCH LIVE
Check for the latest download version of Scratch
Live software at
serato.com
. If it is newer than
what is on your CD-ROM, we recommend
installing it instead.
mac
1.
Insert the Software Installation CD-ROM and
double-click the installer icon.
or
Launch the installer you just downloaded from
serato.com.
2
. Follow the on-screen instructions. Once the
installation is complete, Scratch Live will
appear in your applications list. You may like
to drag the Scratch Live icon to your dock for
quick launching.
3.
Plug in your TTM 57SL. No extra hardware or
driver installation is required.
WIndoWS
It is important that Windows users install the
TTM 57SL drivers as well as the Scratch Live
software. The easiest way to do this is to allow
the Scratch Live installer to do all the work.
1.
Connect your TTM 57SL with the USB cable
before you insert your installation CD. When
you first connect it, Windows will attempt to
install the drivers via the hardware wizard.
Cancel and close the hardware wizard.
2.
Insert the Software Installation CD-ROM. If a
window doesn’t open automatically, browse to
the CD drive. Run setup.exe.
or
Launch the installer you just downloaded from
serato.com.
3.
Follow the on-screen instructions. Once the
installation is complete, Scratch Live appears
in the Start Menu under All Programs > Serato
> Scratch Live.
Because the TTM 57SL was connected prior
to installing Scratch Live, no extra hardware
installation is required.
NOTE: Select the custom install option if you
wish to change the installation location of
Scratch Live.
ADDITIONAL WINDOWS DRIVERS
Vista & Windows 7 install the driver for all USB
ports at once. Windows XP treats each USB port
individually. You might like to install the Drivers
for the TTM 57SL on all of your USB ports.
Connect your Scratch Live hardware to a
USB port. Windows will again attempt to install
the drivers via the hardware wizard. Cancel and
close the hardware wizard.
With your hardware still connected, run the
Scratch Live driver updater. This is usually located
in C: > Program Files > Serato > driver_updater32.
exe [or for 64-bit systems: C: > Program Files
(x86) > Serato > driver_updater64.exe.] Repeat
this process for each of your USB ports.
TIP: The driver updater can install drivers for
different types of Scratch Live hardware. For
example, if you play at a club that uses an
SL 3, just connect the mixer and run through
the driver updater as above.
TTM 57SL AS A SOUND CARD
The TTM 57SL will be available as a standard
Windows sound card whenever Scratch Live is
not running. It will replace the previous sound
card and default to TTM57SL Line 2 (select D 2
on either of the PGM INPUTS).
If you wish to change to Line 1 or back to your
previous sound card when not using the TTM 57SL:
1.
Start > Control Panel > Sounds & Audio
Devices.
2.
Click the Audio tab.
3.
Make changes using the drop menus for both
Sound Playback and Sound Recording.
4.
Click OK.
TIP: Be aware that Windows system event
sounds (beeps, dings, etc.) will come through
your TTM 57SL when it is your sound card.
To prevent embarrassment, have no other
applications running. Better yet, turn off your
computer’s sound scheme.
1.
Start > Control Panel > Sounds & Audio
Devices [in Vista or 7, Control Panel > Sounds].
2.
Click the Sounds tab.
3.
Under Sound scheme, change to No Sounds.
4.
Click OK.
StartIng the SoftWare
Close all other programs on your Mac or PC.
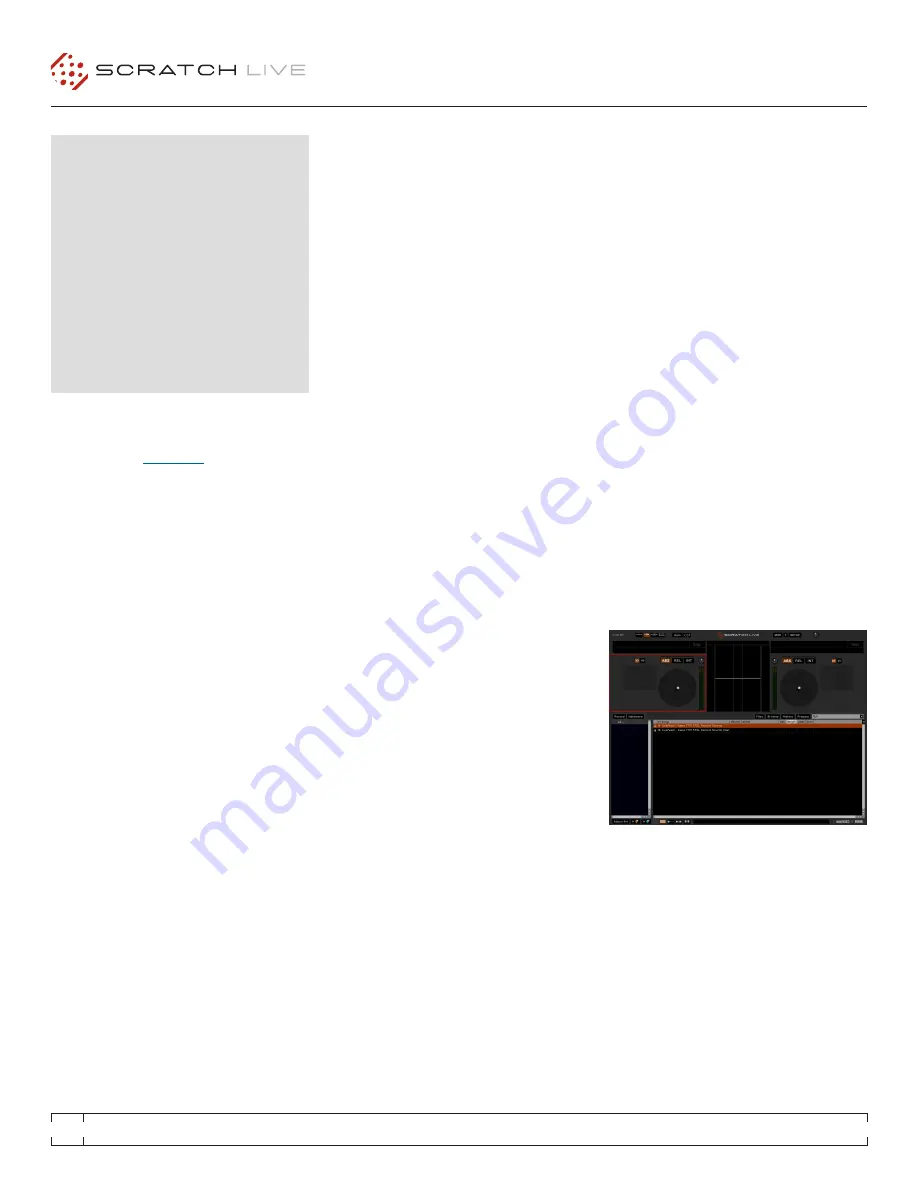
When you load Scratch Live for the first time,
you will see the screen shown below:
TROUBLESHOOT: The TTM 57SL mixer is not
recognized.
It takes five seconds for Scratch
Live to detect the TTM 57SL. The mixer can be
unplugged at any time; you do not need to exit
Scratch Live before disconnecting the hardware.
Use the supplied USB cable — longer lengths
are not recommended. On some Windows
machines each USB port is treated separately,
so you will need to install the driver separately
for each USB port. If the above screen does not
show within ten seconds, try unplugging and
replugging the USB cable.
gettIng Started


