


Programming and Operation,
continued
36
Note:
Select
Normally open
if the
Rain Sensor
is open all the time. Select
Normally closed
if the
sensor opens only when it rains.
3. Select
OK
to return to the
Switch Setting
menu.
Turning on an installed alarm sensor
1. From the
Switch Setting
menu, move the
indicating arrow
to
3. Alarm Sensor
and select
OK
. The current setting appears between the
two
markers
. A blinking black
box
in the first
character position shows the field is active.
2. Use the
up
and
down arrows
to select between
Normally open
or
Normally closed
.
Note:
Use
Normally open
if the
Alarm Sensor
is open all the time. Select
Normally closed
if
the
Alarm Sensor
opens only when it receives a
specific signal.
3. Select
OK
to return to the
Switch Setting
menu.
4. Move the
indicating arrow
to
4. Return
to
return to the
Set-up Data
menu.
Note:
If you press the button pointing to the
minus (-)
label after you change the
Switch
Settings
, a screen appears asking if it is
OK to
Restart System?
If not, Press ‘-’ .
Select
OK to
restart the system
or
‘-’
to cancel.
Erasing All the Data
If you wish to delete all the data, such as testing or
demo data, from the MDC Controller before you
install the actual values, you can do so quickly and
easily.
Note:
Be careful when you erase data. Once erased,
you cannot retrieve it again.
1. From the
Main Menu,
move the
indicating
arrow
to
1. Set-up Data
and select
OK
.
2. Move the
indicating arrow
to
9. Erase All
and
select
OK
. The display screen now reads,
OK to
Erase All Data?
Use ‘-’ to cancel.
3. Select
OK
to
Erase the Data
and return to the
Set-up Data
menu. The
minus (-)
label cancels
the action and returns to the
Set-up Data
menu
without
erasing any data
.
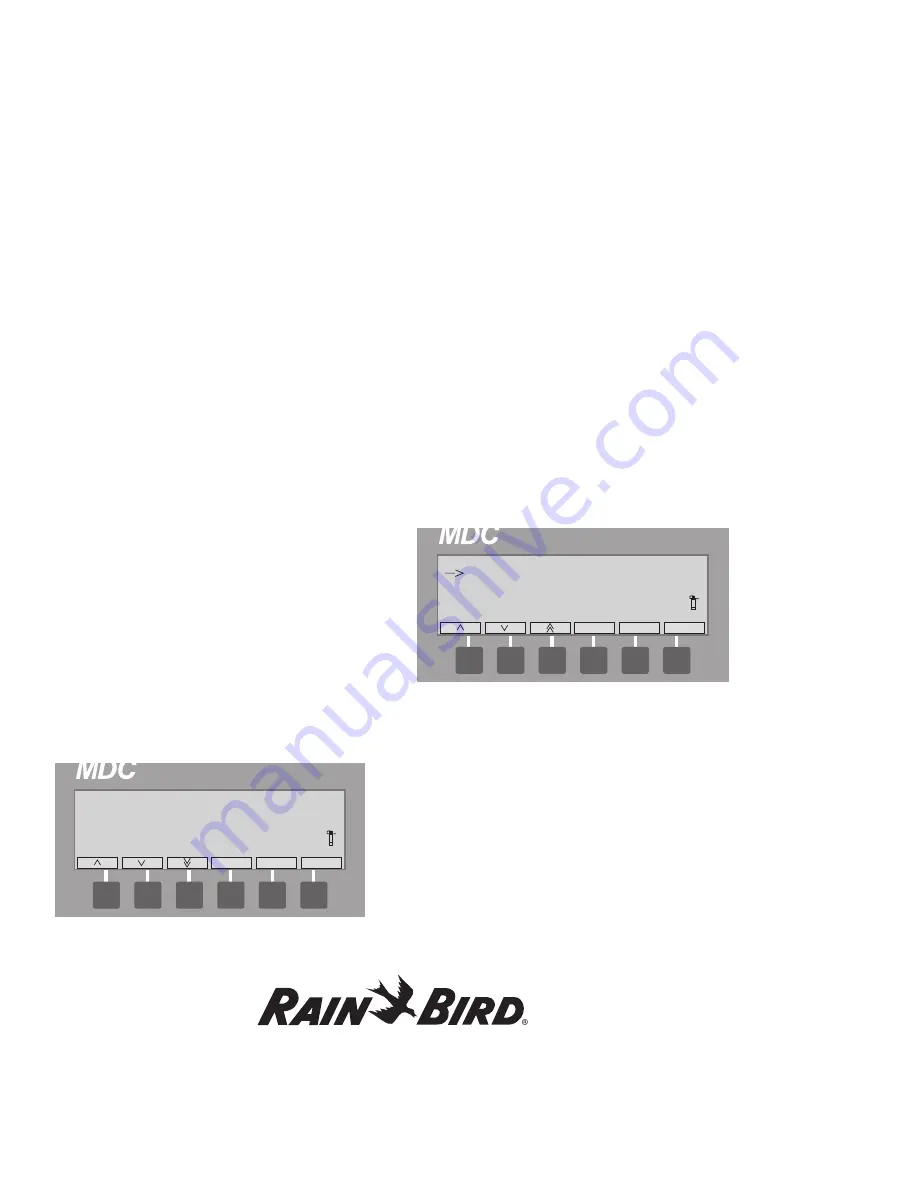
OK to Erase All Data?
Use < – > to Cancel
OK
–
14:02:30
OK to Restart System?
If not, press '–'
OK
–
14:02:30
Summary of Contents for MDC2
Page 1: ...MDC Controller Unit MDC2...
Page 10: ......
Page 82: ...This page intentionally left blank...
Page 98: ...This page intentionally left blank...
Page 114: ...This page intentionally left blank...
Page 122: ...This page intentionally left blank...