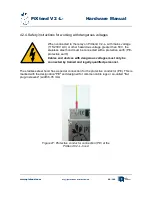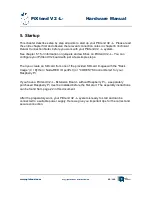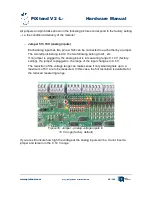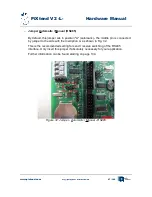
PiXtend V2 -L- Hardware Manual
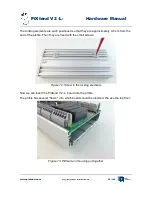
Now the upper hood part can be carefully placed on the Raspberry Pi.
Make sure that the eight "noses" of the upper hood are in the slot provided (long holes /
grooves) of the lower hood.
Two of the four M2.5 x 6 mm screws with which Raspberry Pi and PiXtend have been
screwed so far, fix the upper cover onto the previously installed 15 mm spacers:
Tighten the small screws with feeling (0.4 Nm).
www.pixtend.com
Copyright by Qube Solutions GmbH
38 / 146
Figure 25: Install the upper hood - first step

