Quatech SDS User’s Manual
Making connections
April 2008
940-0183-155
Page 13
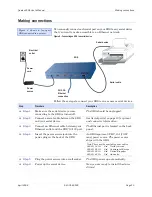
Making connections
You can easily connect each serial port on your SDS to any serial device
that you want to make accessible to an Ethernet network.
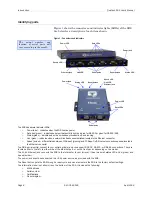
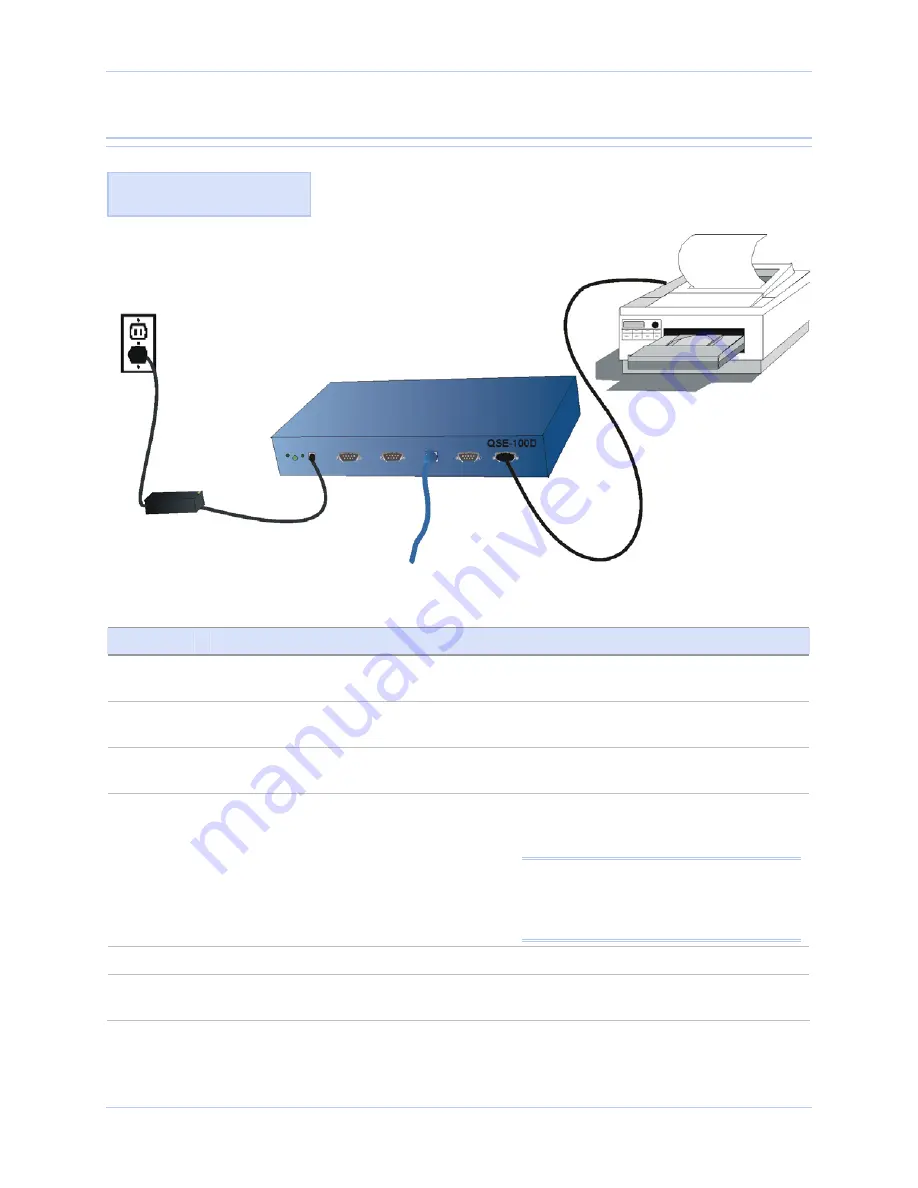
Figure 5 - Connecting an SDS to a serial device
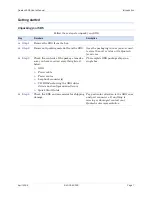
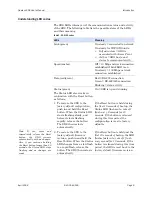
Follow these steps to connect your SDS to one or more serial devices.
Step
Procedure
Description
Step 1
Make sure the serial device you are
connecting to the SDS is turned off.
The SDS should be unplugged.
Step 2
Connect a serial cable between the SDS
and your serial device.
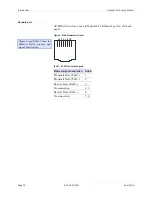
See Serial port(s) on page 10 for pinout
and connector information.
Step 3
Connect an Ethernet cable between your
Ethernet outlet and the SDS’ 10/100 port.
The Ethernet port is located on the back
panel.
Step 4
Insert the power source jack into the
power plug on the back of the SDS.
An SDS requires a 5-VDC, 2-A (10-W
max) power source. The power source
ships with the SDS.
Note: These are the available power cables:
920-0111-01A
Std North America
920-0112-01A
Std Continental Europe
920-0113-01A
Std United Kingdom
920-0114-01A
Std Australia
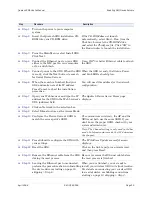
Step 5
Plug the power source into a wall socket.
The SDS powers up automatically.
Step 6
Power up the serial device.
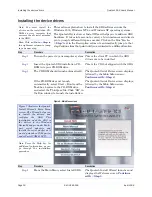
Now you are ready to install the device
drivers!
Figure 6 shows a four-port
SDS connected to a printer.
Serial device
SDS
Power
source
10/100
Ethernet
connection
Serial cable
Electrical
outlet
Power
cord

