QSA Global, Inc.
40 North Avenue Burlington, MA 01803
888.272.2242
781.272.2000
qsa-global.com
Software Manual
MAN-066
March 2023
Page 14 of 43
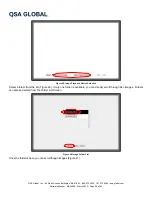
Figure 18 No Images Present
When one or more image directories are found, the
Media Transfer Screen
(Figure 17) will appear displaying up to four
buttons at one time with names of the directories that exist on the
OpenVision HD
. To select a directory for transfer, navigate
to the desired date stamp button and select the button. This will transition the user to the
Image Transfer Confirmation
Screen
(Figure 19).
NOTICE:
Only one directory of images will be transferred to the USB drive per insertion. Following the last step of a transfer
the screen will transition to the home screen. To initiate another transfer, remove the USB drive from the OpenVision
HD
and reinsert.
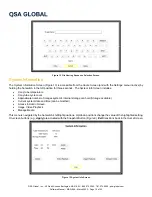
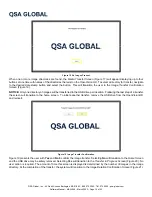
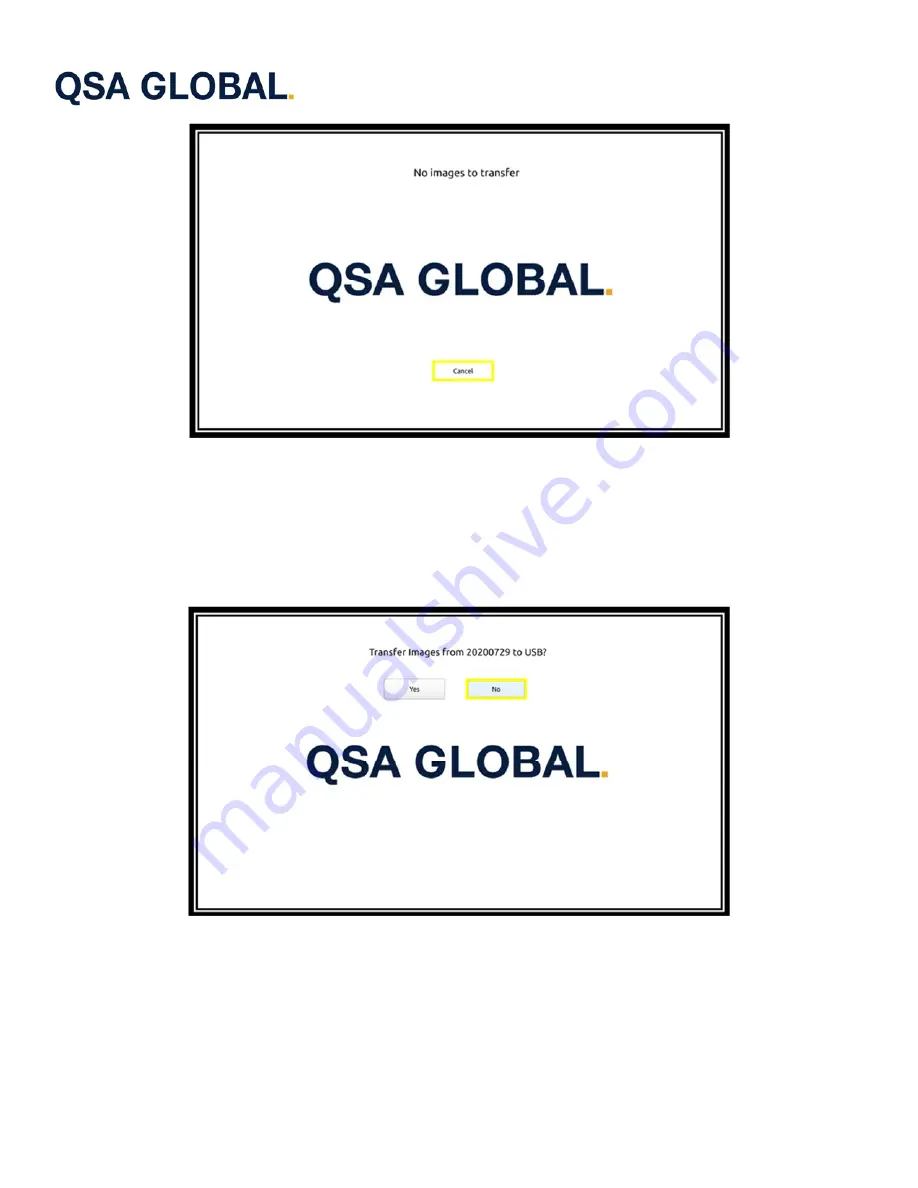
Figure 19 Image Transfer Confirmation
Figure 19 presents the user with
Yes
and
No
to confirm the image transfer. Selecting
No
will transition to the
Home Screen
and the USB drive may be safely removed. Selecting
Yes
will transition to the
Transfer in Progress Screen
(Figure 20). No
user action is required. The amount of time this screen is displayed is determined by the number of images in the image
directory. At the completion of the transfer, the system will transition to the
Image Deletion Confirmation Screen
(Figure 21).


