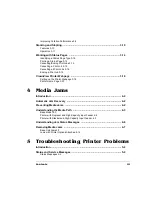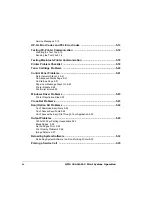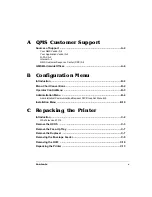
+&#
#
'
,
4
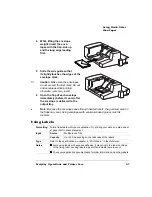
While lifting the envelope
weight, insert the enve-
lopes with the flap-side up
and the long edge leading
first.
5
Slide the side guide so that
it slightly touches the edges of the
envelope stack.
▲
Caution
: Make sure the envelopes
do not exceed the limit mark. Do not
add envelopes while printing;
otherwise, jams may result.
6
Open the flap of each envelope
immediately (before it cools) after
the envelope is delivered to the
output tray.
»
Note:
Because the envelopes pass through heated rollers, the gummed area on
the flaps may seal. Using envelopes with emulsion-based glue avoids this
problem.
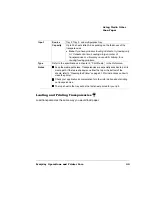
Formatting
Format label data within your application. Try printing your data on a plain sheet
of paper first to check placement.
Input
Source
Multipurpose Tray
Capacity
Up to 50, depending on the thickness of the labels
Type
Refer to the specifications in chapter 4, “Print Media,” in the Reference.
Notes
Avoid using labels with exposed adhesive; it may stick to the toner cartridge
or the fixing roller, causing labels to peel off and media jams to occur.
Check your application documentation for other information on printing labels.
Summary of Contents for 3260
Page 1: ......
Page 8: ......
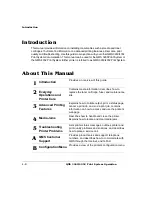
Page 9: ...Introduction on page 1 2 About This Manual on page 1 2...
Page 12: ......
Page 39: ...2 Lift up the handles to unlock the transfer roller 3 Remove the transfer roller...
Page 46: ...1 Pull out the tray 6 2 Open the lower left door of the high capacity input feeder...
Page 48: ......
Page 87: ...2 3 2 1...
Page 90: ......
Page 106: ...4 5 8 1 Open the duplexer 2 Open the upper left door 3 Open the lower left door...
Page 111: ...4 4 5 8 1 Pull on the latch to open the duplexer 2 Open the cover inside of the duplexer...
Page 114: ...4 3 Reinsert the enve lope feeder...
Page 152: ......
Page 153: ...Sources of Support on page A 2 QMS World wide Offices on page A 4...
Page 184: ......
Page 194: ......

