I
NSTALLING
H
ARDWARE
H
ARDWARE
I
NSTALLATION
2-2
2.2
Hardware Installation
The device can be either wall or ceiling mounted by design.
ESD Precautions
When performing the following maintenance action, the following electrostatic discharge
(ESD) precautions are recommended:
Remove all plastic, vinyl, and foam material from the work area.
Do not remove a component from its nonconductive protective bag until you are
ready to install it.
Wear a nonconductive wrist strap at all times when handling any component.
Before handling any component, discharge any static electricity by touching a
grounded surface.
Component and Tool Information
The following sections provides component and tool information.
CAUTION!
Only trained service personnel should service this equipment.
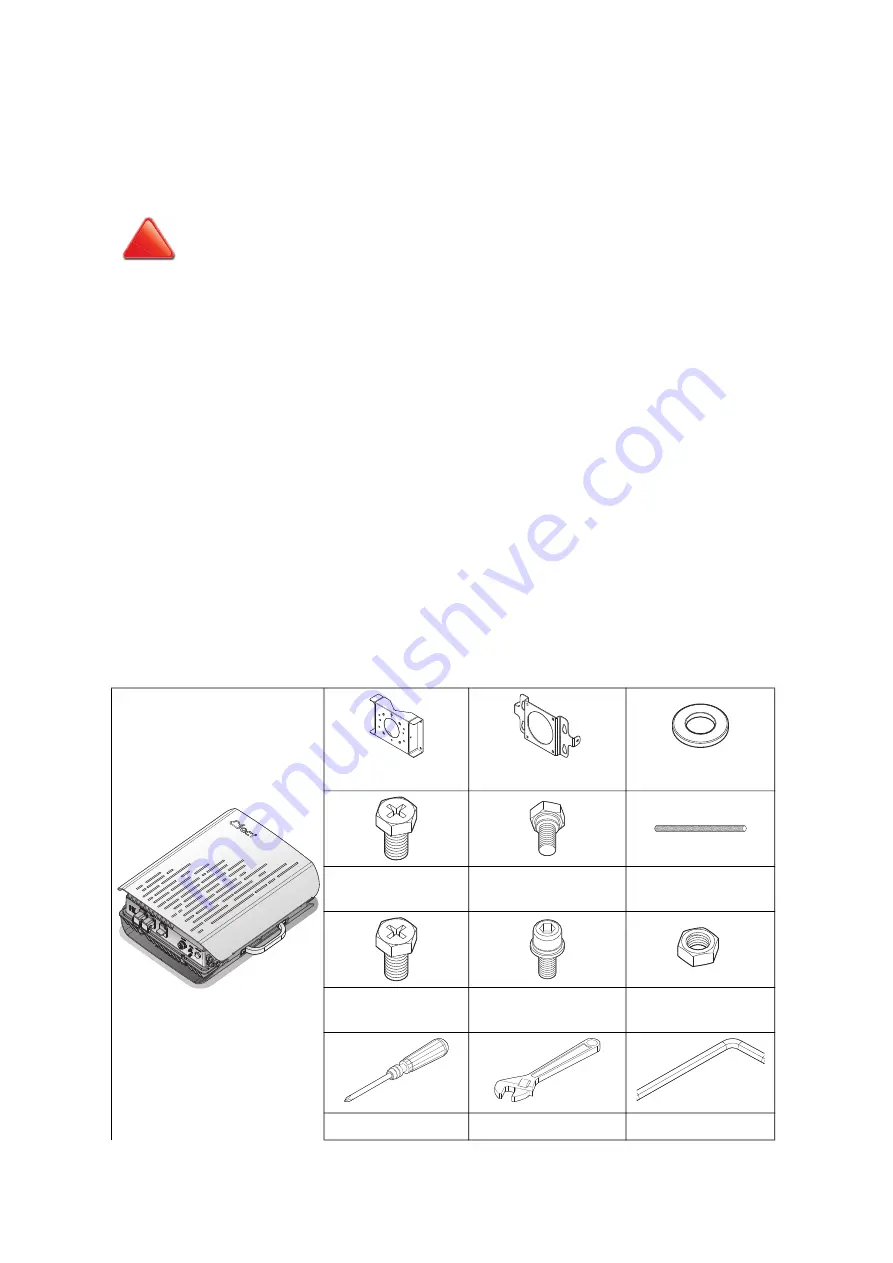
Table 2-1: Component and Tool Information
2RE System (1)
Clamp A (2)
Bracket A (1)
Flat Washer A (8)
M8 A Screw (4),
M8x15mm
M8 B Screw (4),
M8x12mm
M10 A Screw (4),
M10x200mm
M10 B Screw (4),
M10x15mm
M6 A Screw (2),
M6x16mm
Nut A (8), M10
Screw Driver #2 (1)
Adjustable Spanner (2)
Hex Key #H5 (1)
!


