27
9. FluorPen Software
This Chapter applies to users of the
FluorPen FP 100-MAX, PAR-FluorPen FP 100-MAX-LM
and to users
of the
FluorPen FP 100-B and FP 100-U
.
9.A. Starting up
Starting up:
1. Switch on the computer.
2. Switch on the FluorPen and enable Bluetooth.*
3. Make sure that your PC and the FluorPen are properly paired.*
4. For FluorPens supplied with the USB communication module, use provided USB cable to connect your
device to a PC. Please note that FluorPens battery is automatically re-charged when connected to the
PC.
5. Start the FluorPen program.
Please note that the device always comes with just one communication module - either USB or Bluetooth.
For USB connection you need to have the USB driver installed in your PC. You find the driver on the
installation disk (USB driver folder). If you check the Device Manager in Windows you should see the USB
serial port in the device tree. In case of missing driver you may download it from the following link:
http://www.psi.cz/ftp/FluorPen/USB_Driver_Setup.exe
. When the driver is installed correctly you should
be able to connect to the device in the FluorPen software menu Setup->Device ID.
* Points 2 and 3 apply only to users of the FluorPen FP 100-MAX and FluorPen FP 100-B. See Chapter 7 of this
Operation Manual for complete information on Bluetooth pairing and connecting.
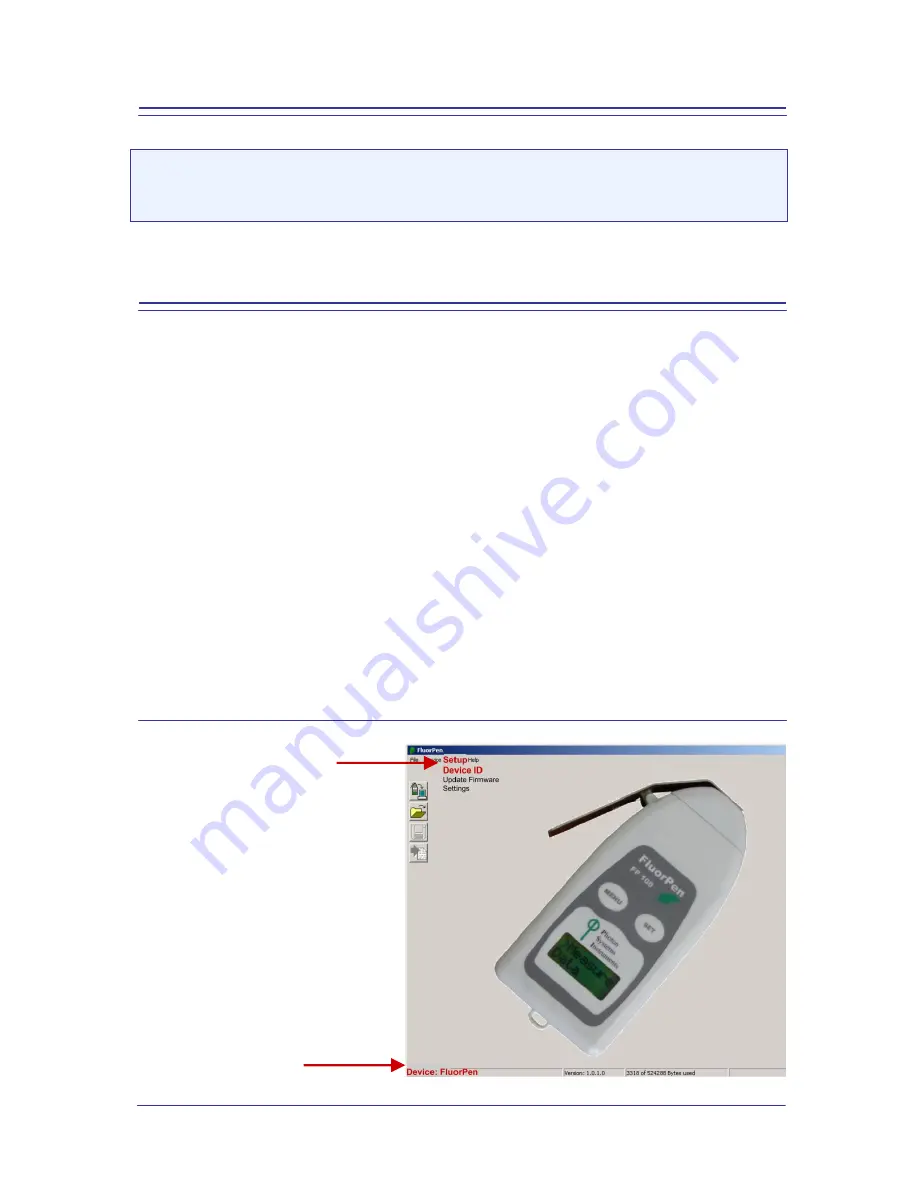
Connecting:
Select:
Setup>Device ID
(Ctrl+I).
If properly connected, the message
“Device: FluorPen” appears in the bottom
part of the screen.
Summary of Contents for FluorPen FP 100
Page 13: ...13...
Page 14: ...14...
Page 15: ...15...
Page 16: ...16...
Page 17: ...17...
Page 18: ...18...
Page 19: ...19...
Page 32: ...32...
Page 34: ...34 Example of OJIP protocol...
Page 36: ...36...
Page 37: ...37 Example of NPQ1 protocol Example of NPQ2 protocol...
Page 39: ...39...
Page 40: ...40...
Page 41: ...41 Example of LC1 protocol Example of LC2 protocol...
Page 42: ...42 Example of LC3 protocol...


