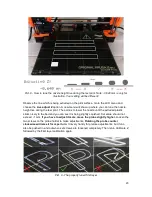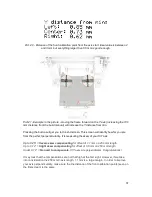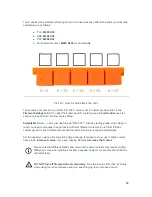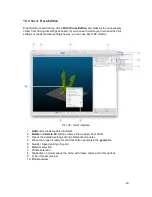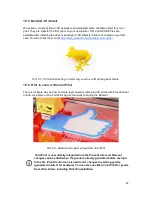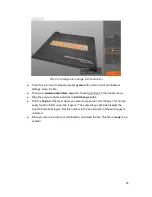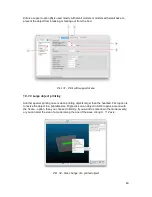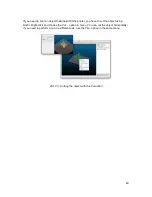
Pict. 20 - Distance of the front calibration point from the axis start. Ideal value is between 2
and 3 mm but everything larger than 0.5 mm is good enough.
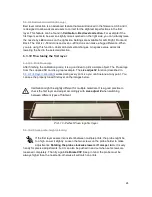
Pict.21 - Example in the picture - moving the frame forward on the Y axis (increasing the 100
mm distance from the build manual) will increase the Y distance from min.
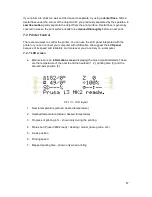
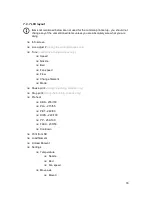
Pressing the button will get you to the 2nd screen. This screen will identify how far you are
from the perfect perpendicularity. It is measuring the skew of your X/Y axis.
Up to 0.25
° =
Severe skew compensating
for offset of 1.1 mm on 250 mm length
Up to 0.12° =
Slight skew compensating
for offset of 0.5 mm on 250 mm length
Under 0.12° =
No need to compensate
, X/Y axes are perpendicular. Congratulations!
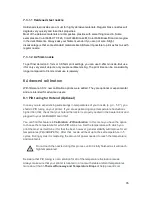
It may look that the compensations are not that high at the first sight. However, if we take
into consideration the 250 mm X-axis length, 1.1 mm is a large margin. In order to improve
your axis perpendicularity, make sure the the distance of the front calibration points (seen on
the first screen) is the same.
37
Summary of Contents for Original Prusa i3 MK2S 1.75mm
Page 1: ......
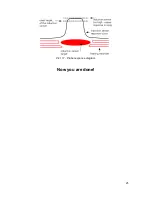
Page 25: ...Pict 11 Probe response diagram Now you are done 25 ...
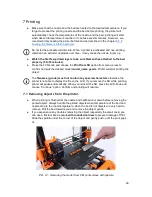
Page 61: ...Pict 35 Nozzle change 61 ...

