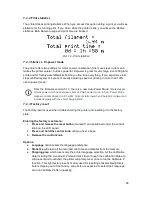
7.2.2 Print statistics
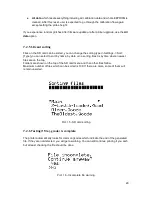
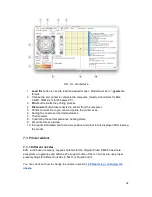
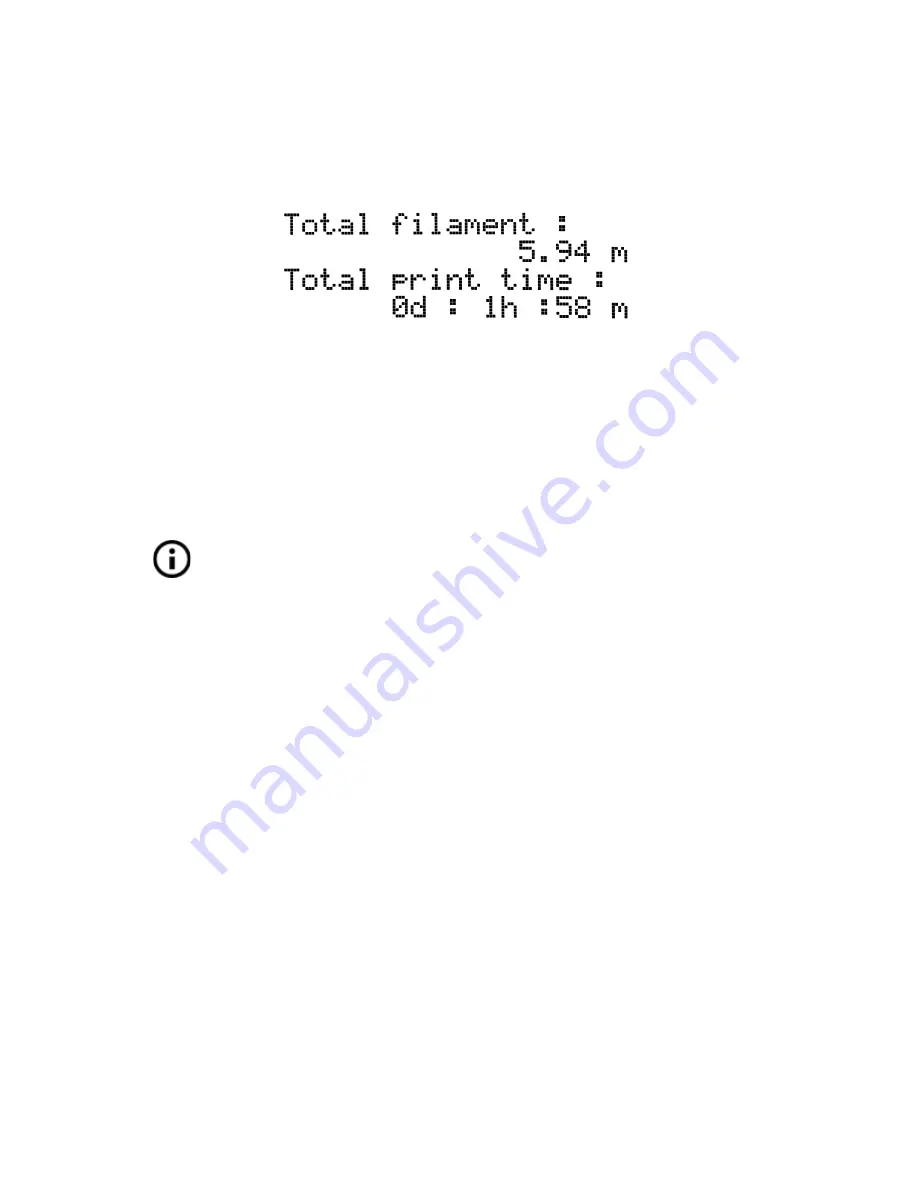
The printer tracks printing statistics. When you access this option during a print, you will see
statistics for the running print. If you do so while the printer is idle, you will see the lifetime
statistics. Both filament usage and print time are tracked.
Pict. 14 - Print statistics
7.2.3 Silent vs. Hi-power mode
The printer offers two settings for motor power consumption. Silent uses less current and
makes the printer quieter, but less powerful. Hi-power is great for very large (over 200 gram)
prints and for freshly assembled kits before you fine tune everything. If you experience lost
steps (shifted layers) or if you’re manually adjusting speed of printing to more than 100%,
use Hi-power mode.
From the firmware version 3.1.0, there is a new Auto Power Mode. It
sets stepper
motors power which lies between silent and high power mode. In Auto Power Mode
stepper currents depend on Z height. Current starts low when Z height is minimal and
increases slowly with the object being printed.
7.2.4 Factory reset
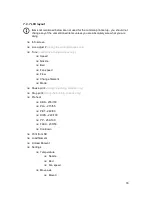
The factory reset is used when troubleshooting the printer and resetting it to the factory
state.
Entering the factory reset menu:
1.
Press and release the reset button
(marked X and positioned under the control
knob on the LCD panel)
2.
Press and hold the control knob
until you hear a beep
3. Release the control knob
Options:
●
Language
option resets the language preference.
●
Statistics
will erase all the recorded print time and material from the memory.
●
Shipping prep
which resets only the printer language selection. All the calibration
data including the Live adjust Z remain intact. Even though the calibration data are
still present and functional, the printer will prompt user once to run the Calibrate Z
function. This light factory reset is mainly used for resetting of assembled printers
before shipping out of the factory, and users are expected to select their language
and run Calibrate Z after unpacking.
28
Summary of Contents for Original Prusa i3 MK2S 1.75mm
Page 1: ......
Page 25: ...Pict 11 Probe response diagram Now you are done 25 ...
Page 61: ...Pict 35 Nozzle change 61 ...


