6.3.10 Fine tuning the first layer
6.3.10.1 Print Prusa logo
After finishing the calibration g-code, it is a good idea to print a simple object. The Prusa
logo from the supplied SD card is a great example. The
Live adjust Z
function (described in
6.3.9. First layer calibration
) works during every print, so you can fine tune at any point. You
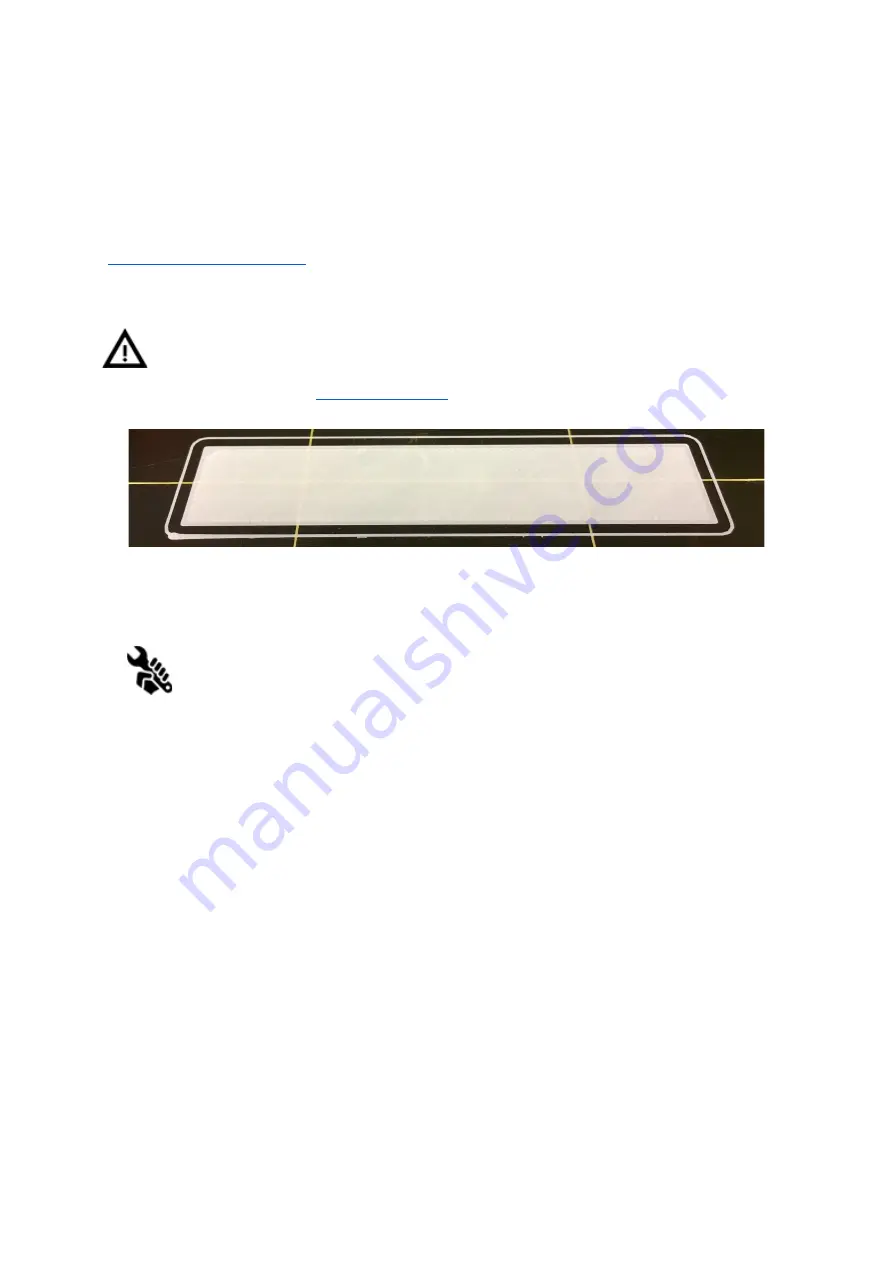
can see the properly-tuned first layer in Pict. 12.
Calibration might be slightly different for different steel print sheets as the coating
thickness varies. It is a good practice to check the first layer and adjust accordingly
with
Live adjust Z
when switching between different types of steel sheets. You can
find more info and photos at
.
Pict. 12 - Perfect Prusa logo first layer
6.3.10.2 Check probe height (kit only)
If the first layer seems inconsistent between multiple prints, the probe might be
too high. Lower it slightly. Loosen the M3 screw on the probe holder and gently
push the sensor to adjust the height and tighten the M3 screw again. Then try
again
Calibrate XYZ
. Keep in mind, the probe must always be higher than the nozzle tip,
otherwise, it will catch on prints.
Now you are done!
29


