5
3.
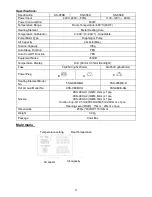
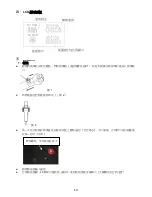
In temperature setting mode, the
”
Set Temp
”
words will shinning, adjust the temperature by
using the UP
▲
and DOWN
▼
buttons. In another way, you can also press the UP
▲
and DOWN
▼
buttons directly in the main menu to set the temperature.
4.
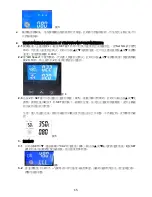
In the air speed setting mode, the
”
Air Speed
”
words will shinning, adjust the air speed by
using the UP
▲
and DOWN
▼
buttons(air speed range from 20~100). After stopping operation
around two seconds, it will go back to the main menu.
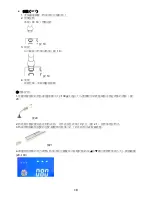
Fig.4
5.
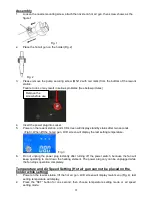
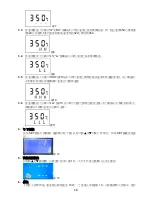
Quick setting mode : Press the “SET” button for two seconds, the digit will shinning(Fig.5), adjust
the temperature or air speed by using the UP
▲
or DOWN
▼
buttons. In the quick setting mode,
press “SET” button to confirm every digit; otherwise, digit will not stop shinning until it is
confirmed.
Fig.5
Temperature Calibration Setting
The hot air gun should be recalibrated after changing the gun, replacing the heating element or nozzle.
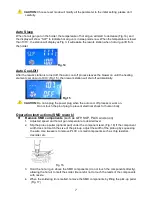
1.
Press “SET” button and Down button “
▼”
in the same time, and main menu will display ”CAL”
and setting temperature(Fig.6). Press UP
▲
or DOWN
▼
to input actual temperature, press
“
SET
”
button to confirm and back to the main menu.
Fig. 6
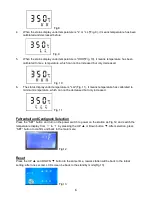
2.
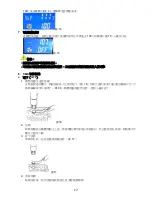
When the status display under temperature is "---"(Fig. 7), it means temperature has not been
calibrated.
Fig.7
3.
When the status display under temperature is "H” or “HH"(Fig. 8), it means temperature has been
calibrated and increased before.
Summary of Contents for SS-956
Page 12: ...11 SS 956 SS 956 LCD 480 C 896 F SS 956 SS 956 SS 956 600W SMD CPU...
Page 15: ...14 LCD 1 1 3 1 2 2 LCD 3...
Page 18: ...17 100 3 14 7 100 15 15 1 2 8 SMD QFP 1 16 PLCC 16 2 3 17 17 4...
Page 19: ...18 QFP 1 2 18 18 3 19 19 4 1 100g 20 20 2 21 3 21 4 20 100...
Page 21: ...20 6 1 23 2 5A 250V 220V 8A 250V 110V 5x20mm UL 23...
Page 22: ...21 SS 956 SS 956 LCD 480 C 896 F SS 956 SS 956 SS 956 600W SMD CPU...
Page 25: ...24 LCD 1 1 3 1 2 2 LCD 3...
Page 28: ...27 15 1 2 8 SMD QFP 1 16 PLCC 16 2 3 17 17 4 QFP 1 2 18 18...


