4
Assembly
1.
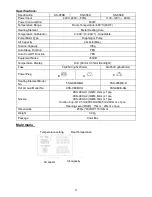
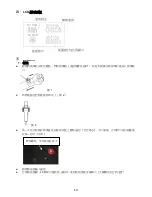
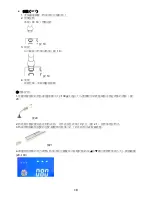
Loosen the nozzle mounting screw, attach the nozzle on hot air gun, then screw shows as the
figure 1.
Fig. 1
2.
Place the hot air gun on the holder.(Fig. 2)
Fig. 2
3.
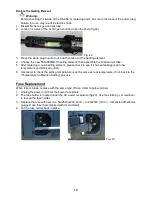
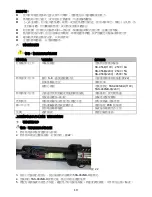
Please remove the pump securing screw (M5x12 with red mark) from the bottom of the rework
station.
Failure to do so may result in serious problems (See below pictures)
4.
Insert the power plug into socket.
5.
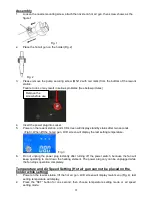
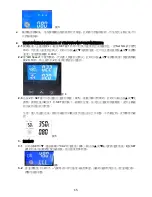
Power on the rework station, and LCD screen will display standby status after two seconds
(Fig.3). When lift the hot air gun, LCD screen will display the last setting temperature..
Fig.3
6.
Do not unplug the power plug instantly after turning off the power switch, because the fan will
keep operating to cool down the heating element. The power plug only can be unplugged while
the fan stops operation completely.
Temperature and Air Speed Setting (Hot air gun can not be placed on the
holder while setting)
1.
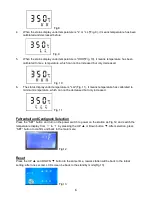
Power on the rework station, lift the hot air gun, LCD screen will display main menu (Fig. 4), last
setting temperature will display.
2.
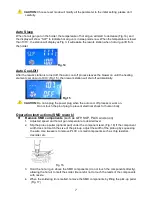
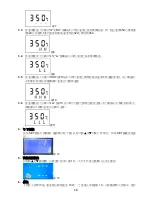
Press the “SET” button for one second; then choose temperature setting mode or air speed
setting mode.
Remove the
screw before use
Summary of Contents for SS-956
Page 12: ...11 SS 956 SS 956 LCD 480 C 896 F SS 956 SS 956 SS 956 600W SMD CPU...
Page 15: ...14 LCD 1 1 3 1 2 2 LCD 3...
Page 18: ...17 100 3 14 7 100 15 15 1 2 8 SMD QFP 1 16 PLCC 16 2 3 17 17 4...
Page 19: ...18 QFP 1 2 18 18 3 19 19 4 1 100g 20 20 2 21 3 21 4 20 100...
Page 21: ...20 6 1 23 2 5A 250V 220V 8A 250V 110V 5x20mm UL 23...
Page 22: ...21 SS 956 SS 956 LCD 480 C 896 F SS 956 SS 956 SS 956 600W SMD CPU...
Page 25: ...24 LCD 1 1 3 1 2 2 LCD 3...
Page 28: ...27 15 1 2 8 SMD QFP 1 16 PLCC 16 2 3 17 17 4 QFP 1 2 18 18...


