31
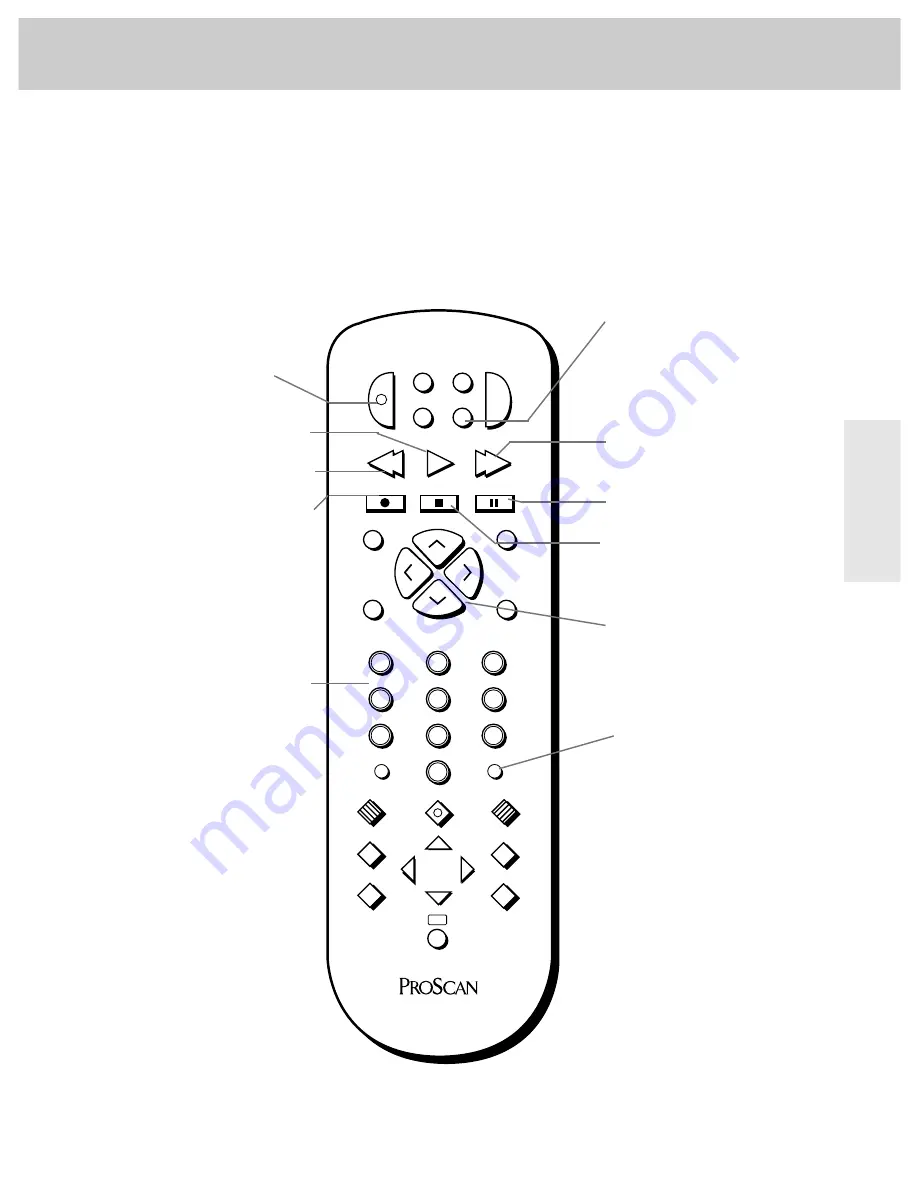
R e m o t e B u t t o n s t h a t C o n t r o l A u d i o E q u i p m e n t
After the
AUDIO
button is programmed, the buttons described
below will operate the basic functions of the audio equipment.
Depending on the age, brand, model, and type of audio
equipment, some models may not be able to respond to all the
function buttons listed. You will want to experiment with each
button to determine the exact function for your component.
R e m o t e B u t t o n s T h a t C o n t r o l A u d i o E q u i p m e n t
Contr
olling VCR(s)
and Remotes
–
+
2
INPUT
ANTENNA
SKIP
DISPLAY
MUTE
PREV CH
REC
PAUSE
PLAY
VCR
2
•
LD AUDIO
REW
FF
CLEAR
RESET
PIP
MOVE PIP
SWAP
FREEZE
MOVE
MENU
PROG
•
3
1
5
6
4
8
0
9
7
STOP
STOP
POWE
R
VCR
1
DSS
•
CABLE TV
u n i v e r s a l
CHAN
CHAN
V
O
L
V
O
L
CC
POWER BUTTON
Press to turn on
component. Press again to turn off.
Some components will turn on
automatically when you press the
AUDIO
button.
PLAY BUTTON
Press to start component
playing.
REWIND BUTTON
Press while component
is stopped to rewind tape.
RECORD BUTTON
Press to start recording.
NUMBER BUTTONS
Press two numbers to
select a channel directly.
AUDIO BUTTON
Press this button to turn on
the audio component and put remote in
“Audio Mode” so other buttons will
control the audio component. Press the
TV
button to put remote back into “TV
mode”.
FAST FORWARD BUTTON
Press while
component is stopped to fast forward
tape.
PAUSE BUTTON
Press to pause play or
record. To release pause, press again.
STOP BUTTON
Press to stop whatever the
component is doing: playing, recording,
rewinding, etc
.
CHANNEL UP OR DOWN BUTTONS
Press to
select the next higher or lower channel
in the component’s channel memory.
ANTENNA BUTTON
Performs various
functions depending on the type of
equipment. Experiment with this
button.


