Promega Corporation · 2800 Woods Hollow Road · Madison, WI 53711-5399 USA · Toll Free in USA 800-356-9526 · 608-274-4330 · Fax 608-277-2516
27
www.promega.com
TM321 · Revised 4/15
6.
On-screen data can be removed from each option by highlighting the option and selecting the
Clear Selection
option. All data can be removed by selecting the
Clear All
option.
7. Select
Next Sample
. For empty sample positions, select
Next Sample
repeatedly until the required sample
position is reached.
8.
Repeat Steps 2 to 5 for the new sample and associated cartridge and Elution Tube, and place them in the
required positions. Select the
Next Sample
option. Repeat until all samples are loaded.
9.
If there are fewer than 16 samples, select
Final Sample
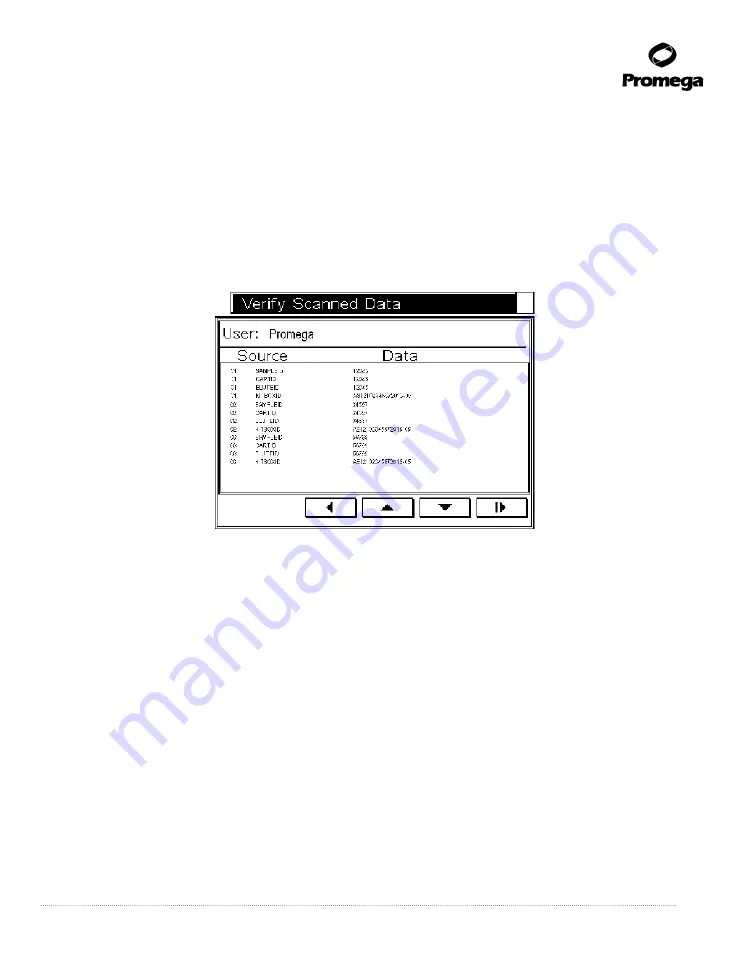
when all samples are loaded. This will open the
Verify
Scanned Data
screen. This screen allows you to review the bar code data entered.
8605T
A
Figure 24. Verify Scanned Data screen.
10. If any incorrect data are identified for a sample, you can use the navigation buttons to return to the
Bar code
Input
screen where Position 01 will be shown. Select
Next Sample
to navigate to the required sample, and add
the appropriate information.
11. For SEV methods, once all data are verified, press the Run/Stop button to continue.
12. For LEV methods, once all data are verified, place the LEV Cartridge Rack into the instrument, and press the
Run/Stop button to continue.
Capturing Run Data Manually
You can collect run data manually. After you have completed the steps in Section 5.A, the instrument door will open,
and the platform will extend.
1.
In the
Bar code Input
screen, select the
SampleID
option to add information. Select
Manual
. Use the keyboard
to type in the data required. The data will appear on the screen next to
Sample ID
.
2.
Select the
Cart. ID
option and the cartridge to which the sample will be added; select
Manual
. Use the keyboard
to type in the data required. The data will appear next to
Cart. ID
.


