20
Using RFID
C. OTHER FUNCTIONS
Batch Reading Test
. (Optional) After printing and encoding labels
you may run a Batch reading test to verify that each label was
encoded successfully. Simply load the printed roll, open the status
monitor and choose Batch Reading Test on the RFID tab.
Move to next tag
. Before reading, writing or calibrating, select
Move to next tag to instruct the printer to feed the label stock to the
next tag/label.
Print and encode
. Use this interface to test printing and encoding.
Be sure to set your label size via the printer driver settings accessi-
ble in printer preferences as described in Section 5F.
(lower right on RFID tab). Click this to access and advanced
encoding interface. This interface will allow you to communicate
directly with the RFID module via text commands. Do not
use this interface unless directed to do so by tech support.
Advanced Options.
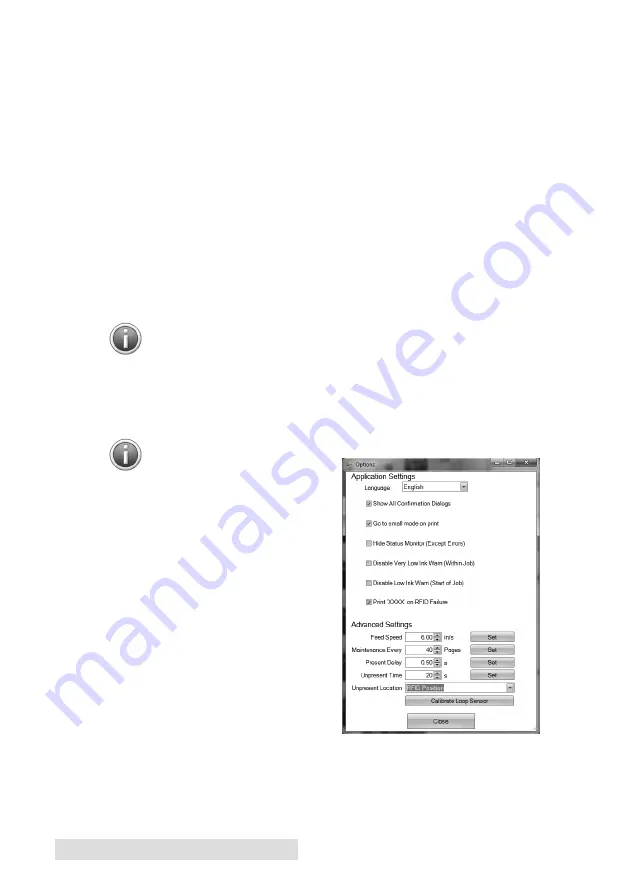
Access advanced options by clicking the icon
on the top right side of the status monitor. Click the options but-
ton. There are several options available. Below are the options that
concern RFID encoding.
Print 'XXXX' on RFID Failure
.
By default a series of XXXXs
will automatically be printed on the
label to indicate that it was not
encoded properly. If you disable
this option nothing will be printed
on an encoding failure.
Unpresent Time.
This is the time
between the finish of the print and
when the printer moves the stock
back into position for the next
encoding/printing. The purpose of
this setting is to allow a specific
amount of time to remove the label
after a one off print.
Unpresent Position.
This is the
position the label stock moves to after the unpresent time has
elapsed. This should be set to RFID Tag when printing and encod-
ing RFID labels.


