34
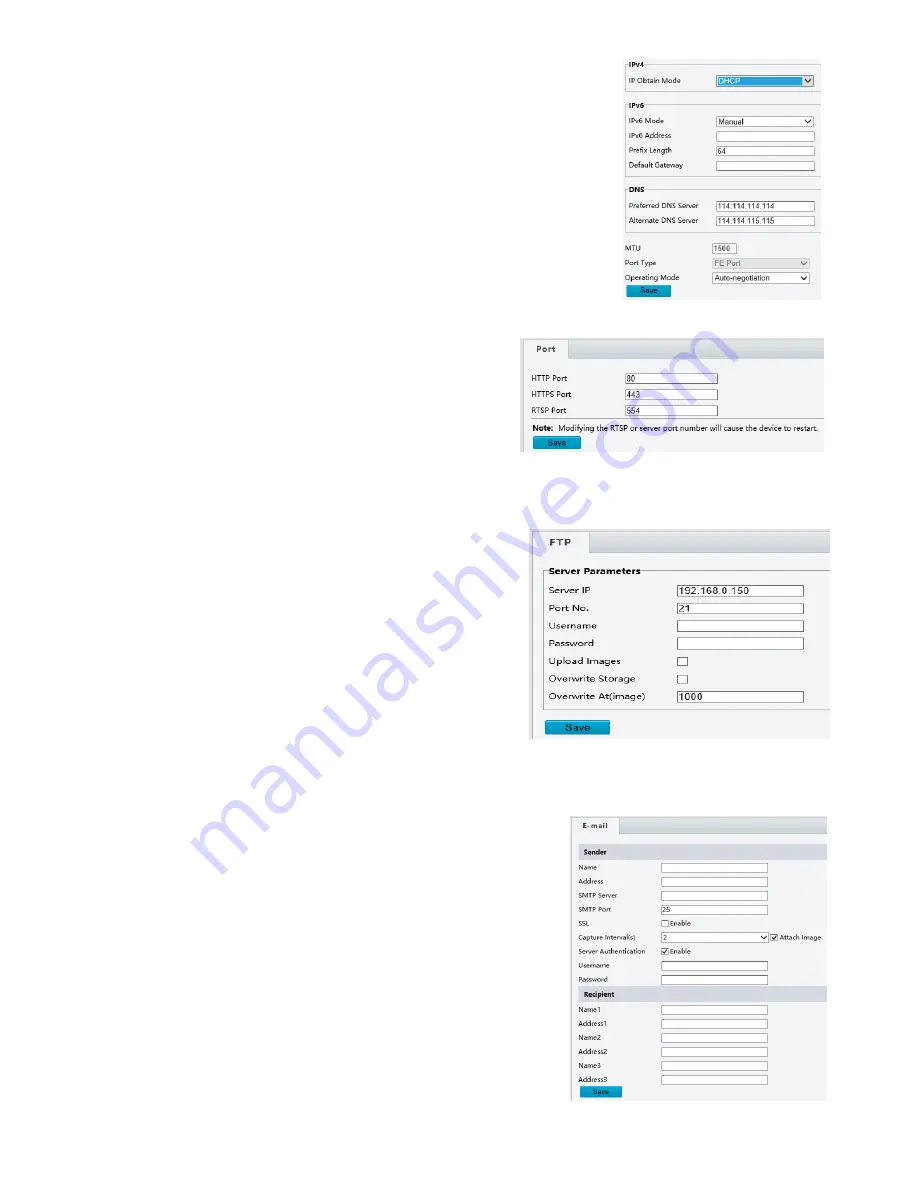
1.
Click
Setup
>
Network
>
TCP/IP
.
2.
Select
DHCP
from the
IP Obtain Mode
drop-down list.
3.
Click
Save
.
Port
1.
Click
Setup > Network > Port
.
2.
Configure relevant port numbers.
3.
Click
Save
.
NOTE:
This function is not supported by some models, please see the actual model for details.
If the entered HTTP port number has been occupied, a prompt message will be displayed as Port conflicts.
Please try again. 23, 81, 82, 85, 3260 and 49152 are occupied by default. And other occupied ports will be
detected automatically.
FTP
After the configuration of FTP, you will be able to upload
snapshots from network cameras to the specified FTP server.
1.
Click
Setup > Network > FTP
.
2.
Configure the IP address, port number of the FTP server,
the username and password of the upload account, enable
Upload Images
and
Overwrite Storage
, and then set the
overwrite image threshold.
3.
Click
Save
.
ail
After the configuration of E-mail, when alarms are triggered, you will be able to send messages to the specified E-
mail address.
1.
Click
Setup > Network > E-mail
.
2.
Configure relevant parameters of the sender and the recipient.
The following table describes some major parameters.
A.
SSL
a.
When enabled, the e-mail will be sent through SSL
encryption.
B.
Attach Image
a.
When enabled, the e-mail will contain 3 instant
snapshots as attachment according to the Capture
Interval.
3.
Click
Save
.
Summary of Contents for HD-PTZ9IP
Page 1: ...1 PTZ Camera USER MANUAL Prestel HD PTZ9IP ...
Page 6: ...6 WHAT S IN THE BOX Accessories Optional ...
Page 26: ...26 Dimension Unit mm ...
Page 27: ...27 Specifications ...


