30
dynamic IP address of your camera.
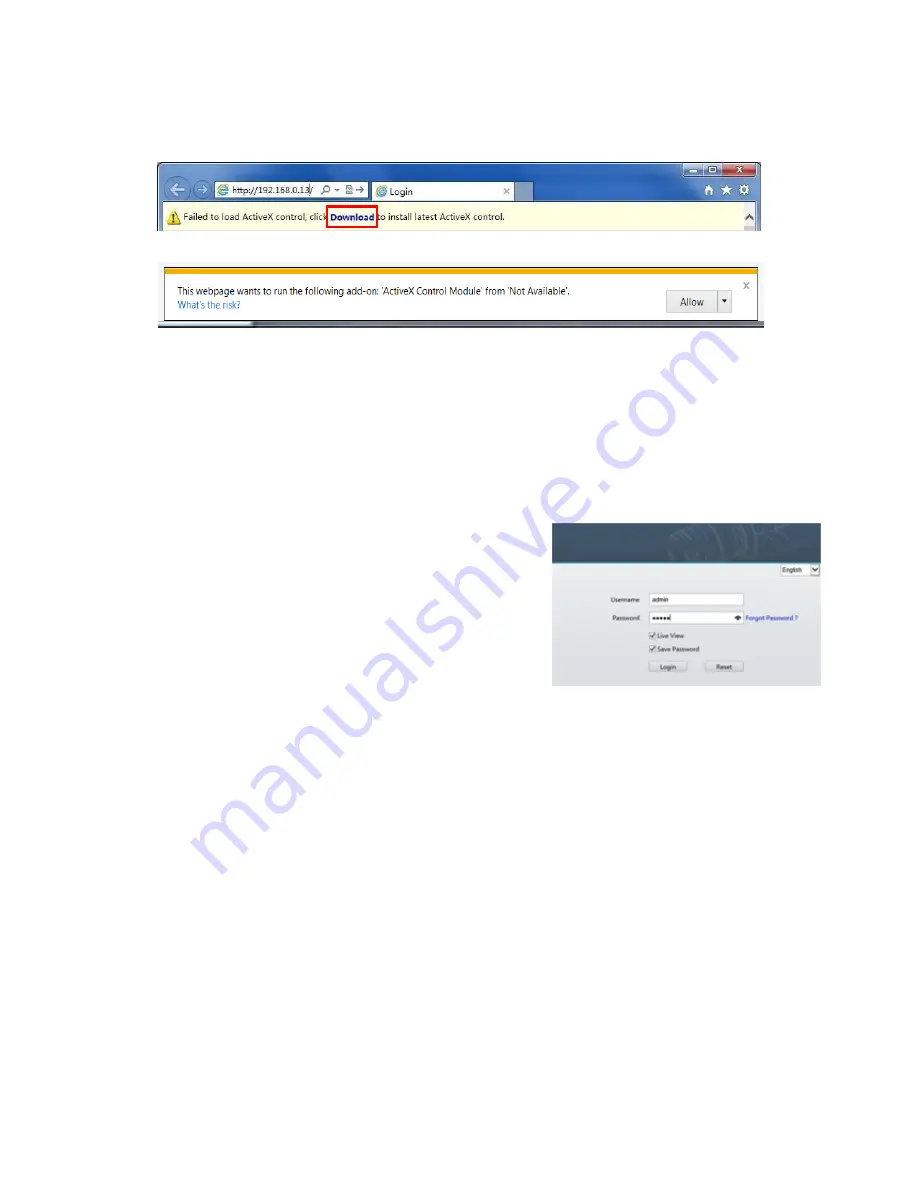
The following takes IE as an example to describe the login procedure.
1.
Browse to the login page by entering the correct IP address of your camera in the address bar.
2.
If you log in for the first time, follow system prompts and install the ActiveX. You need to close your browser to
complete the installation.
3.
Click
Allow
to proceed the login process.
NOTE:
To manually load the ActiveX, type http://IP address/ActiveX/Setup.exe in the address bar and press
Enter
.
The default password is used for your first login. To ensure account security, please change the password after
your first login. You are recommended to set a strong password (no less than eight characters).
The camera protects itself from illegal access by limiting the number of failed login attempts. If login fails six
times consecutively, the camera locks automatically for ten minutes.
4.
Enter the username and password, and then click
Login
. For the first login, use the default username
admin
and password
123456 or admin
.
If you log in with
Live View
selected, live video will be
displayed when you are logged in. Otherwise, you need to
start live video manually in the live view window.
If you log in with
Save Password
selected, you do not need
to enter the password each time when you log in. To
ensure security, you are not advised to select
Save
Password
.
To clear the
Username
and
Password
text boxes and the
Save Password
check box, click
Reset
.
NOTE:
Important: Be sure to keep the new password written down and put in a safe place. If the password is
forgotten, camera will require hardware resetting. Additional charges may apply for reset services.
Forgot Password
? If you forget the password, email the device Product Bar Code and camera’s current time
mm/dd/yy to [email protected] for a temporary password. You will be able to change the
password after login.
Introduction to the Web Interface
By default, the live view window is displayed when you are logged in to the Web interface. The following shows
an example.
Initial Configuration
After you log in to the device, please perform the following initial configuration.
1.
Set the TCP/IP address for the device: Reconfigure the device IP and network parameters based on the actual
networking.
2.
Log out and log in again to the Web using the new IP address.
3.
Set the system time for actual situation.
4.
(Optional) Setting the management server based on the actual networking.
5.
Set OSD, set the information displayed on the screen as needed.
6.
(Optional) Manage users. Change the default password and add common users as needed.
You can watch the live video after finishing the initial configuration. Please configure other parameters as needed.
Summary of Contents for HD-PTZ9IP
Page 1: ...1 PTZ Camera USER MANUAL Prestel HD PTZ9IP ...
Page 6: ...6 WHAT S IN THE BOX Accessories Optional ...
Page 26: ...26 Dimension Unit mm ...
Page 27: ...27 Specifications ...


