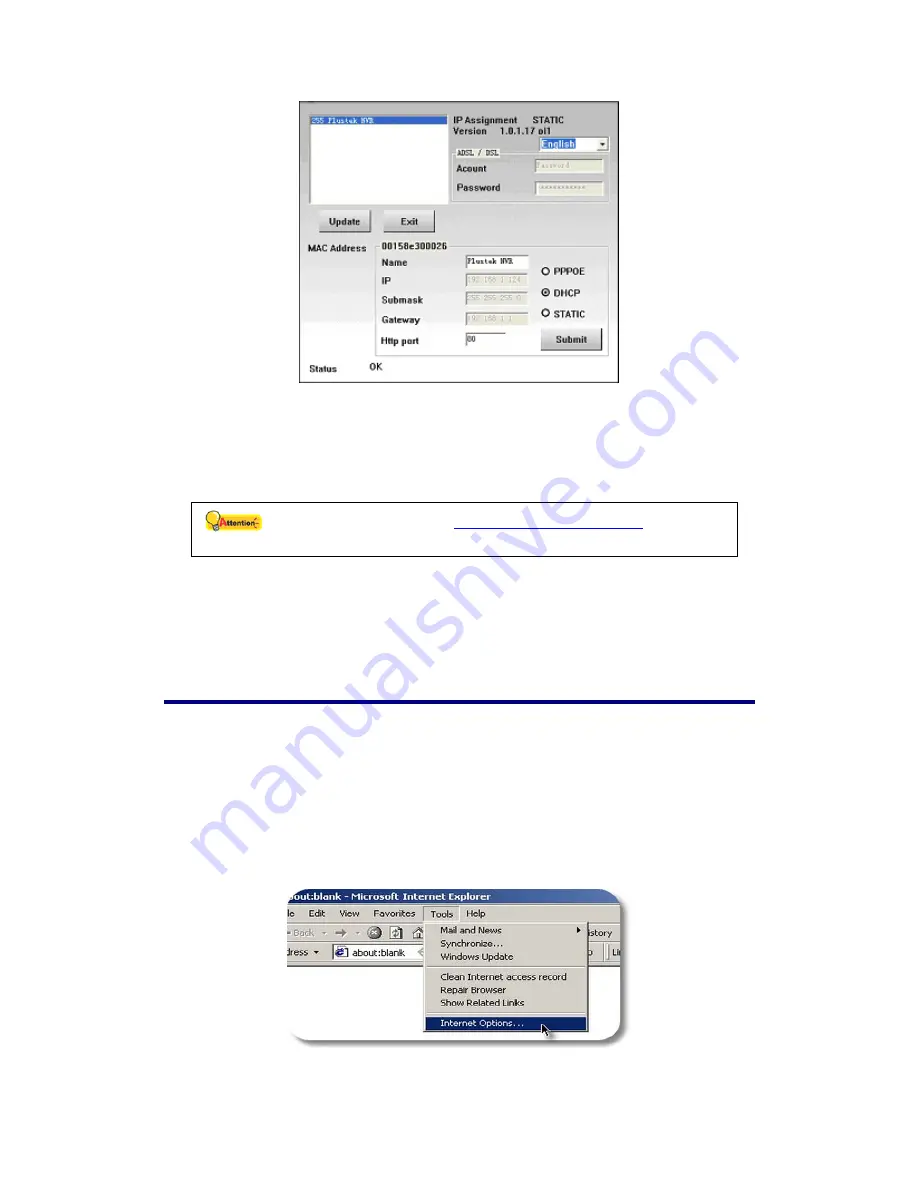
3. If you choose the “STATIC” option, please fill the Submask and Gateway in the
Search Tool window, revise the last number of your PC IP address to create a
new unique IP address for the NVR, type “80” in Http Port option, and click the
“Submit” button to apply the changes.
Attention
z
Please refer to the “
IP configuration information
” section to
get IP address, Submask and Gateway of your PC.
4. Click “Update” button in the Search Tool window to update the information in the
left pane of the window and double click the NVR to log in.
5. You may log in by simply typing the Host Name in the IE address bar after
completing the above configuration.
Proxy Server
Proxy server is generally used to connect to the Internet directly in order to maintain
the security of a network in some corporate environment. When your NVR is
connected to such a network, the proxy server may prevent you from accessing the
NVR. Please consult your network administrator or ISP for any details on disusing
proxy server in your corporate environment.
You may follow the following steps to disuse the proxy server:
1. Start up the Internet Explorer, and click “Tools” to choose “Internet Options” from
the drop-down menu.
2. Click “LAN Settings” button in the Connections tab.
34


