background image

E-29

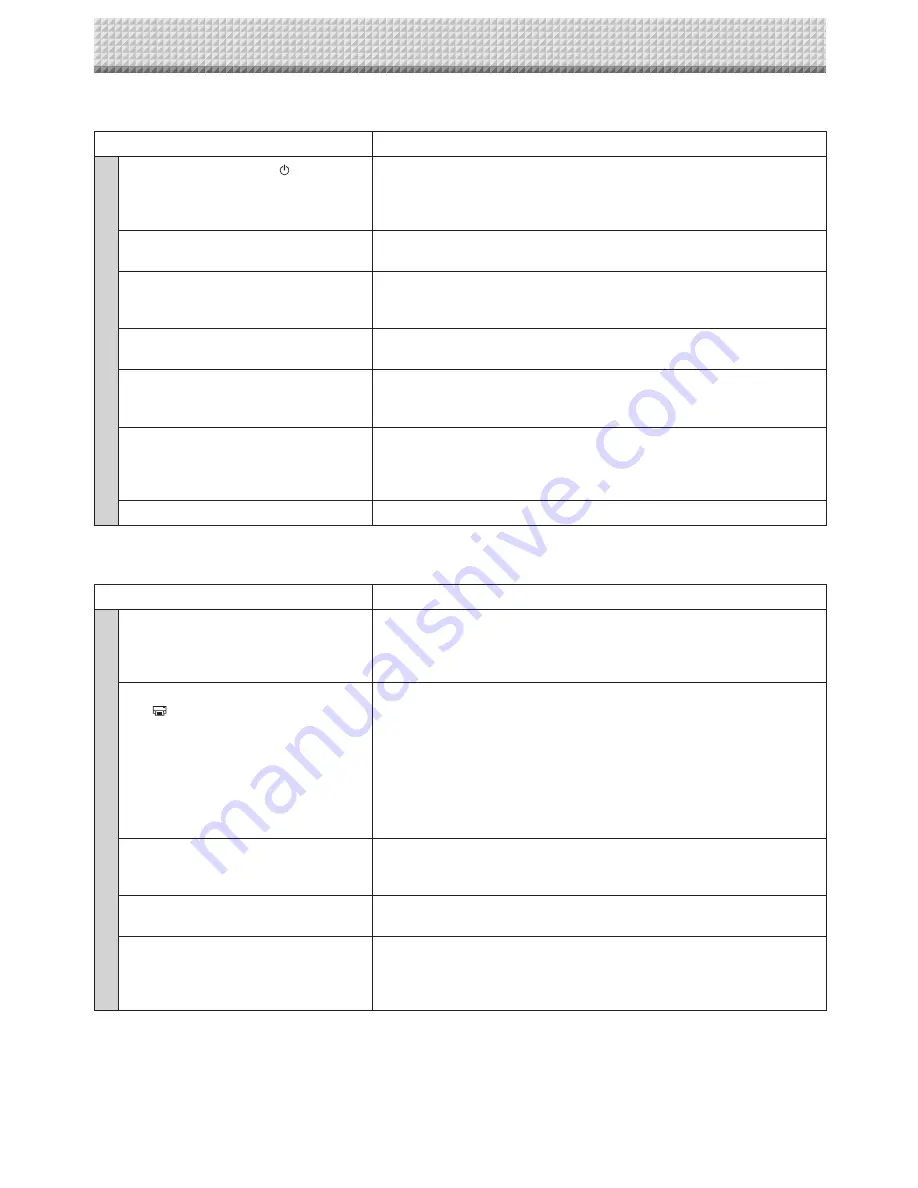
Please check the following matters before making a request for servicing. 

Condition

Please Check 

Network

 boar

d

 Related

Pressing  the  ON/Standby 

  button  does 

not switch on the power. 

•  Check whether the cable of the AC power adapter is disconnected from the 

DC connector of the Network board or the wall outlet. (Unplug the AC power 
cable  from  the  outlet,  wait  several  seconds  and  then  plug  it  back  into  the 
outlet again.)

Writing on the sheet is not erased with the 
eraser. 

•  Was a marker other than a dedicated marker used? 


Dark horizontal lines on a printed out hard 
copy  or  image  on  the  screen  are  gener

-

ated.

•  Perform the scanning adjustment (white calibration). (See page E-31.)

Parts  of  characters  and  lines  are  not  dis

-

played on printouts or in image data.

•  Blurred  characters  and  thin  lines  may  not  be  displayed  on  printouts  or  in 

image data.

Scanned  copy  (image)  is  dirty,  Erase 
Reminder  function  is  activated  even  when 
sheet is erased with the eraser

•  Is there marker residue or substantial quantities of refuse on the sheet?
  (If the sheet is dirty, moisten a soft cloth with water, wring well, then wipe the 

sheet in a stroking manner.)

When the network board and PC are con

-

nected,  the  PC  does  not  recognize  the 
network board 

•  Check whether the network board is in an operable condition, and whether 

the USB cable is connected properly.

•  Is the network board connected to the PC via a USB hub?
  (Connect the network board directly to the USB port of the PC.)

The date is not updated.

•  The network board’s battery is dead. Contact your store of purchase.

* If the problem persists, please contact your nearby PLUS Corporation sales office, dealer, or store.

Condition

Please Check 

Printer

 Related

The  network  board’s  power  turns  on,  but 
the printer’s power does not.

•  Check whether the printer’s power plug (DC plug) is securely inserted.
  If  the  power  still  does  not  turn  on,  check  whether  the  printer’s  AC  power 

adapter side plug is unplugged from the AC power adapter. (For some print

-

ers it is directly mounted.)

Printing  is  not  possible  when  On  Board 
Print   button is pressed.

•  Check that the power cable of the printer and the printer cable are securely 

connected. 

•  Check that the printer power indicator is lit. 
•  Check whether the network board’s status indicators and the printer’s error 

indicator are lit.
If  an  error  is  displayed  on  the  network  board’s  display  window,  see  page 
E-27.
(Please  see  the  printer  instruction  manual  for  information  about  printer 
errors.)

The paper feed is abnormal.

•  Possible  causes  include  damp  paper,  overly  thin  or  thick  paper,  only  one 

sheet  of  paper  is  set,  and  a  curved  setting  of  the  paper.  (Please  see  the 
instruction manual for your printer.) 

An altered color is printed, not the specified 
color. 

•  Please replace the print cartridges with new ones. 

•  Print is very pale, there are white lines on 

it, or page is dirty.

•  Printed  colors  are  very  different  from 

those of the markers that were used.

Is the print cartridge’s nozzle partially choked?
•  Make a test print and check the conditions of the nozzle.

Troubleshooting

Summary of Contents for N-324

Page 1: ...s Manual Thank you for your purchase of the PLUS Copyboard Please read this User s Manual carefully before use to take full advan tage of the functions of this product After you have finished reading...

Page 2: ...r poration Adobe and Adobe Acrobat Reader are trademarks of Adobe Systems Incorporated Safari Apple Mac OS and Macintosh are trademarks or registered trademark of Apple Computer Inc of the United Stat...

Page 3: ...used when transferring e mail on TCP IP networks LDAP Lightweight Directory Access Protocol This is the protocol for accessing the service that centrally manages information on network users on TCP I...

Page 4: ...essories Dedicated markers One each of black red blue and green Use these markers to draw on the sheet surface Dedicated eraser 1 Replacement sponge 2 Use this to erase the drawing The eraser has four...

Page 5: ...oard and printer here See the Assembly and Setup Manual Stand This stand supports the network board See the Assembly and Setup Manual Main unit Pen tray Depending on the product you have purchased the...

Page 6: ...llustration does not show the printer or connection cords Personal computer PC dedicated USB port Type B Connect this with the USB port type A of the PC Used to do the Simple Network Settings for this...

Page 7: ...This illustration does not show the connection cords Mounting hole Hook Lock screw Rear frames Lock screws Stand CAUTION At least two persons should hold the main unit If not the main unit could drop...

Page 8: ...crolls one screen s worth to the left to the next screen and stops automatically When the button is pressed the sheet scrolls one screen s worth to the right to the previous screen and stops automatic...

Page 9: ...deletes the scanned data 3 IC Card indicator Shows status of read write to the IC card according to whether it is lit or off and how it lights IC Card indicator Status of IC card Lit green Accept IC...

Page 10: ...on a single page Output to paper Printing of thumbnails on single page Printing or storing multiple screens con secutively Print to the network printer Consecutive printing or storing one screen at a...

Page 11: ...B memory devices Capturing images on a computer Storing on USB memory device Using the dedicated IC Card to store imag es on a specific folder on an FTP server Sends mail with attached images using IC...

Page 12: ...settings makes it possible to transfer image files by e mail save them on the FTP server or print them on a network printer To use a network refer to the separate N 32 Series Network Manual Preparatio...

Page 13: ...tting The mode switches each time the Save button is pressed Contents of setting mode displayed on display window First 2 digits Last 2 digits Christian year Month Day Hours Minutes 3 Set the setting...

Page 14: ...mpletes the time setting Use the Network Print Increase and On Board Print Decrease buttons to select 10 the month then press the Save button to enter The display switches to c4 setting of day Use the...

Page 15: ...nter paper When using letter size paper set letter size paper in the CB Setup mode See page E 24 1 Arrange the paper edges so that they are even 2 Insert paper at the specified position of the paper t...

Page 16: ...en and stops automatically To stop during scrolling press the Scroll Stop or button again There are four screen only on model N 324 Note To display the next screen press the Scroll Stop button after s...

Page 17: ...y button is pressed while the sheet surface is being read printing is interrupted and only part of the image will be printed The one screen portion is reduced to A4 paper size and printed For wide typ...

Page 18: ...ically If there is a blank screen in the specified sequence that screen is printed as a blank If the ON Standby button is pressed during scanning scanning is interrupted and only the images that have...

Page 19: ...et or slippage Consecutive printing number indicators Consecutive printing number indicators One lit Cancel single screen printing storing Two lit Screens 1 and 2 printed stored consecutively Three li...

Page 20: ...his unit USB Memory Storage Procedure Preparation Check that the network board s AC power plug is connected to a wall power outlet Press the ON Standby button and switch on the power Note When turning...

Page 21: ...d and USB memory storage starts after the scrolling completes Multiple screens can be stored consecutively See Page E 19 Consecutive Printing If the images are in PDF format all the images are combine...

Page 22: ...orage cannot be formatted from a computer Do not disconnect the USB cable or access the network board while data is being saved after pressing the network board s Save button Doing so will cause the c...

Page 23: ...ion on the computer before disconnecting the USB cable Note that the image data in the network board s computer storage memory is deleted if the operation for disconnecting the USB connection between...

Page 24: ...the display window F1 is the time setting For instructions on the time setting see page E 13 Select the function number then press the Save button Press the Number of Copies button the func tion switc...

Page 25: ...nt of data is 1 4 that of when High Resolution is selected High Resolution The image file has the same resolu tion as the scanned image vertical horizontal size of 1 1 The picture quality is better th...

Page 26: ...moves to the non erased surface after which the power turns off The Erase Reminder function may not work prop erly due to dirt on the sheet adhesive or marker traces Disable USB Lit Color Print Off E...

Page 27: ...lug from the power outlet and then plug it in again Security protec tion The operation is set to Disable in the security settings Change the setting of the desired item to Enable Refer to the separate...

Page 28: ...FTP printing error has occurred Check if the settings for FTP printing are correct 1 2 Recipient address error Either the term of validity of the recipi ent address has expired or the domain is restr...

Page 29: ...oard directly to the USB port of the PC The date is not updated The network board s battery is dead Contact your store of purchase If the problem persists please contact your nearby PLUS Corporation s...

Page 30: ...g the user name and password Printing is not possible when Network Print button is pressed Set the Printer Setting in the Network Setting For setting or checking for network refer to the separate N 32...

Page 31: ...sheets Doing so may cause incorrect calibration 20 cm or longer 2 Feed the sheet manually until the half width of cleaned sheet is covered by the frame of the network board Operation 1 Make sure that...

Page 32: ...print colors Eight colors or two color monochrome Printer interface Conforming to USB 2 0 standards Supported network printer 6 FTP supported printer 5 IC card Standard Mifare FeliCa Type Mifare Clas...

Page 33: ...pplied with the printer To USB connector Printer To DC connector Printer AC power adapter supplied with the printer To wall power outlet To DC INPUT connector AC power adapter supplied Appearance of p...

Page 34: ...26 4721 18A...

Reviews: