E-16
Prepare the printer. (See the previous page.)
Note
• When turning on the power, wait about 5 seconds or more after the
power plug has been connected before pressing the ON/Standby
button.
• Press the ON/Standby button to switch on the power. The LED of the
display window will light.
• Turn on the network board’s power before turning on the printer’s power.
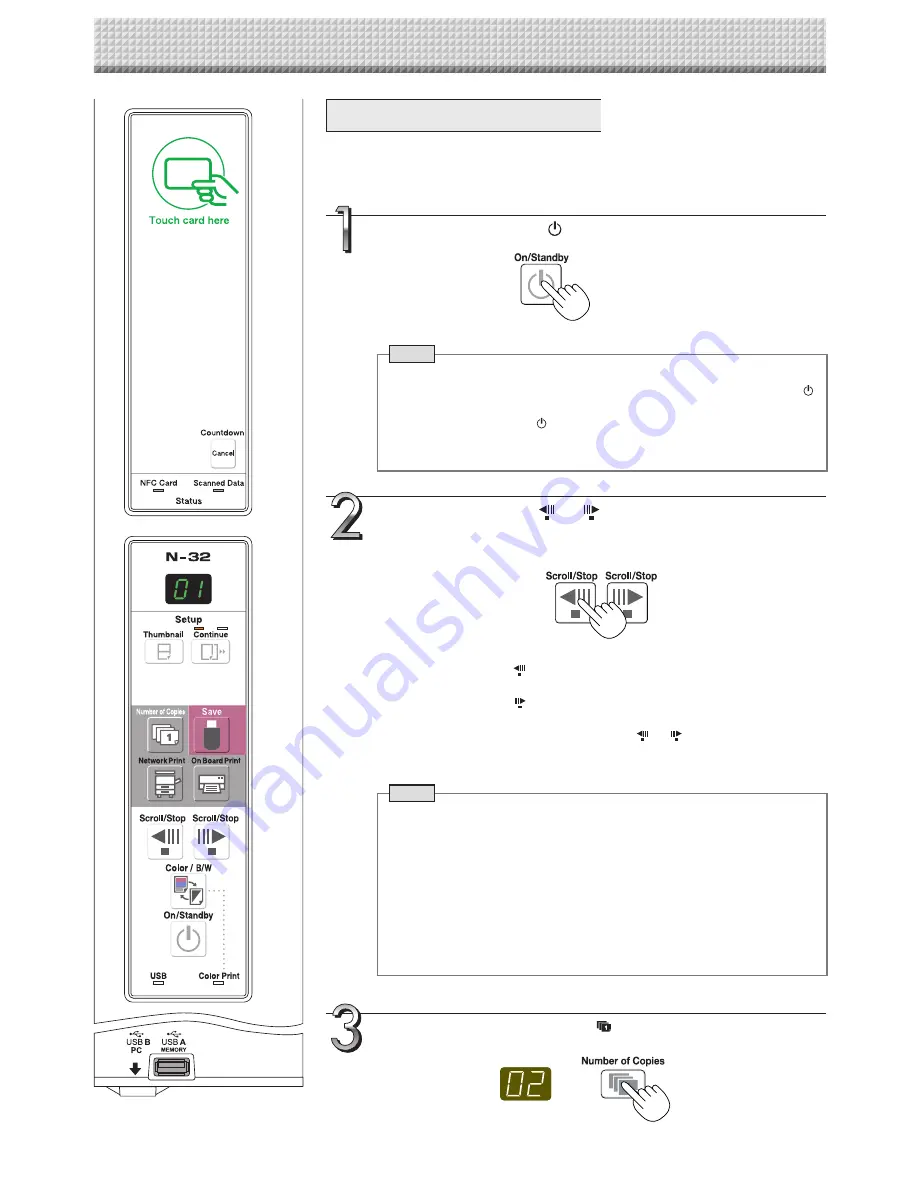
Press the ON/Standby
button and switch on the power.
Press the Scroll/Stop
or
button and display the sheet
surface you want to print.
When the Scroll/Stop
button is pressed, the sheet surface scrolls one
screen’s worth to the left (to the next screen) and stops automatically.
When the Scroll/Stop
button is pressed, the sheet surface scrolls one
screen’s worth to the right (to the previous screen) and stops automatically.
To stop during scrolling, press the Scroll/Stop
or
button again.
• There are four screen only on model N-324.
Note
• To display the next screen, press the Scroll/Stop button after scrolling
stops. If the button is pressed during scrolling, scrolling stops immedi
-
ately. When pressed again, the sheet is scrolled one screen’s worth from
the point at which it stopped.
• The one-screen that is visible is printable position.
• To fine-adjust the sheet surface position, with the sheet stopped, move
the sheet slowly by hand. The sheet can be moved either to the left or to
the right.
• Printing of the portion located around the sheet surface might not be
possible. Please see “Effective reading size” on Page E-5.
Basic Printing Operation
Preparation:
Preparation: Check that the AC power plugs of the network board and printer are con
-
nected to wall power outlets.
Printing
Press the Number of Copies
button and select the num-
ber of copies.
Summary of Contents for N-324
Page 34: ...26 4721 18A...


